Student Story
by Sam Gering '27
The Woodblock Printing Process
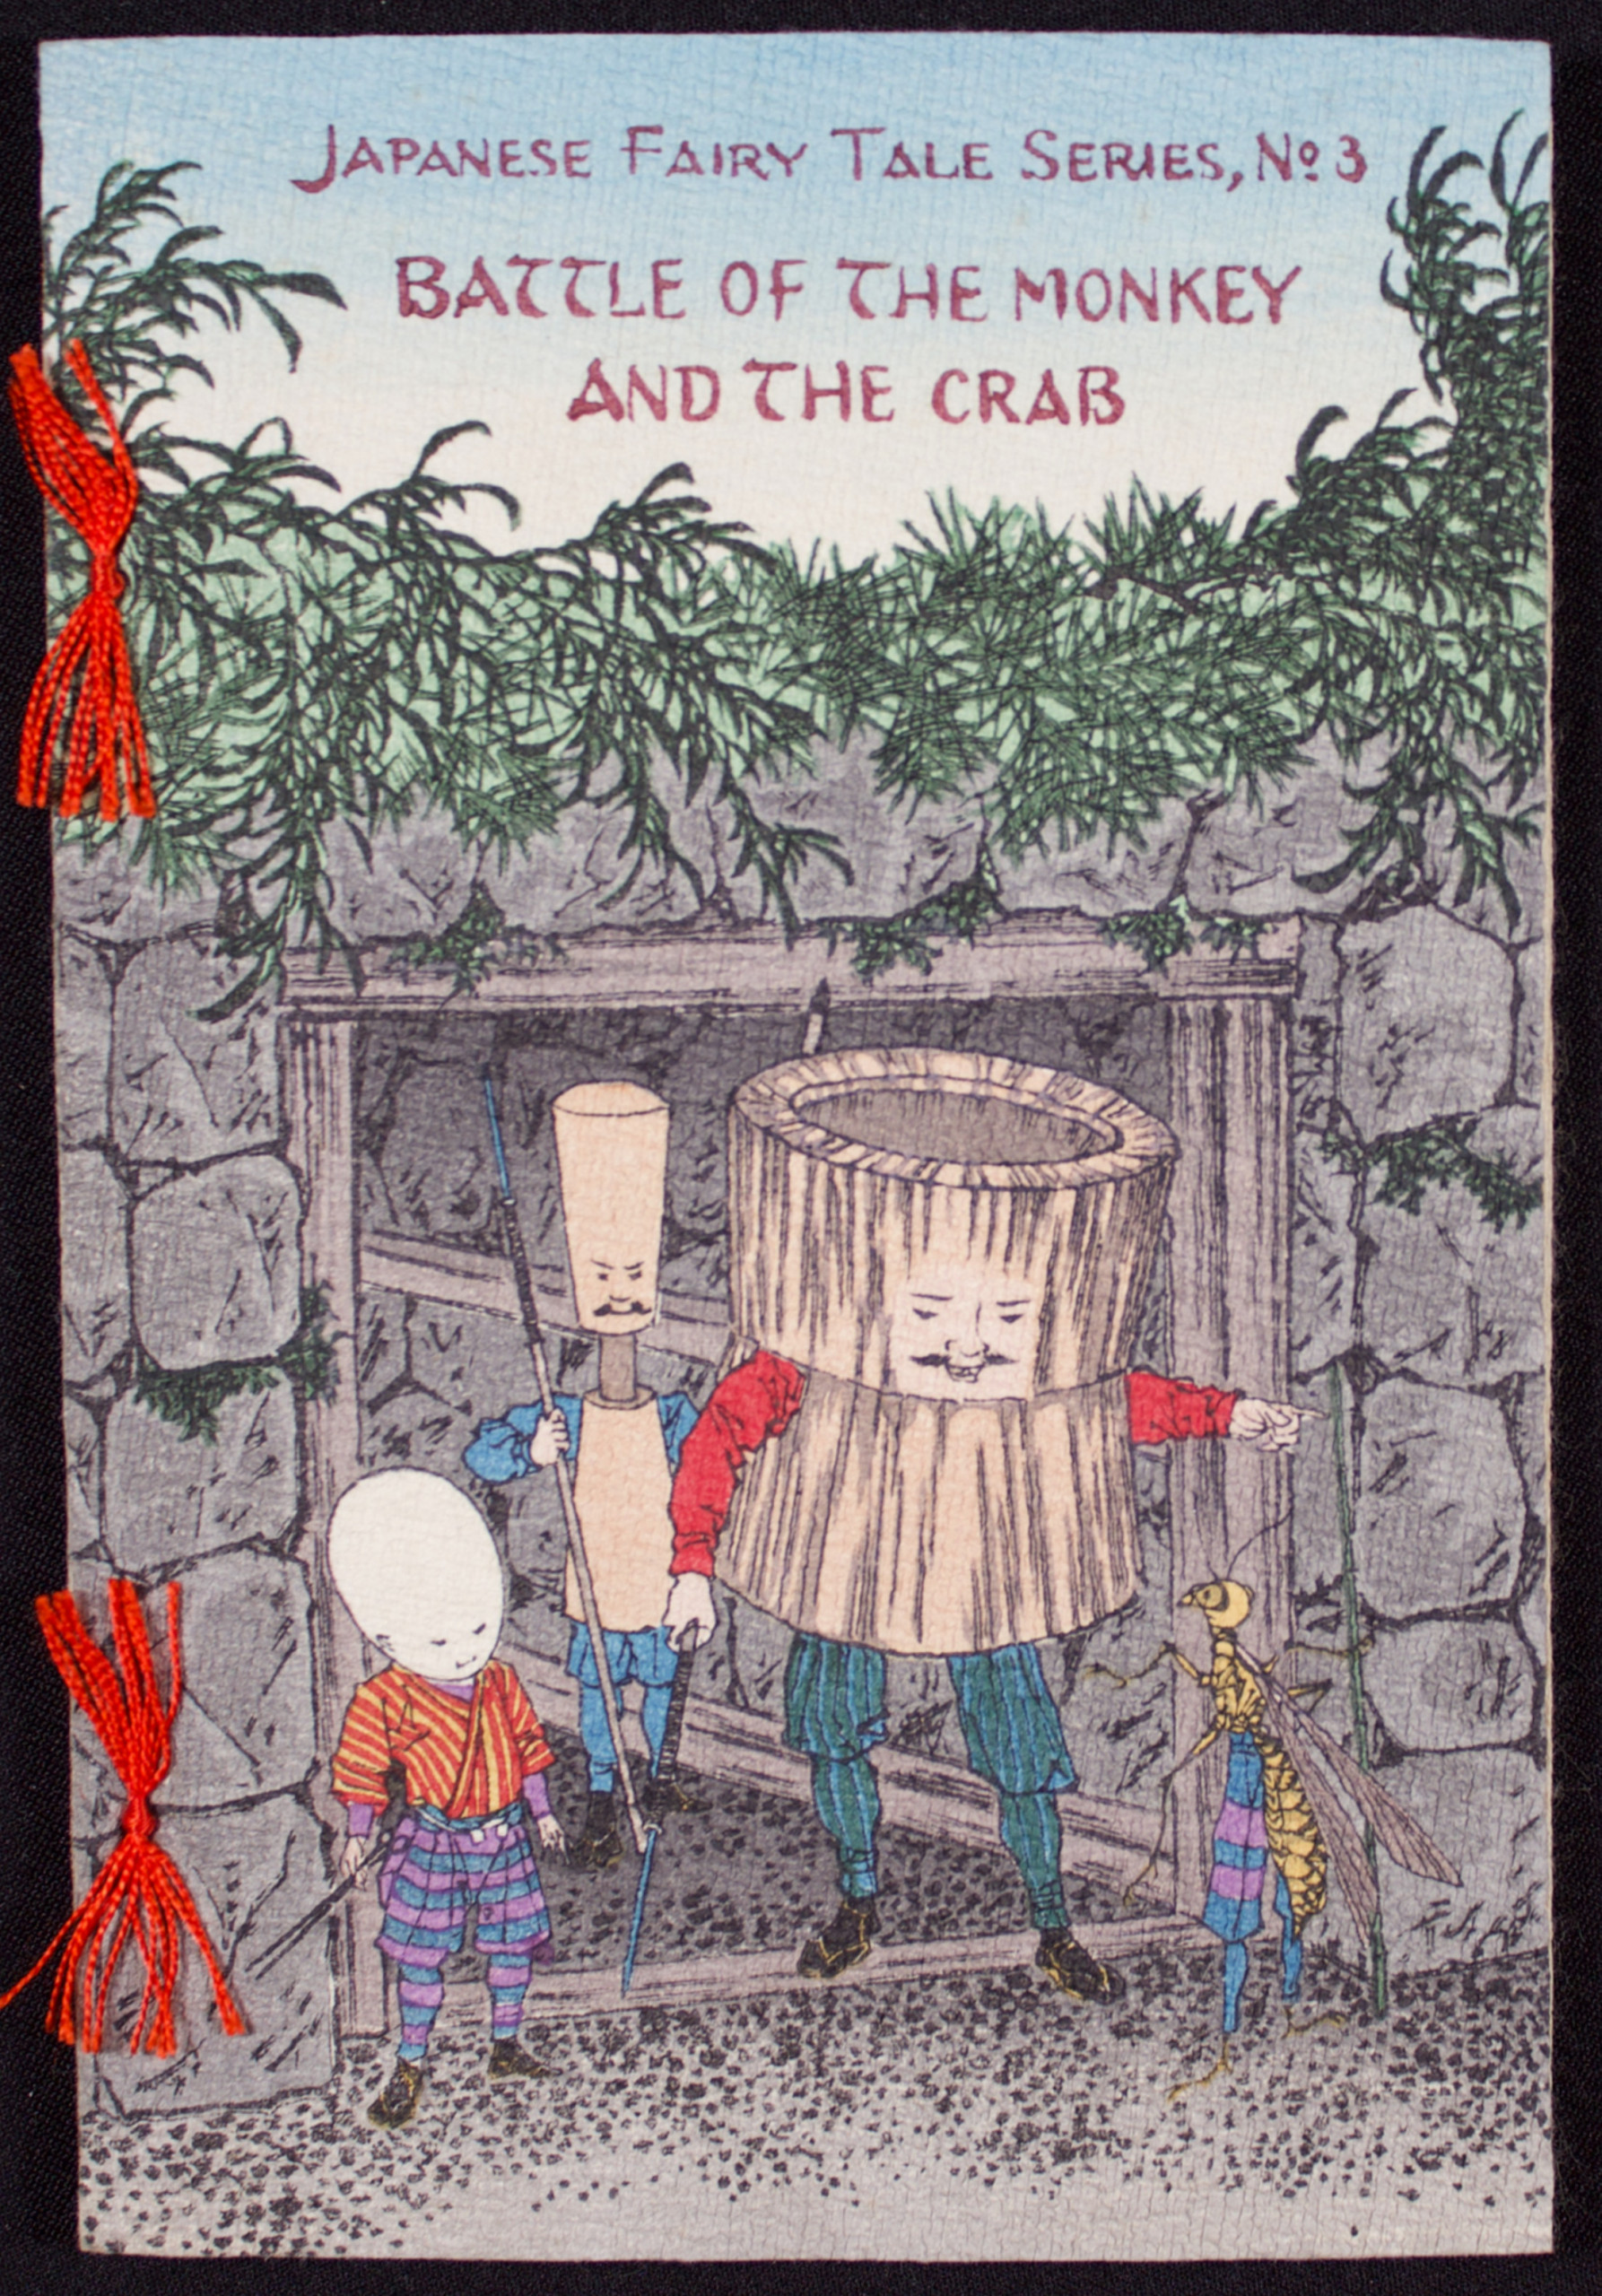
When you first pick up a crepe-paper book, one of the first things you’ll notice beyond the unique style of binding and paper's texture, is the the variety of incredible illustrations present within each story. The woodblock printing methods used in comprising pictures for each of Hasegawa's fairy tales is a key feature of the chirimen-bon both aesthetically and historically. Besides having specific artwork that any reader can appreciate, the process of woodblock printmaking, known as mokuhanga in Japan, involved many different individual artisans. From conceptual artists to skilled woodcarvers, master colorists to expert printers, the story of a single woodblock print changes more than half a dozen hands before its overall completion. Afterwards, these works can later be included as supplementary images in published books such as Hasegawa's fairy tale series. After first discovering that each of these books included such wonderful works of art, I was eager to try my hand at reproducing a specific woodblock illustration to better understand the entirety of the traditional Japanese woodblock printing process. What follows is my exploration in the various methods and means of mokuhanga!
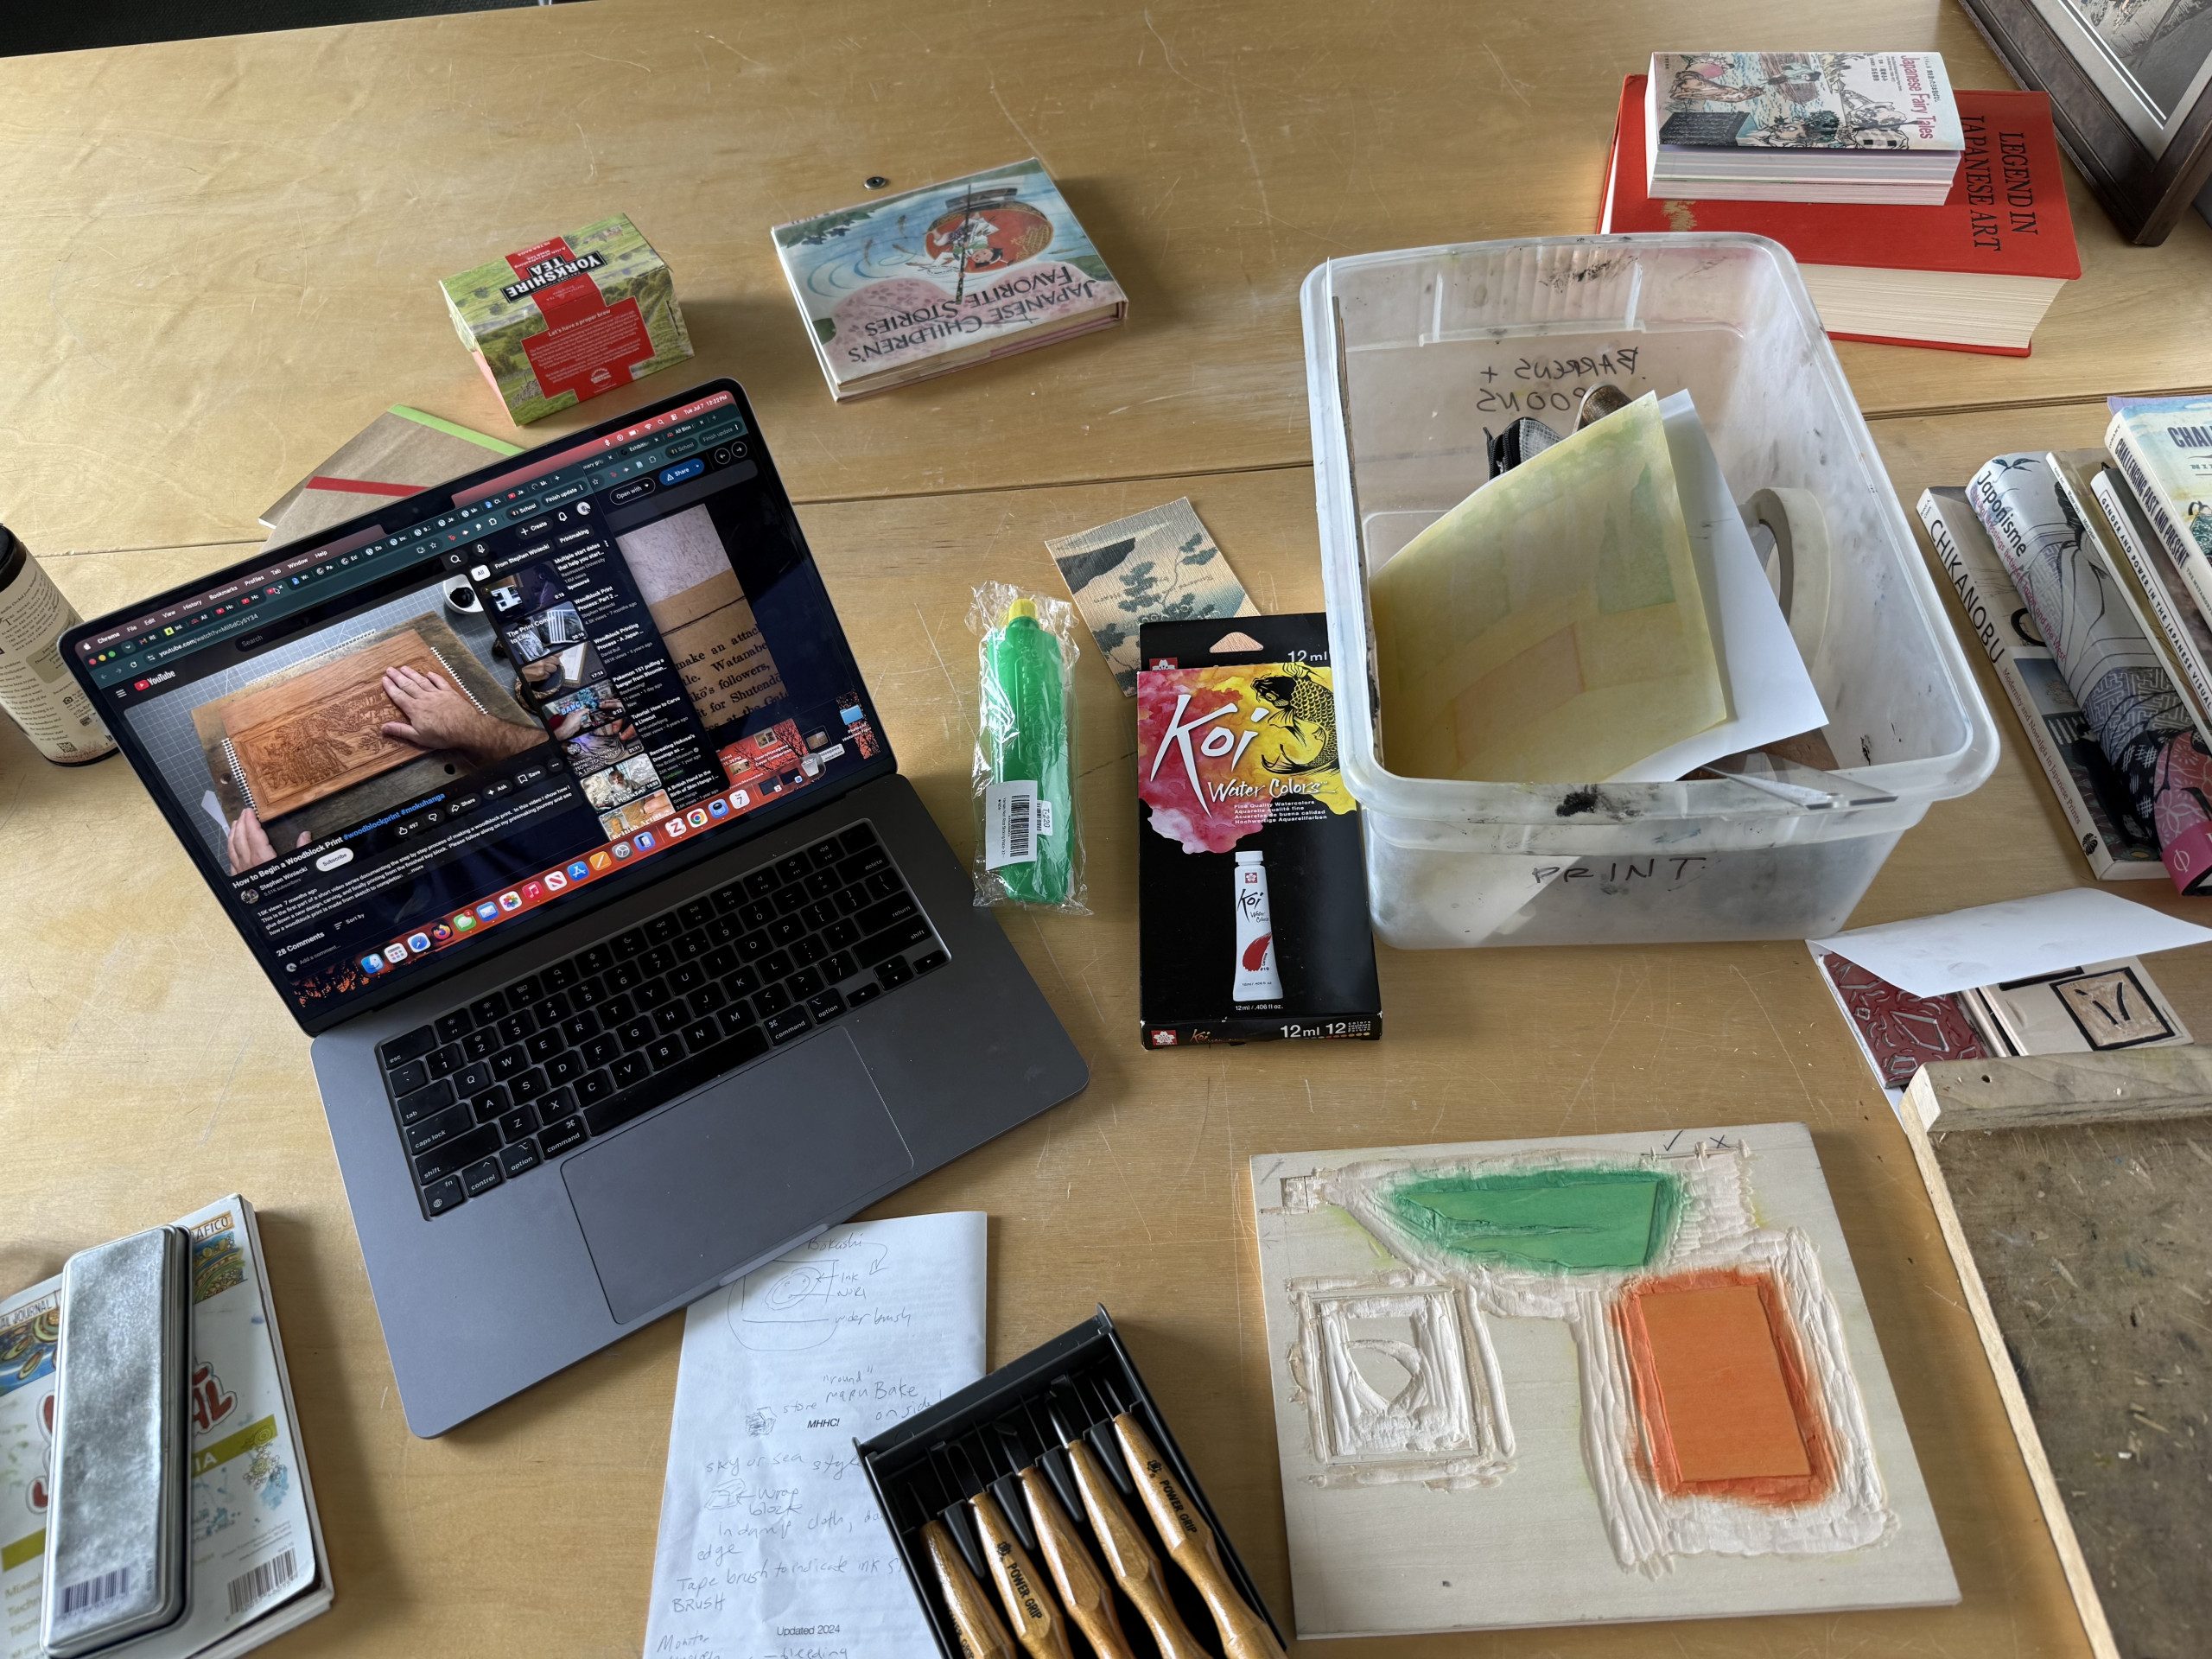
Learning the mokuhanga process within our workspace! Pictured here are the carving tools, rice paste, water-based inks, sketchbook and notepad, portable carving bench, and laptop for inspiration.
First Steps
After sourcing each of the materials, I simply began carving! Although I had a couple ideas for what I wanted to do for my final illustration, I thought it would be best to just try and experiment with carving the woodblocks before I went straight into my final design. And I am definitely glad that I did so! Although I have some experience in intaglio printmaking, both Western-style relief and Japanese-style mokuhanga requires an individual to cut away at a piece of wood, removing every area that you do not wish to printed with a specific color. After you have carved your design into the woodblock and are ready to print with a certain type of ink or pigment, if carved correctly your paper will only register the highest areas of the wood, leaving all other areas of the image blank. You also have to consider that your final image will be reversed onto your paper when printed, resulting in a "mirrored image" for your final illustration. With all of this in mind, you have to be very conscientious when approaching woodblock printmaking, as there are many steps and processes that are different than traditionally drawing or painting onto a blank page of paper.
After I finished my initial carving practice, I began my preliminary printing process. In mokuhanga, an image is transferred onto a piece of paper not by a printing press, but by hand. By using a handheld disk tool called a baren, an artist rubs paper into the inked woodblock, picking up the pigment that is placed on top of the wood. For this process, you have to consider the optimal amount of pigment you place onto the woodblock, as well as the amount of pressure that you apply using the baren so that all of the ink is transferred properly. You also have to make sure that your wood has been wetted with water before printing, as a dry woodblock will not properly transfer your pigment onto the paper. This is also where the last piece of the puzzle, the rice paste, comes in. When printing, you have to maintain a delicate balance between the damp piece of wood and a proper mixture of ink, rice paste, and water, as well as the pressure when using the baren to make sure that your final image has a uniform application of ink with no unnecessary splotches, dry spots, or print markings.
Materials
The first step was an important one: securing the materials necessary to create the woodblock print. I am extremely grateful to both of my professors, Christina Spiker and Anda Tanaka, who helped to source a variety of woodblock and engraving tools to complete the print. I first began on experimenting on spare pieces of wood with tools used primarily for wood relief, a more Western style of carving that also uses relief as a form of printmaking. From there, our team was able to obtain a Japanese-style woodcarving tool set, along with new wood planks, rice paste, and watercolor paints to be used throughout the mokuhanga process. The wood we specifically sourced was from McClain's Printmaking Supplies, one of the foremost suppliers of Japanese woodblock printmaking tools within the United States. We opted for 3 blocks of Shina plywood, a sturdy type of basswood that was relatively inexpensive but can still be carved and printed on either side of the block. Historically, Japanese carvers used wild mountain sakura cherry wood to complete their woodblocks due to its durability and optimal printing characteristics, but for contemporary artists such quality wood is not readily available or obtainable.
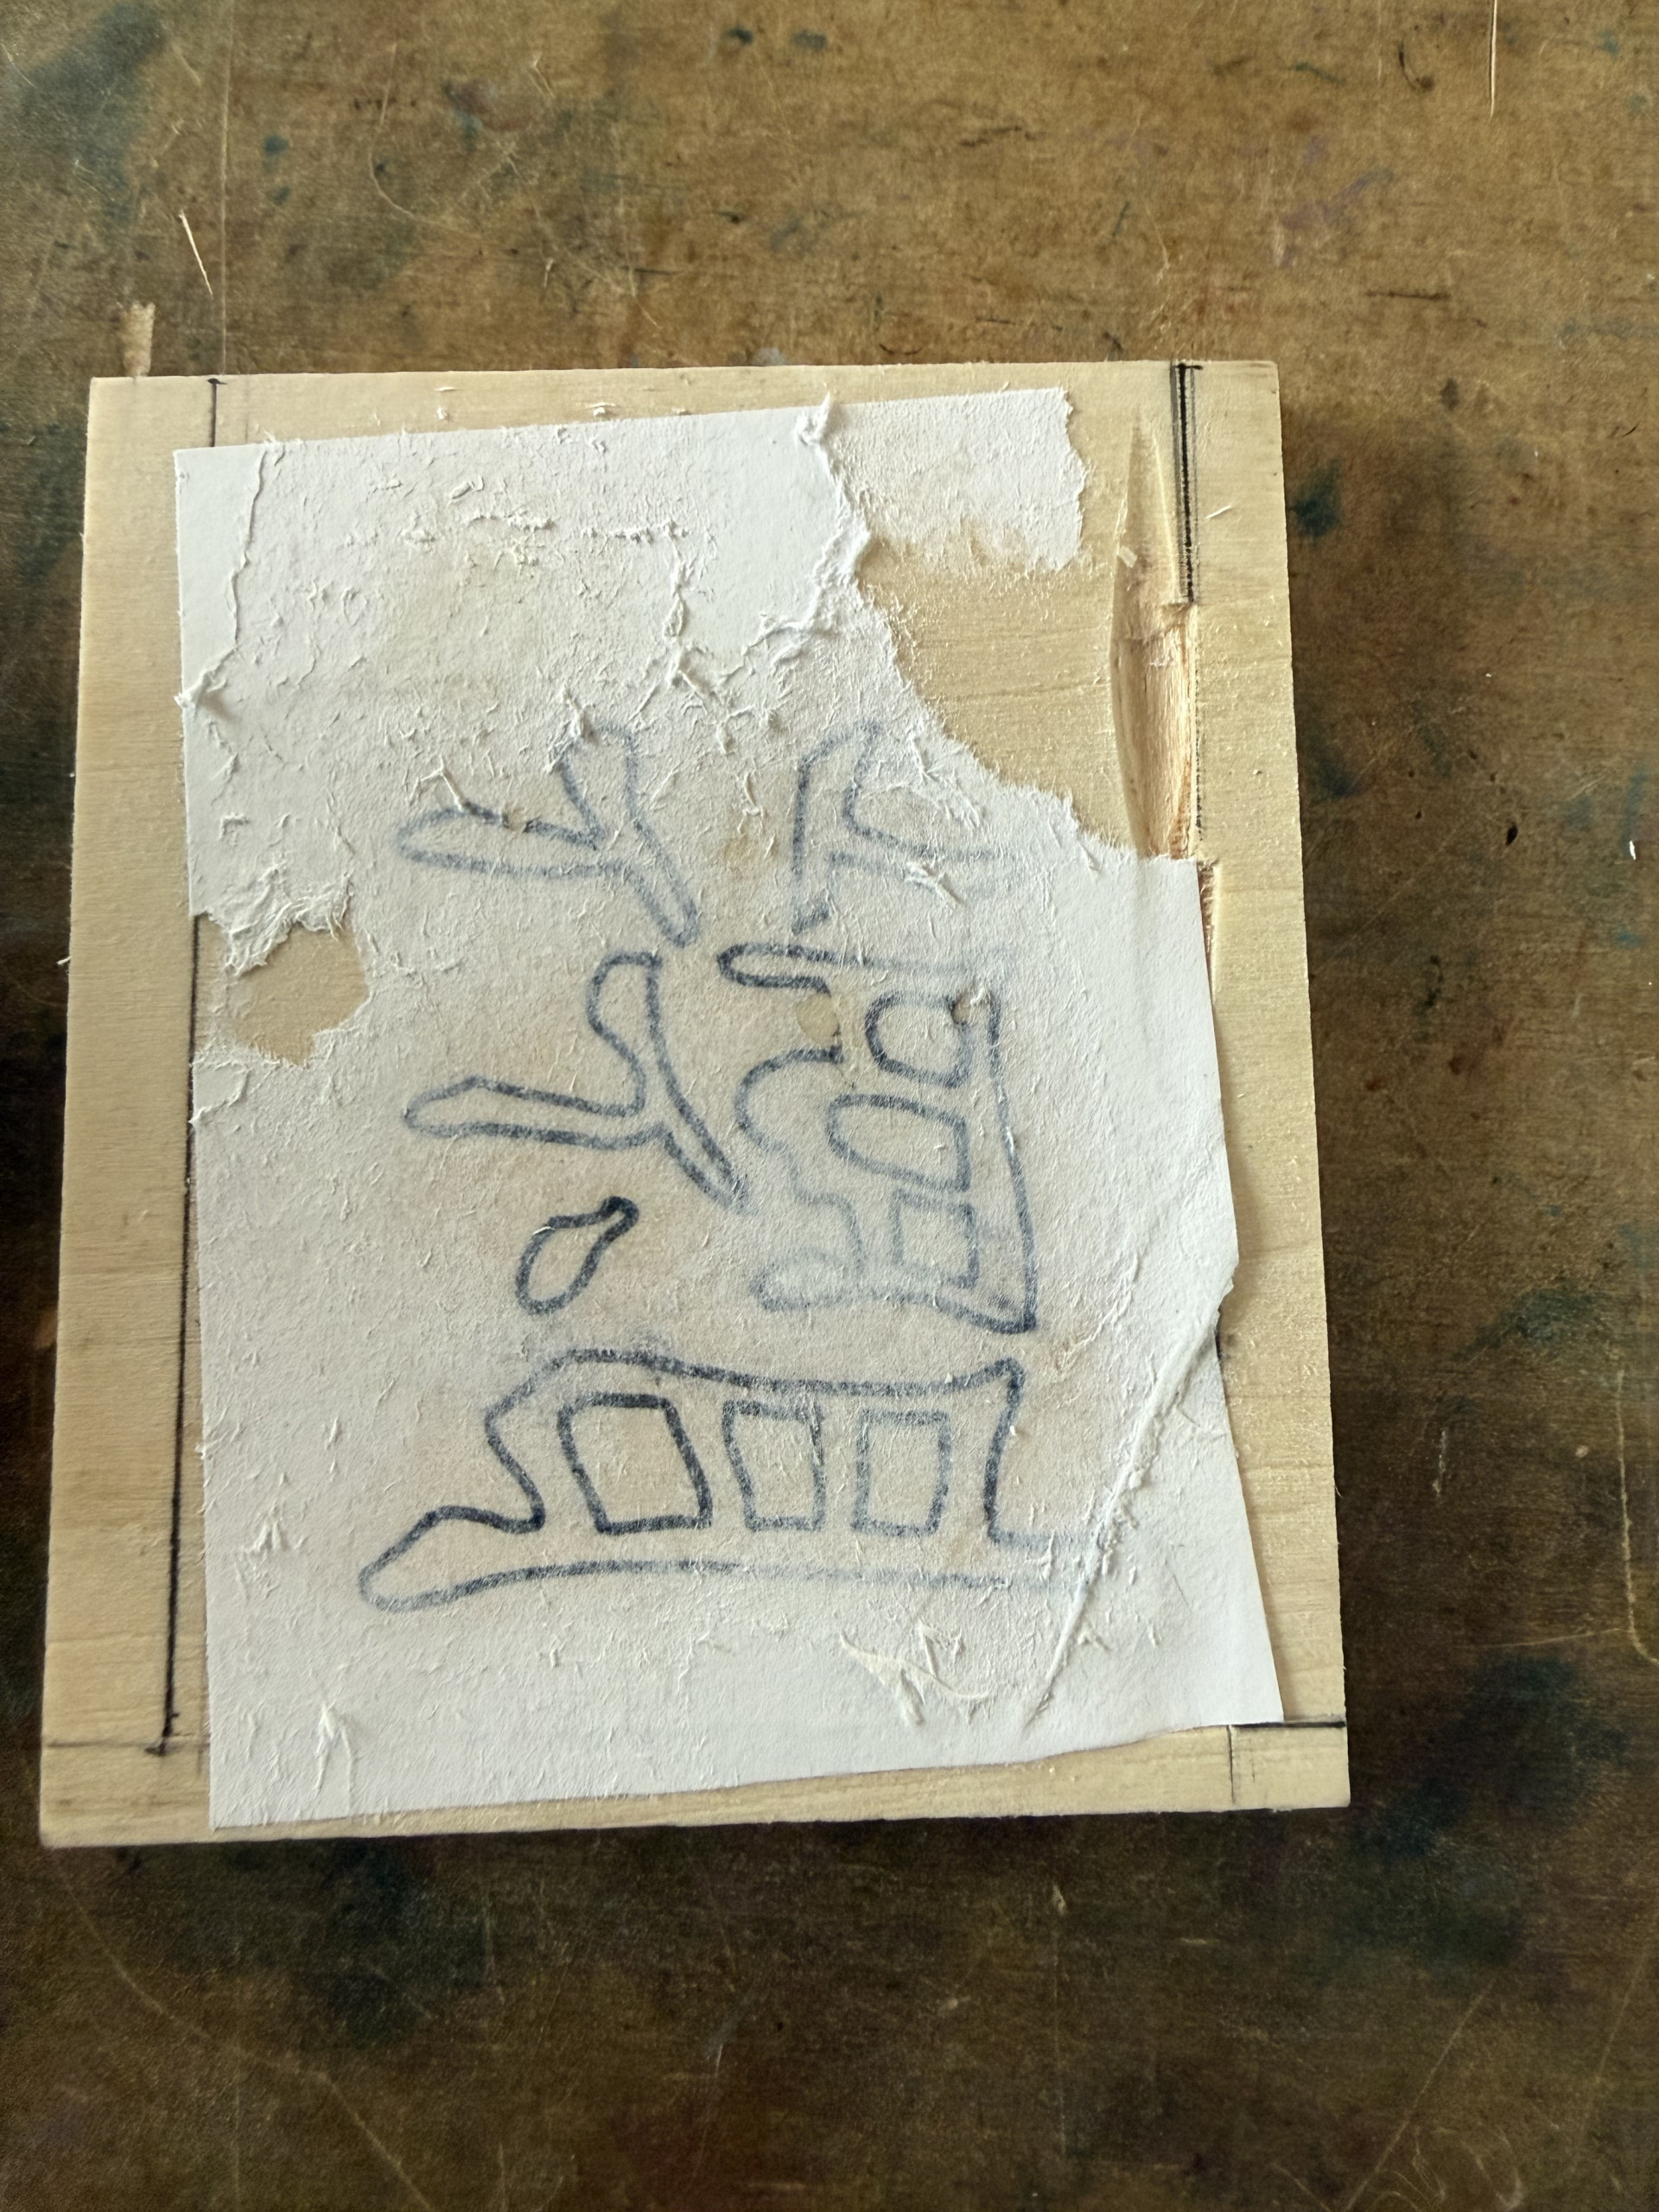
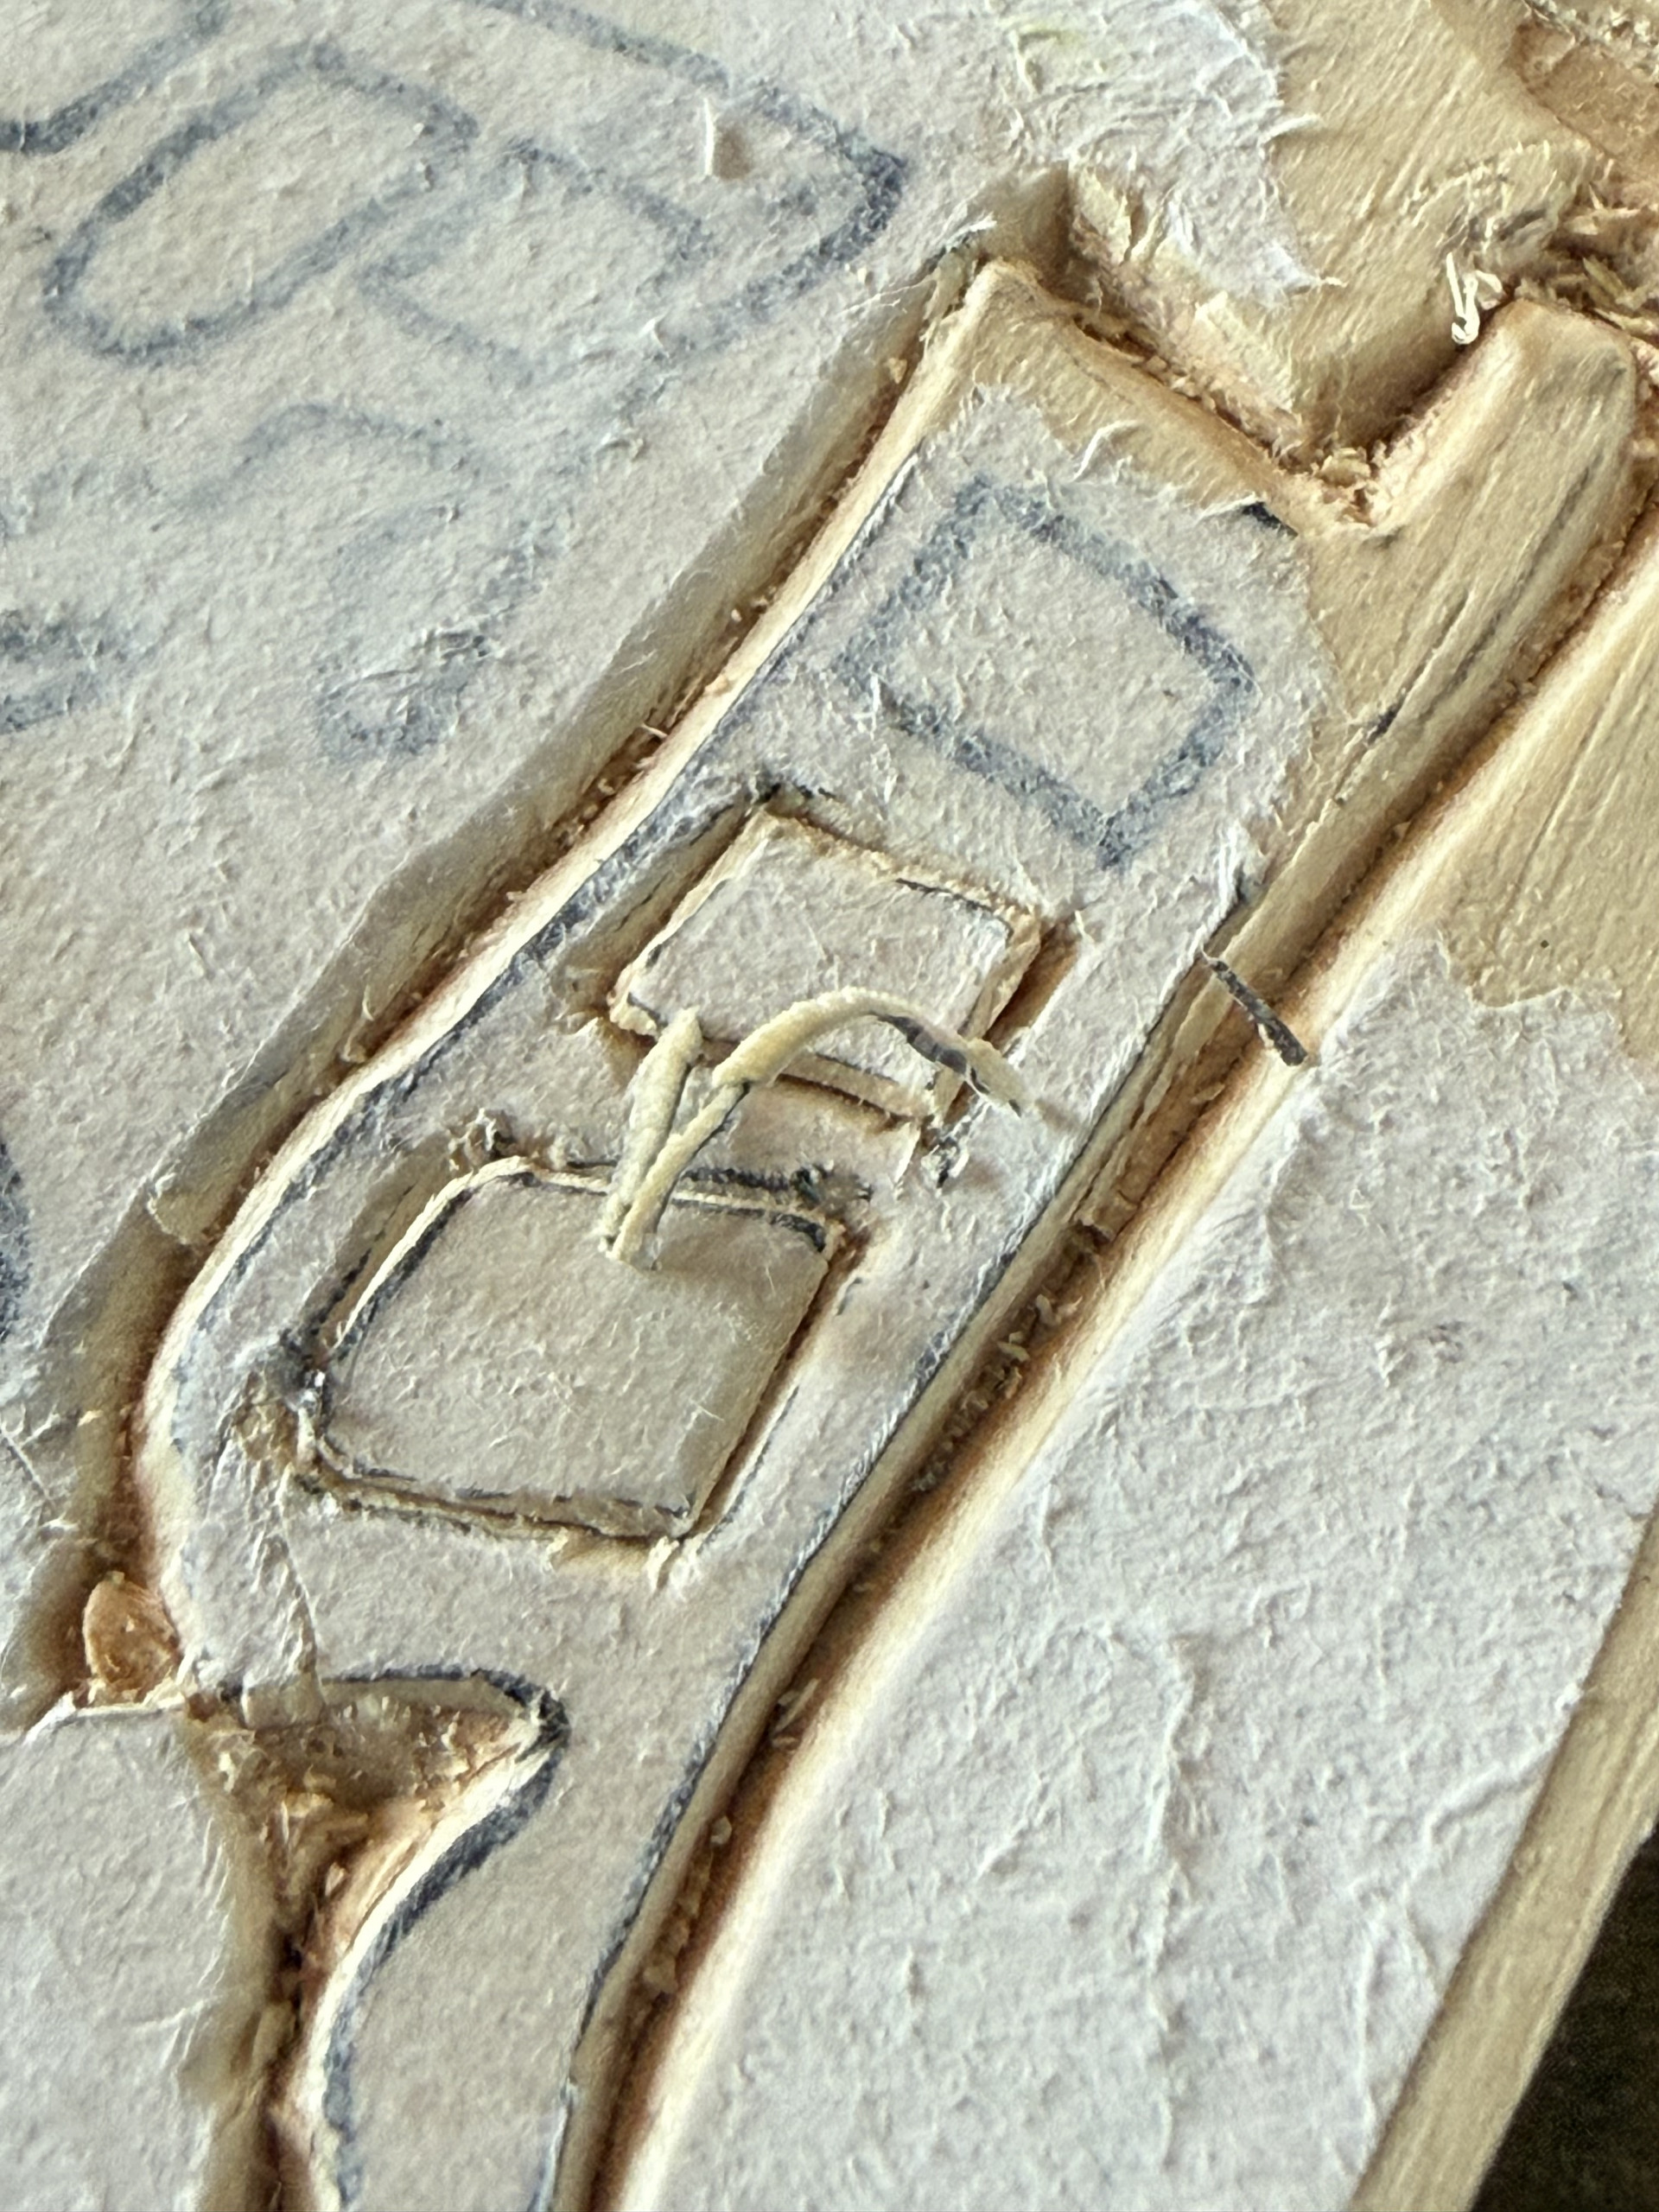
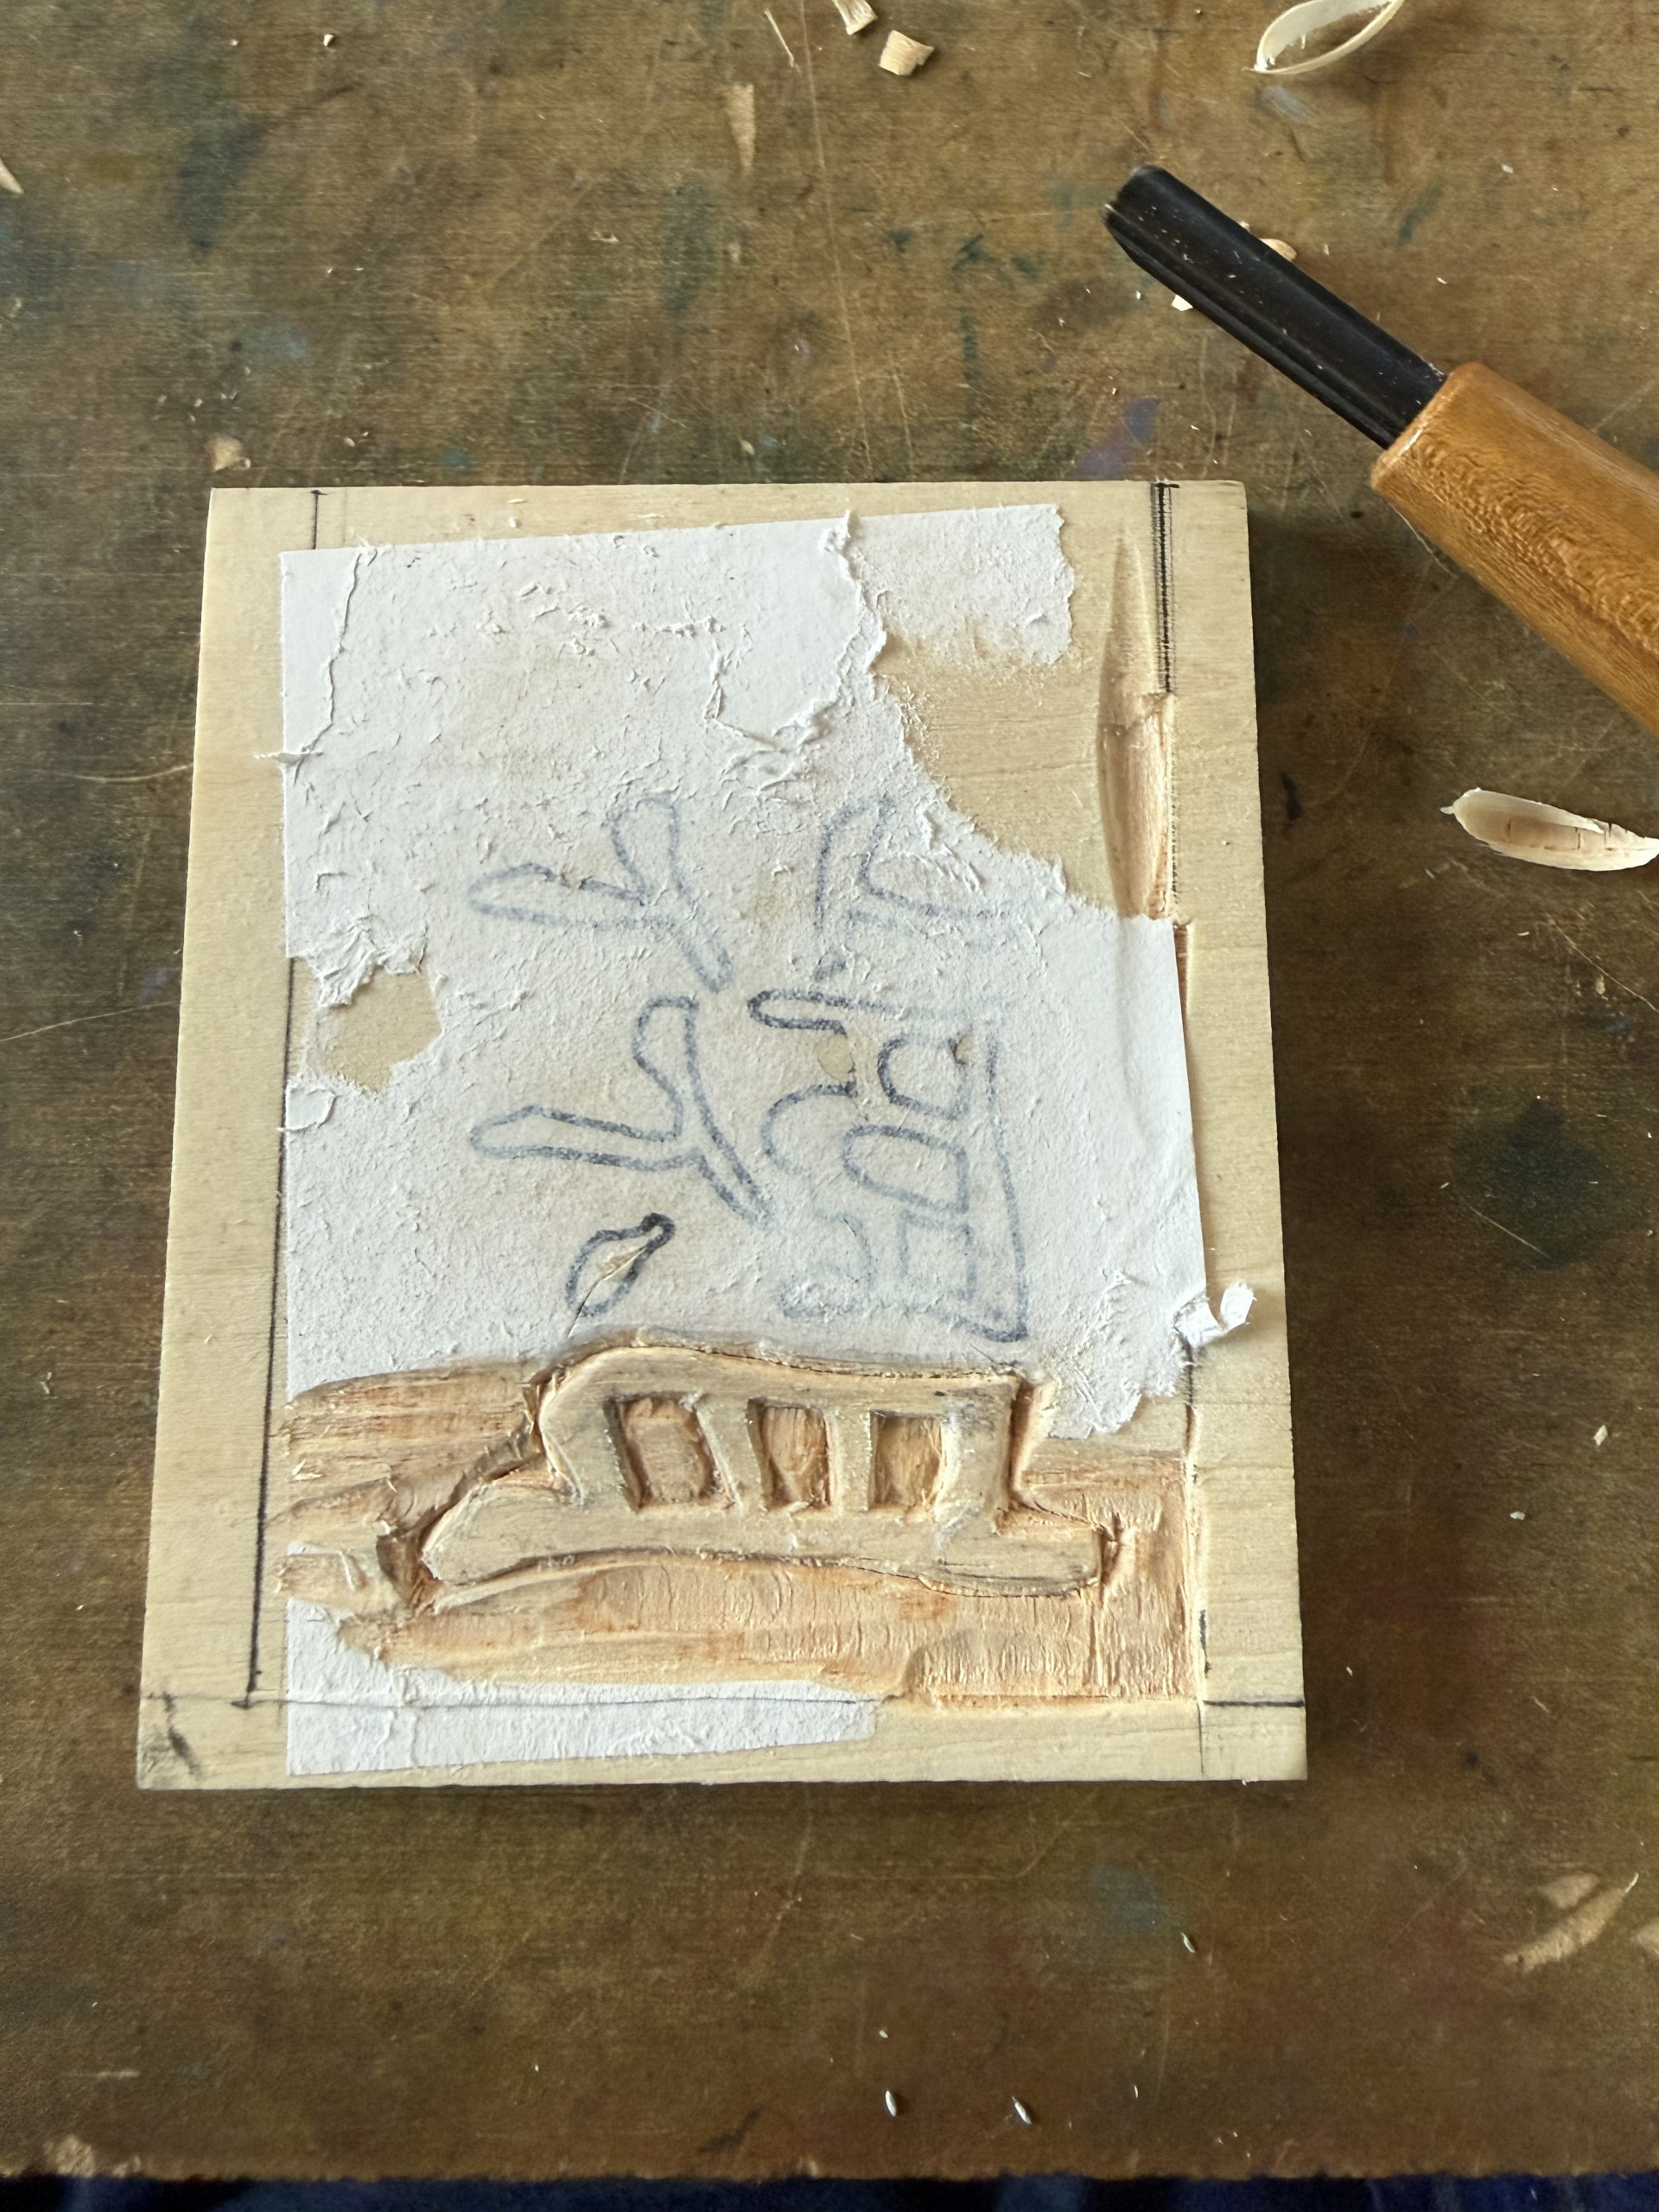
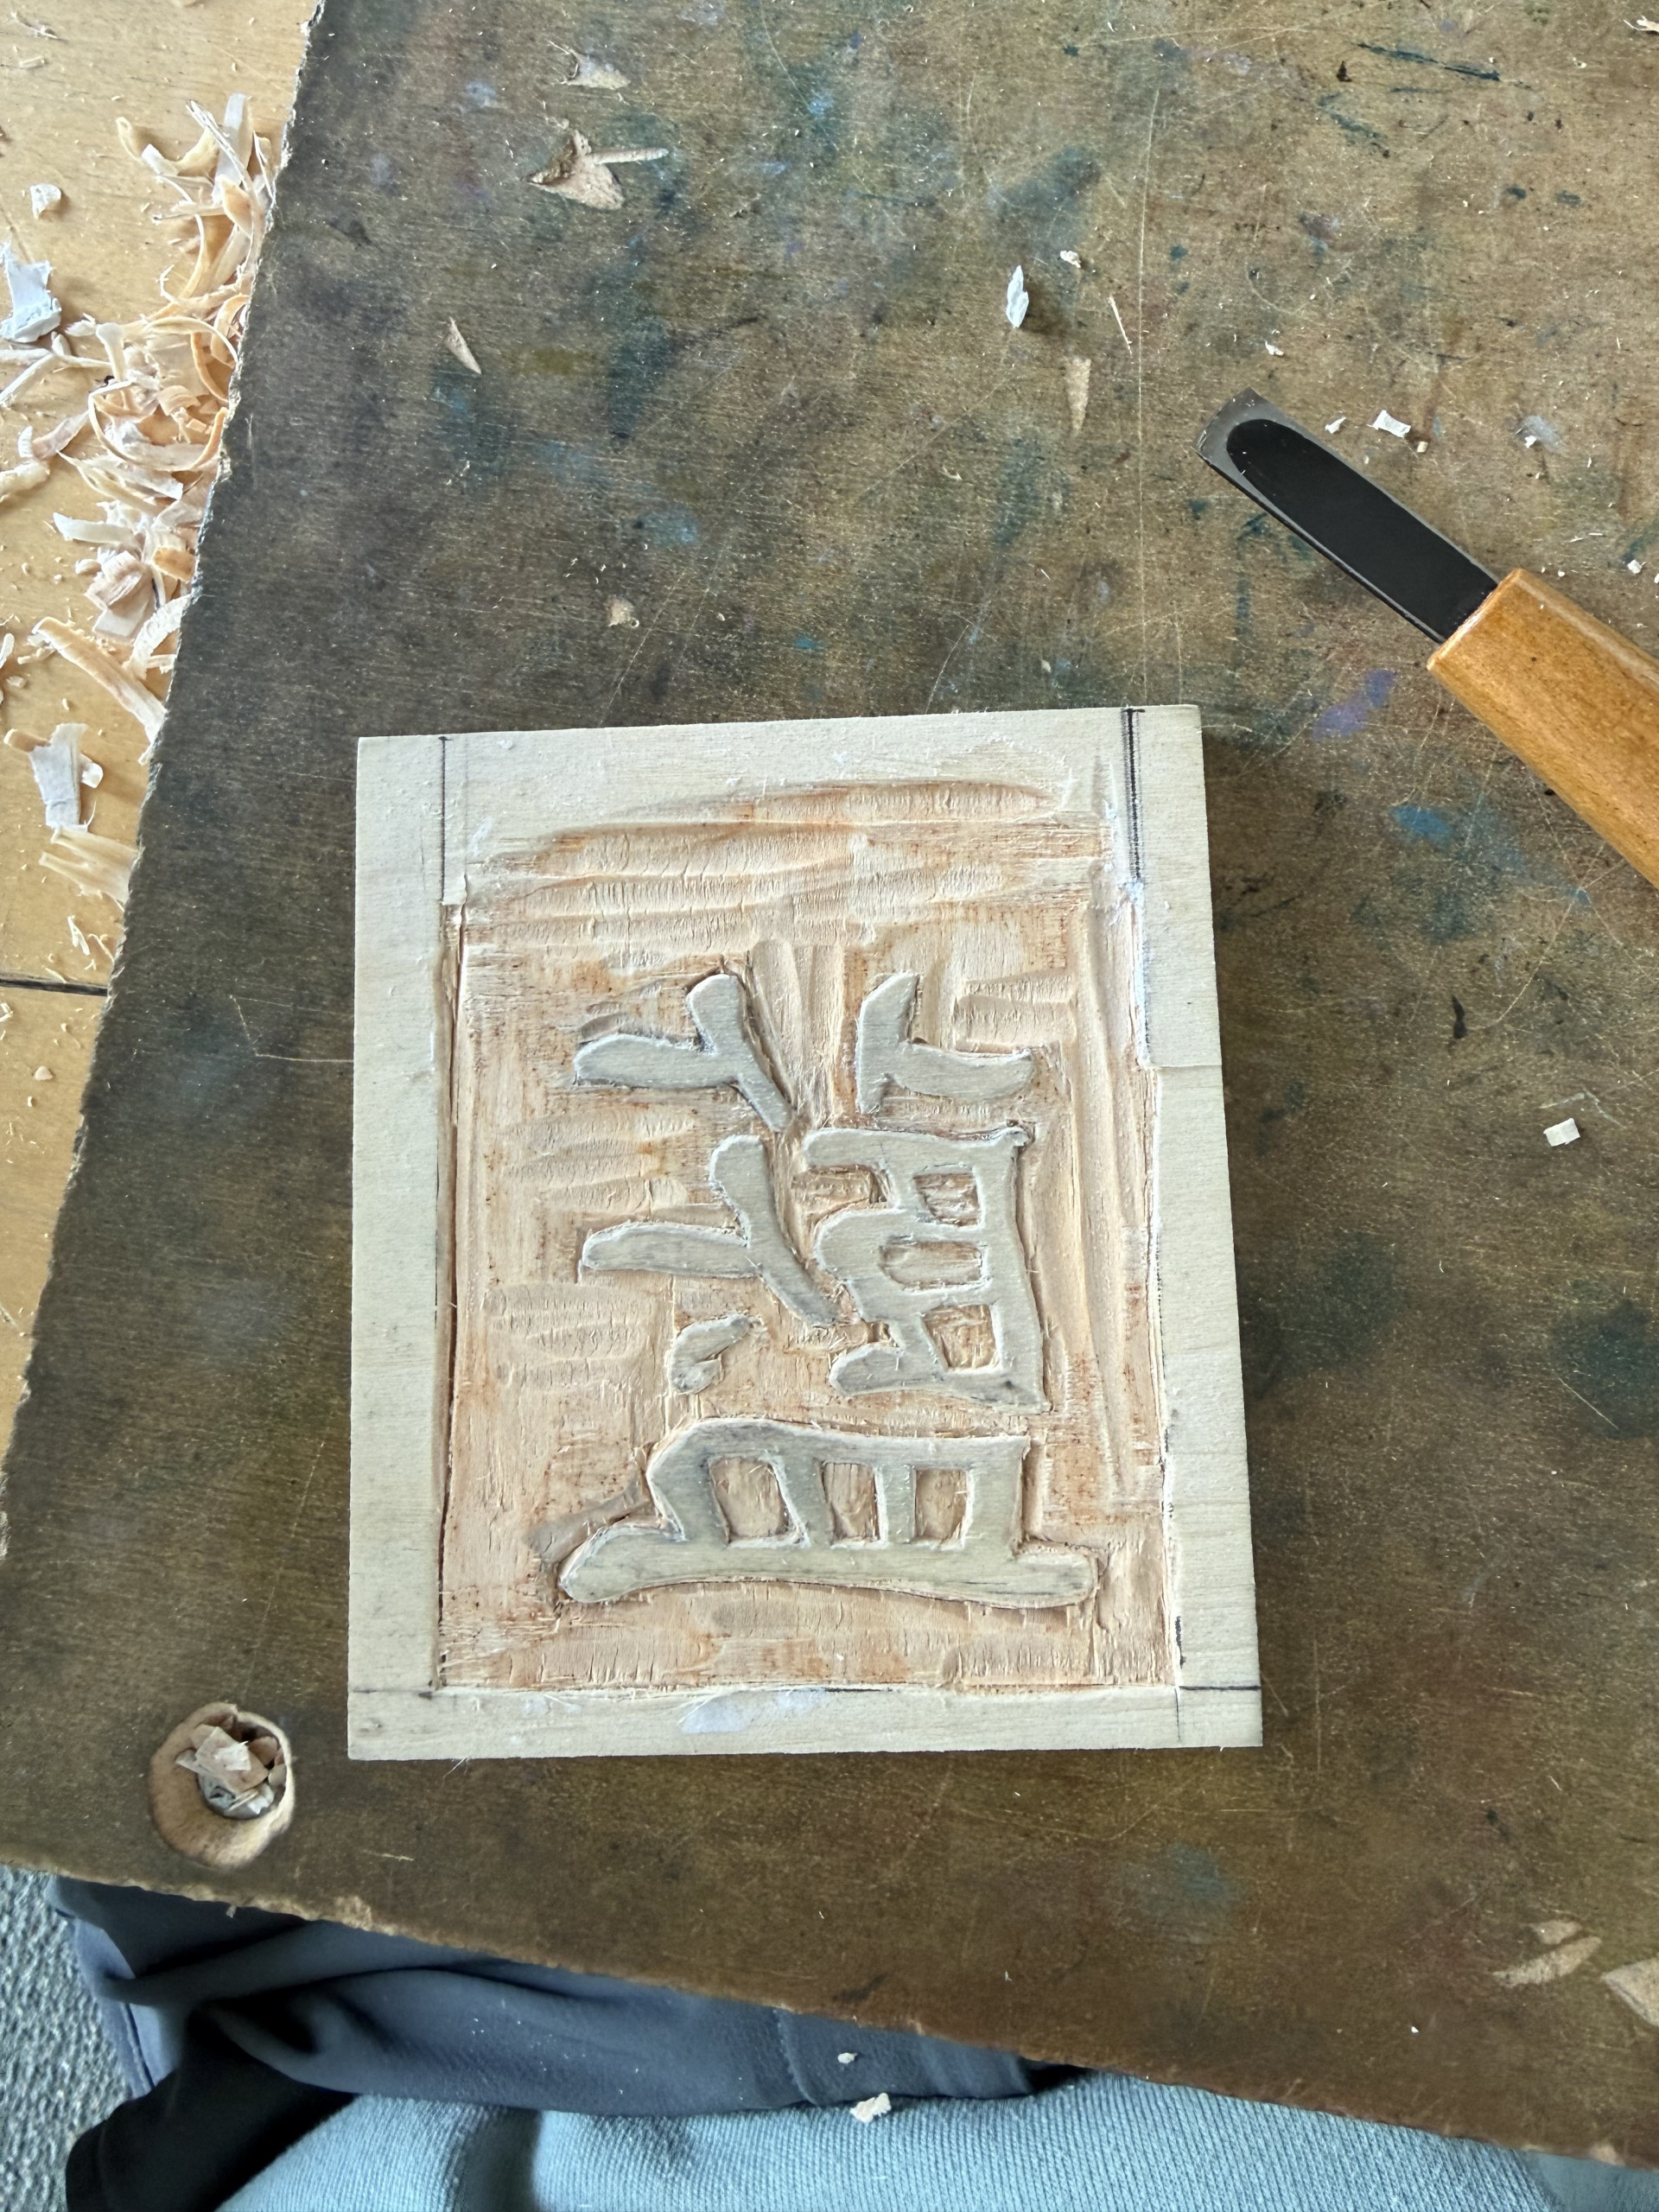
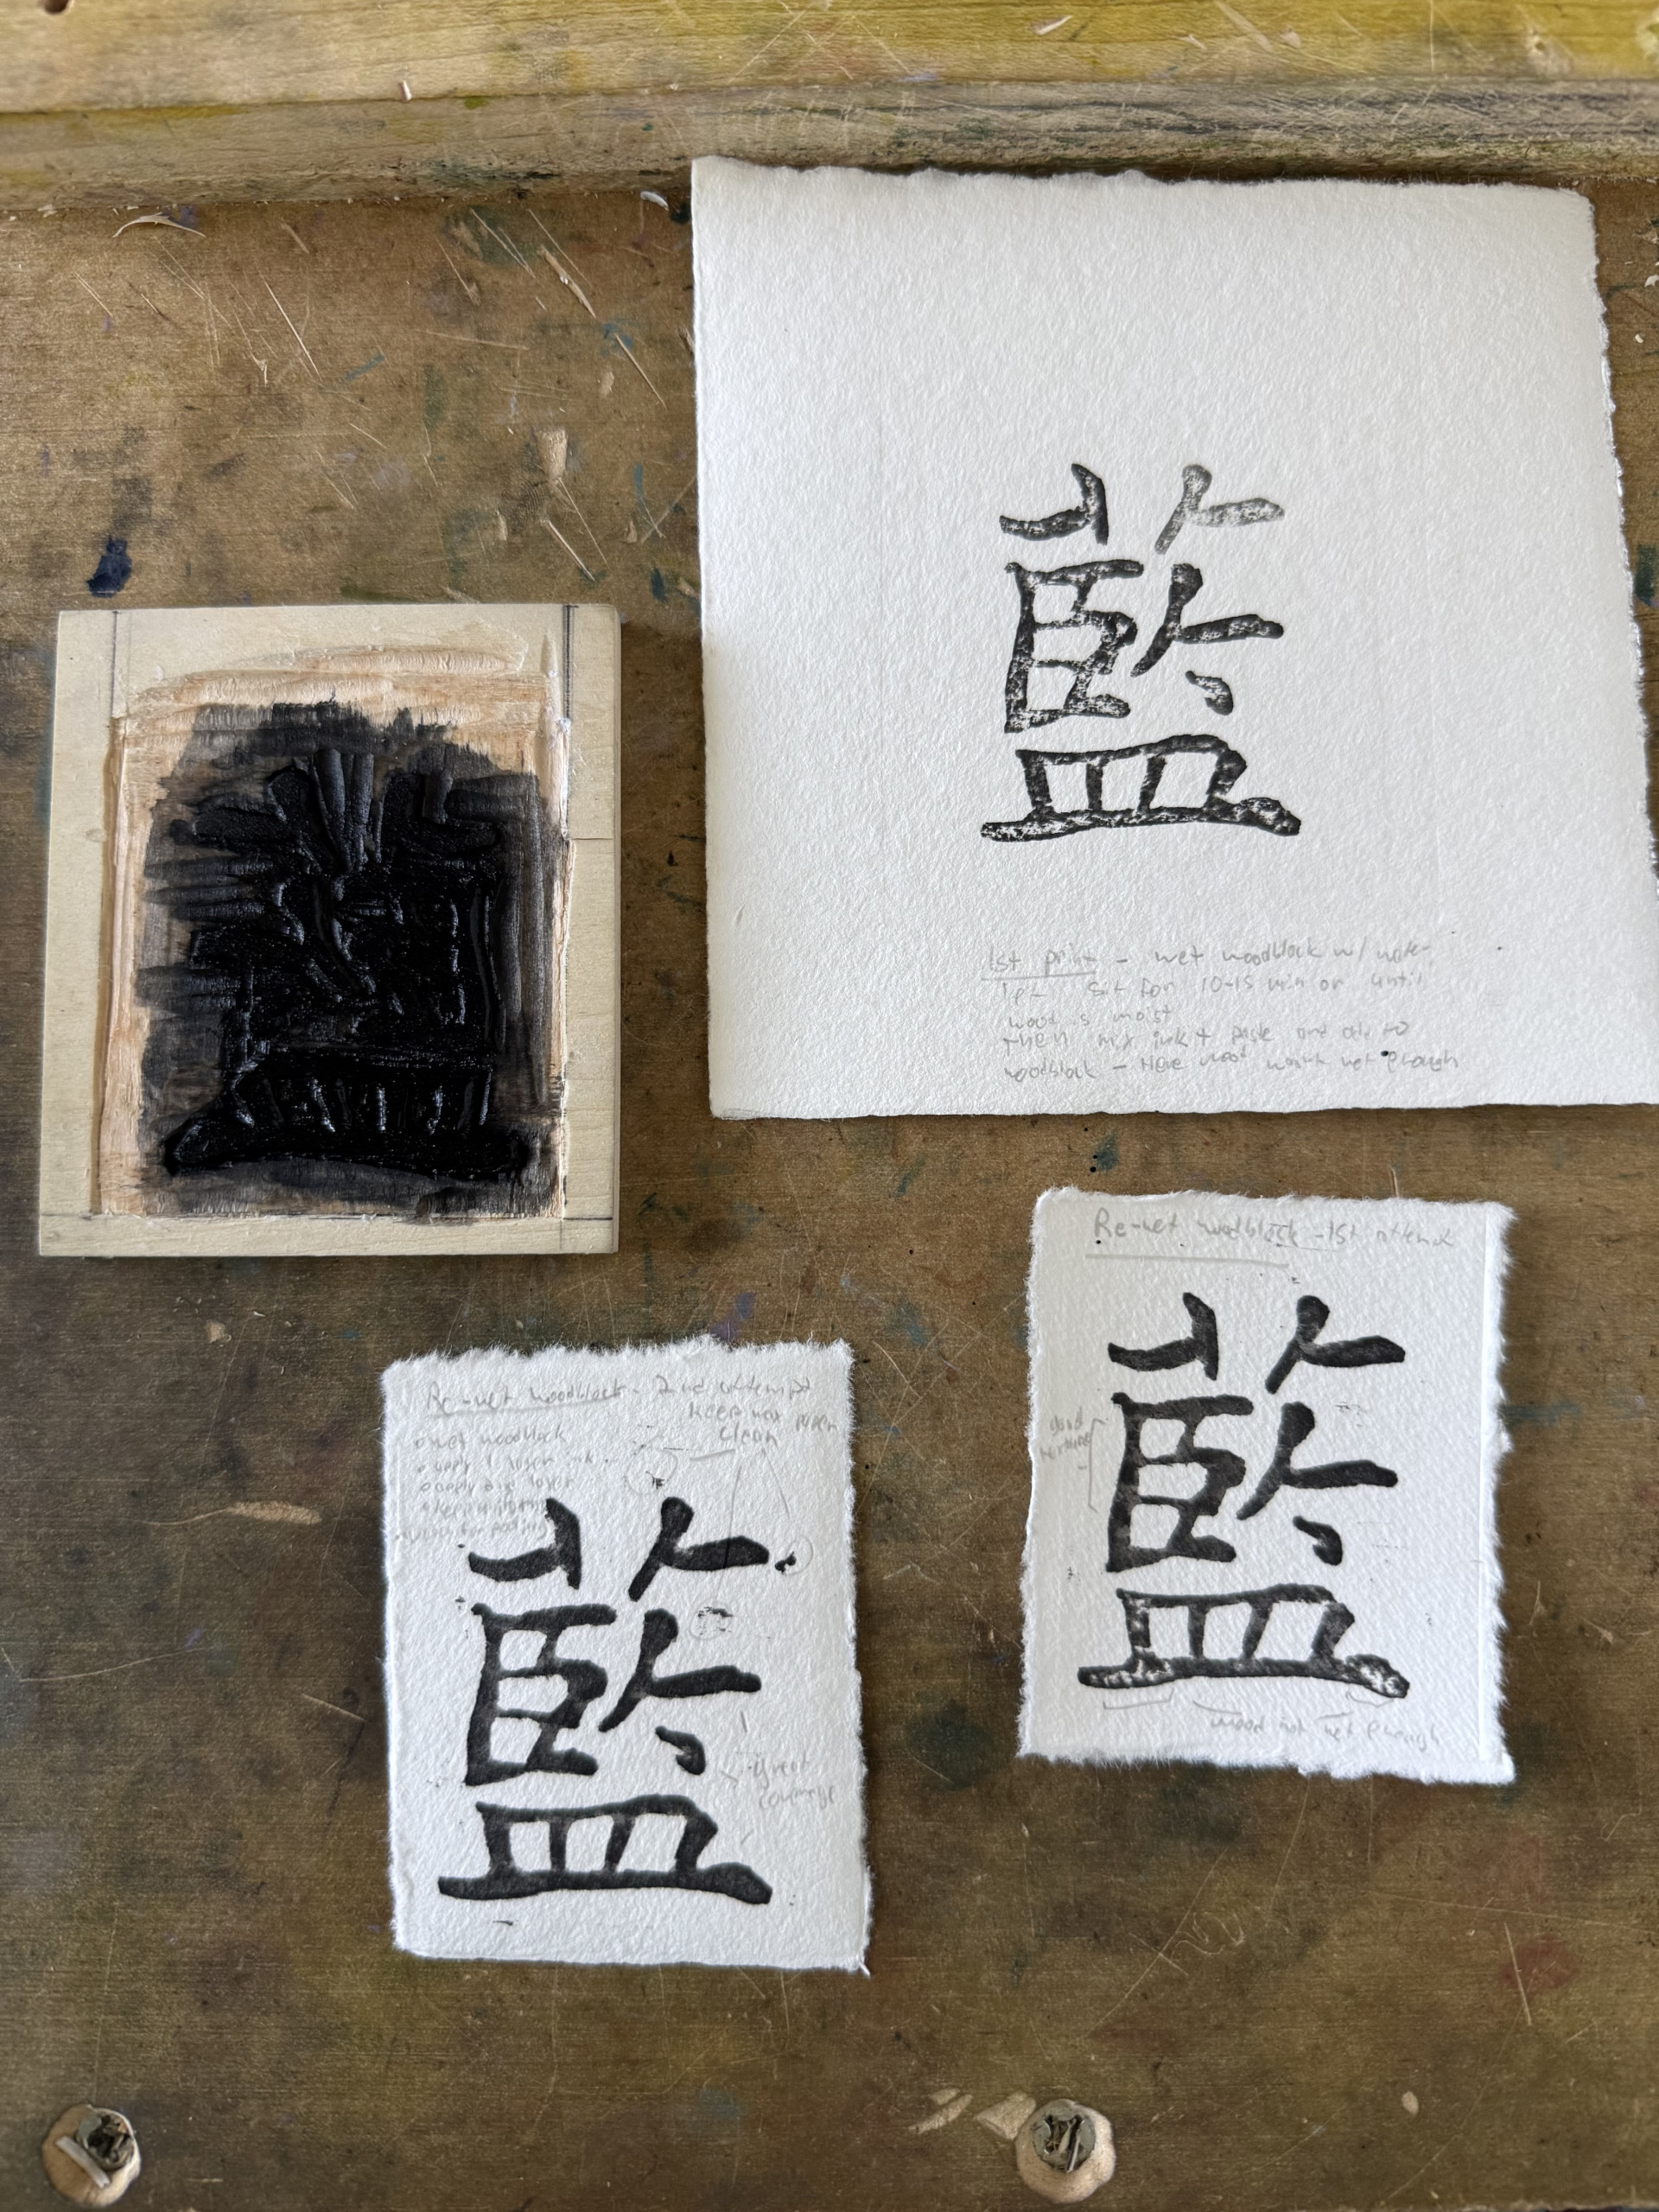
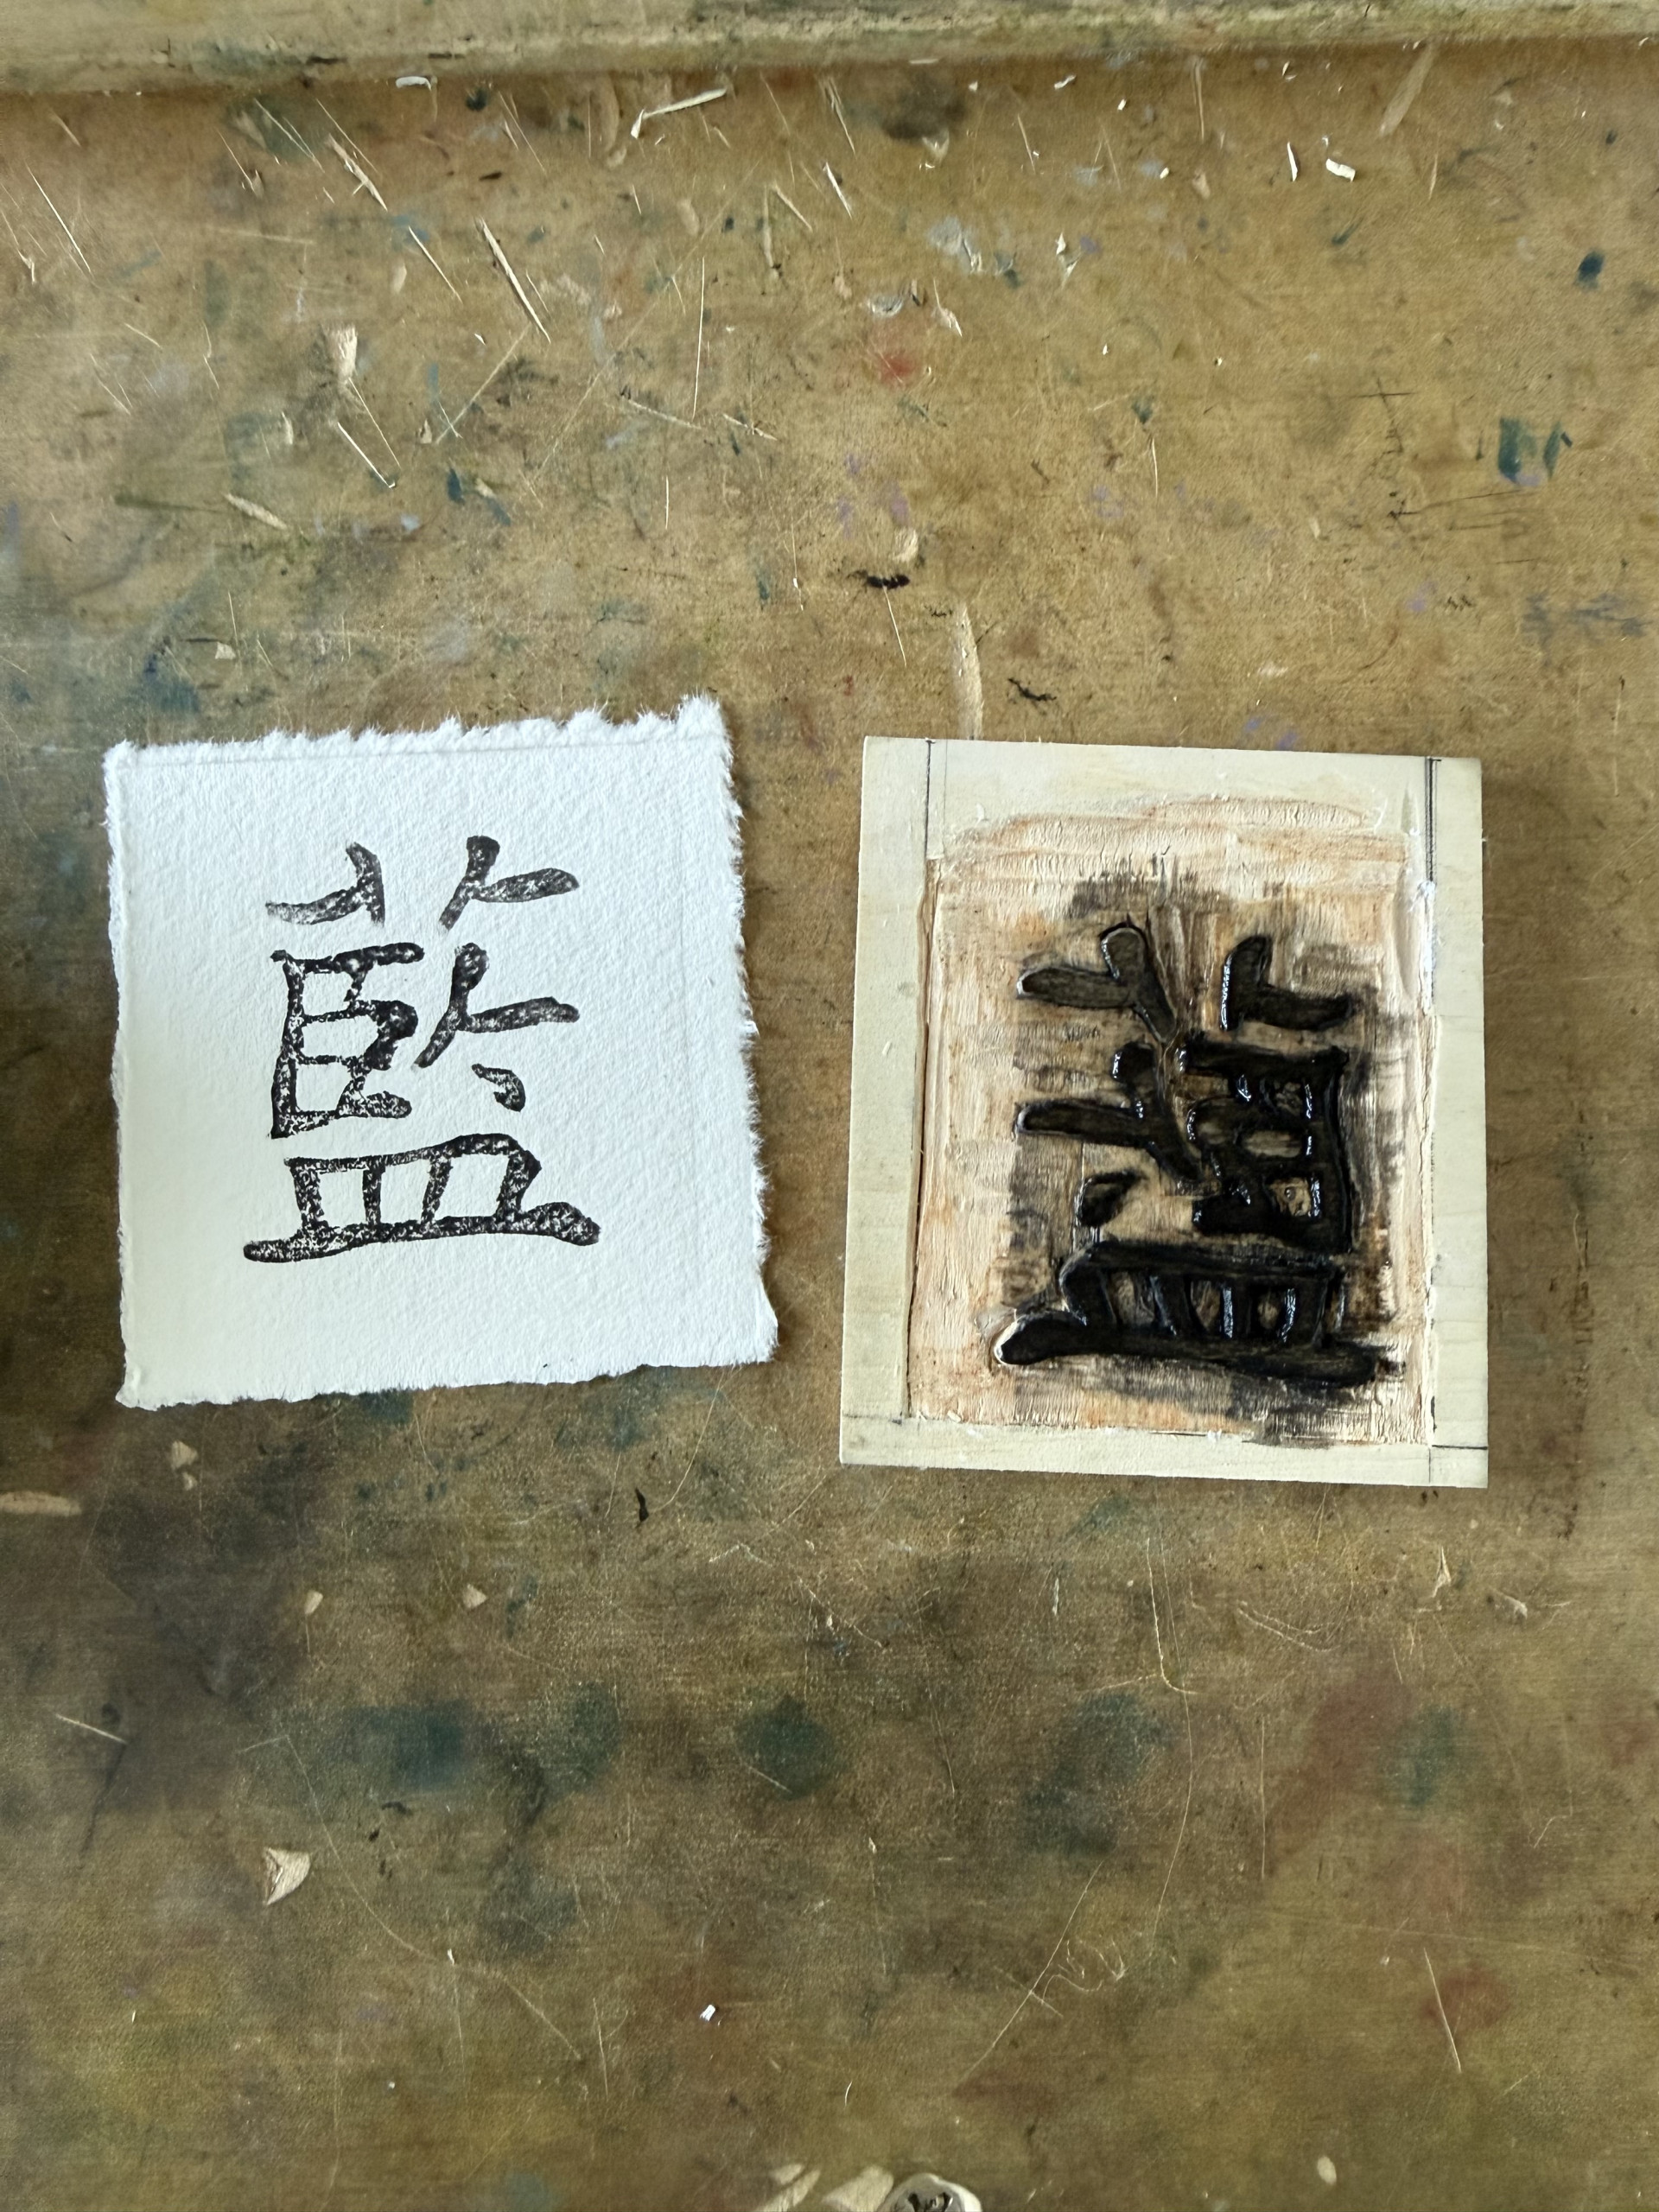
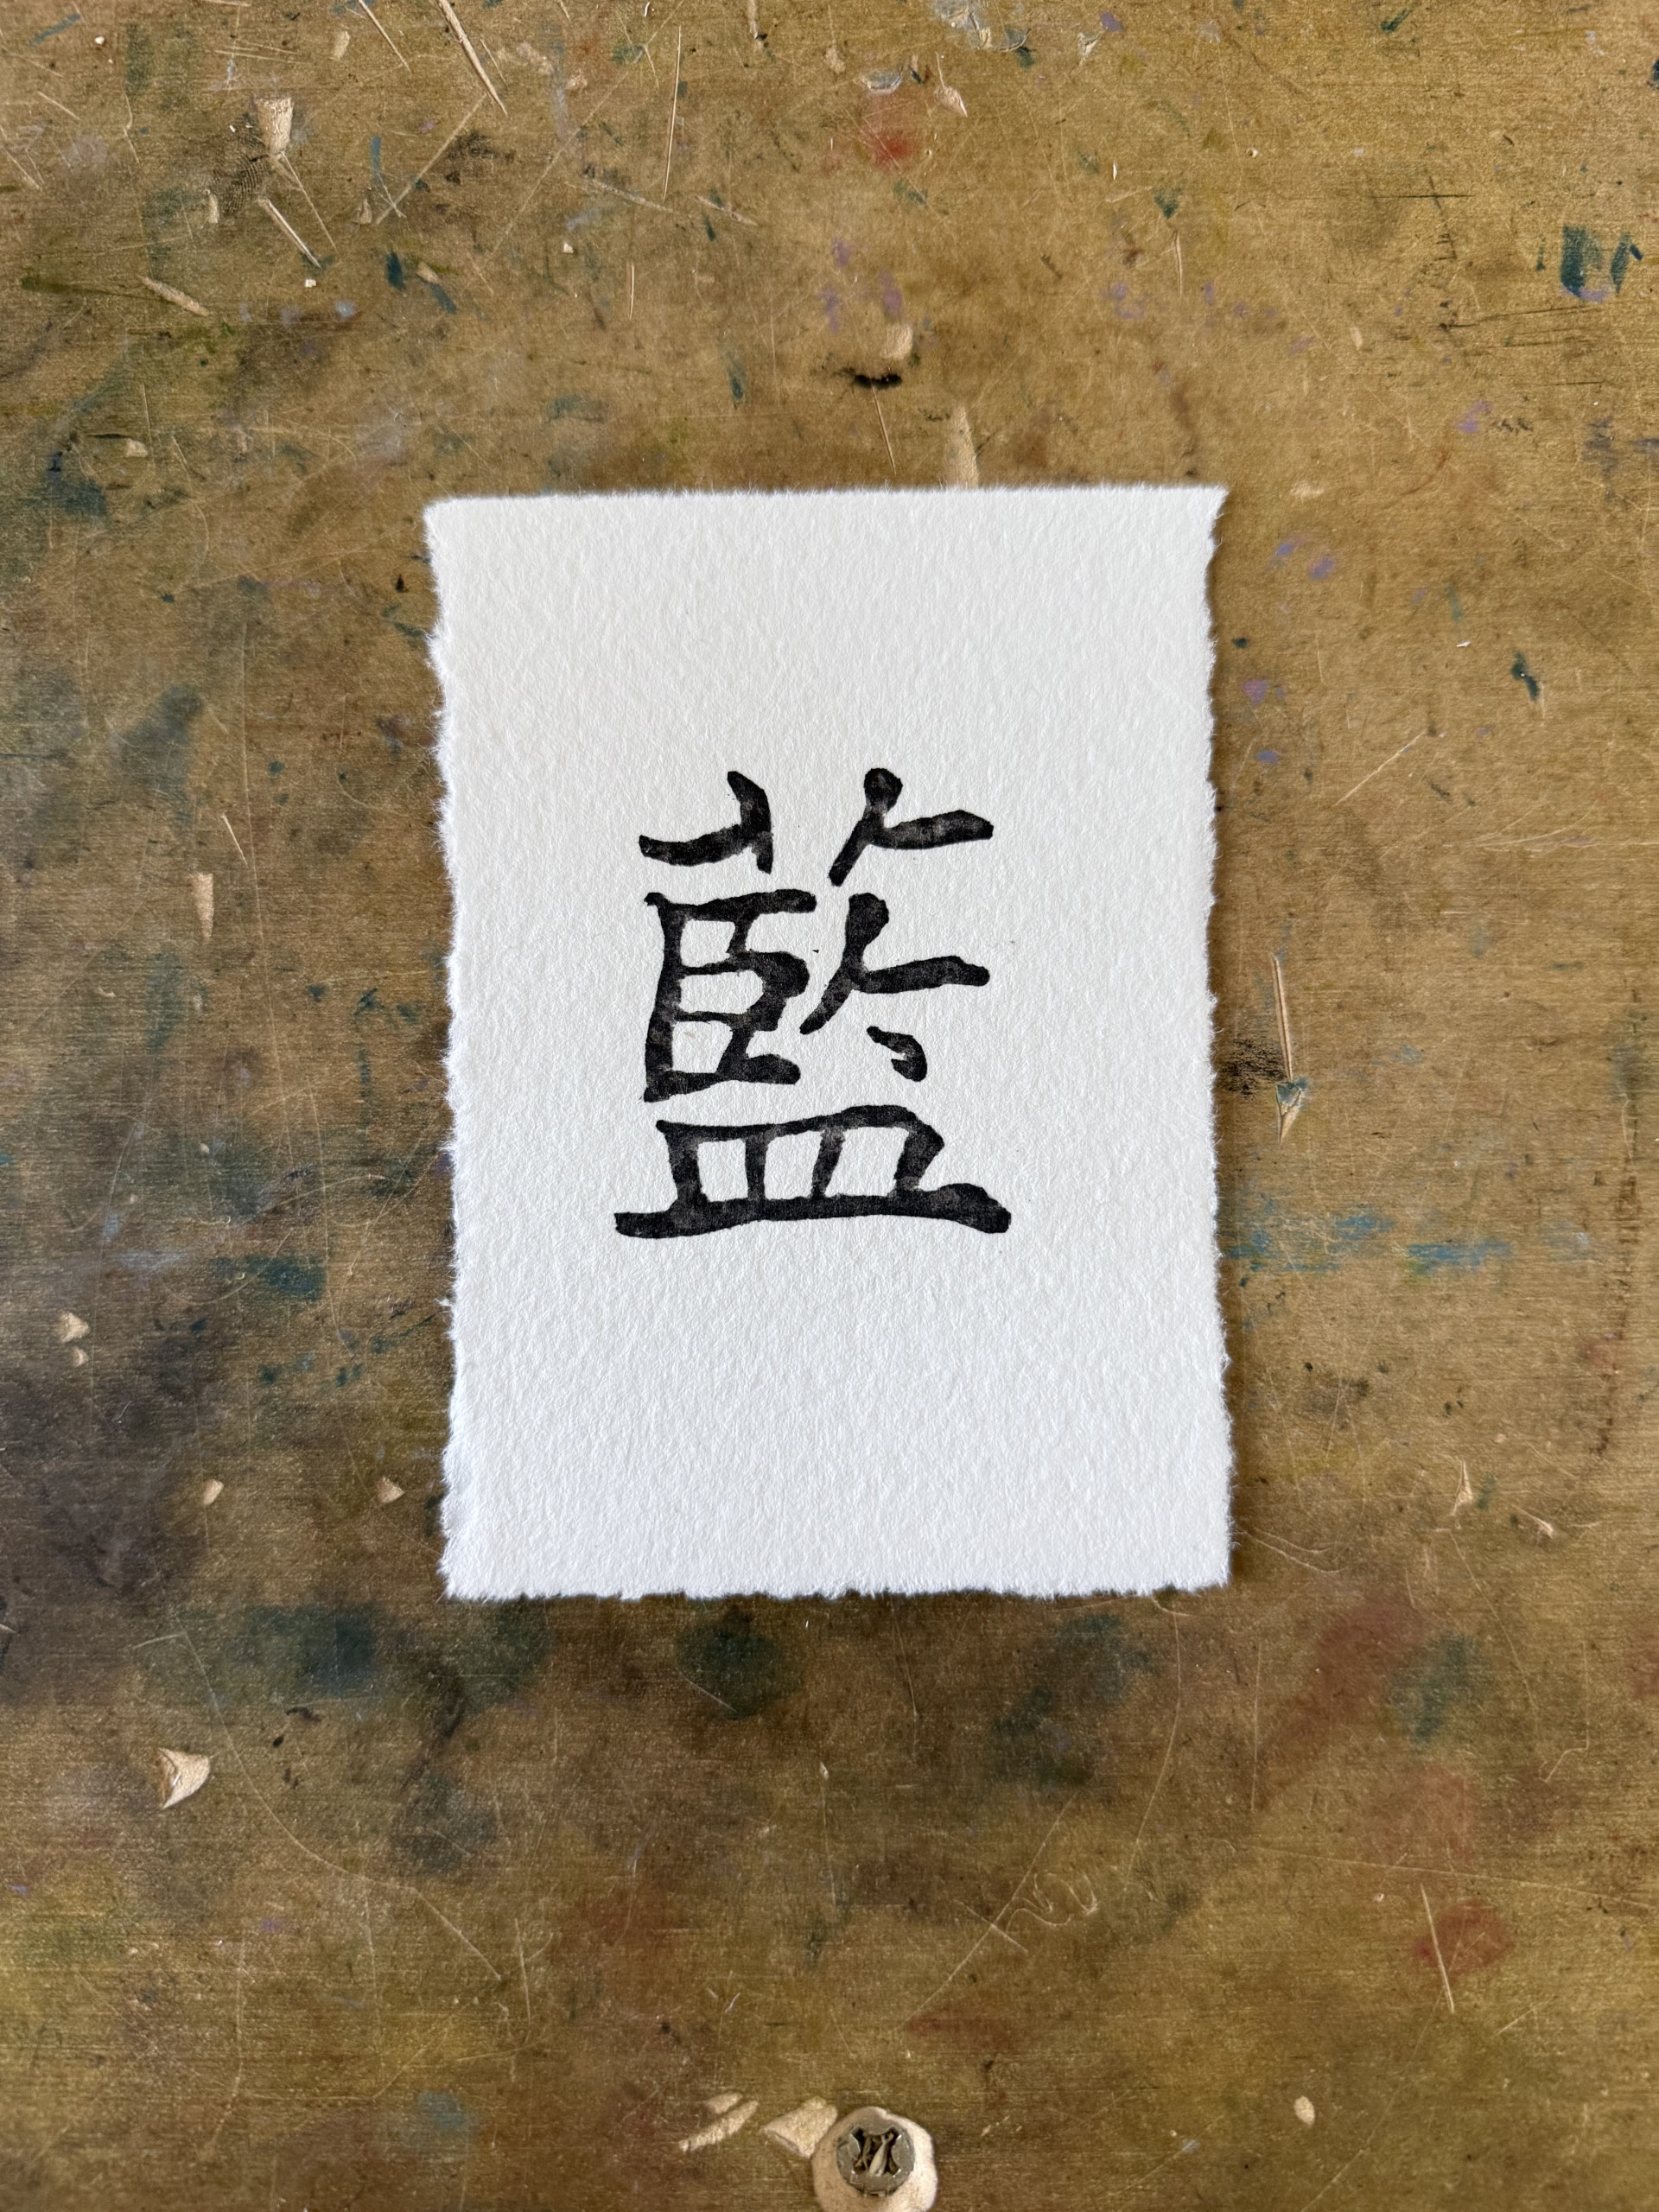
Please slide through this image gallery detailing my initial woodcarving and printing process - from transferring an image, details from carving the block, and the finished woodblock; to learning the slight differences between printing, proper ink transfer, and my final results!
Sketches and Concepts
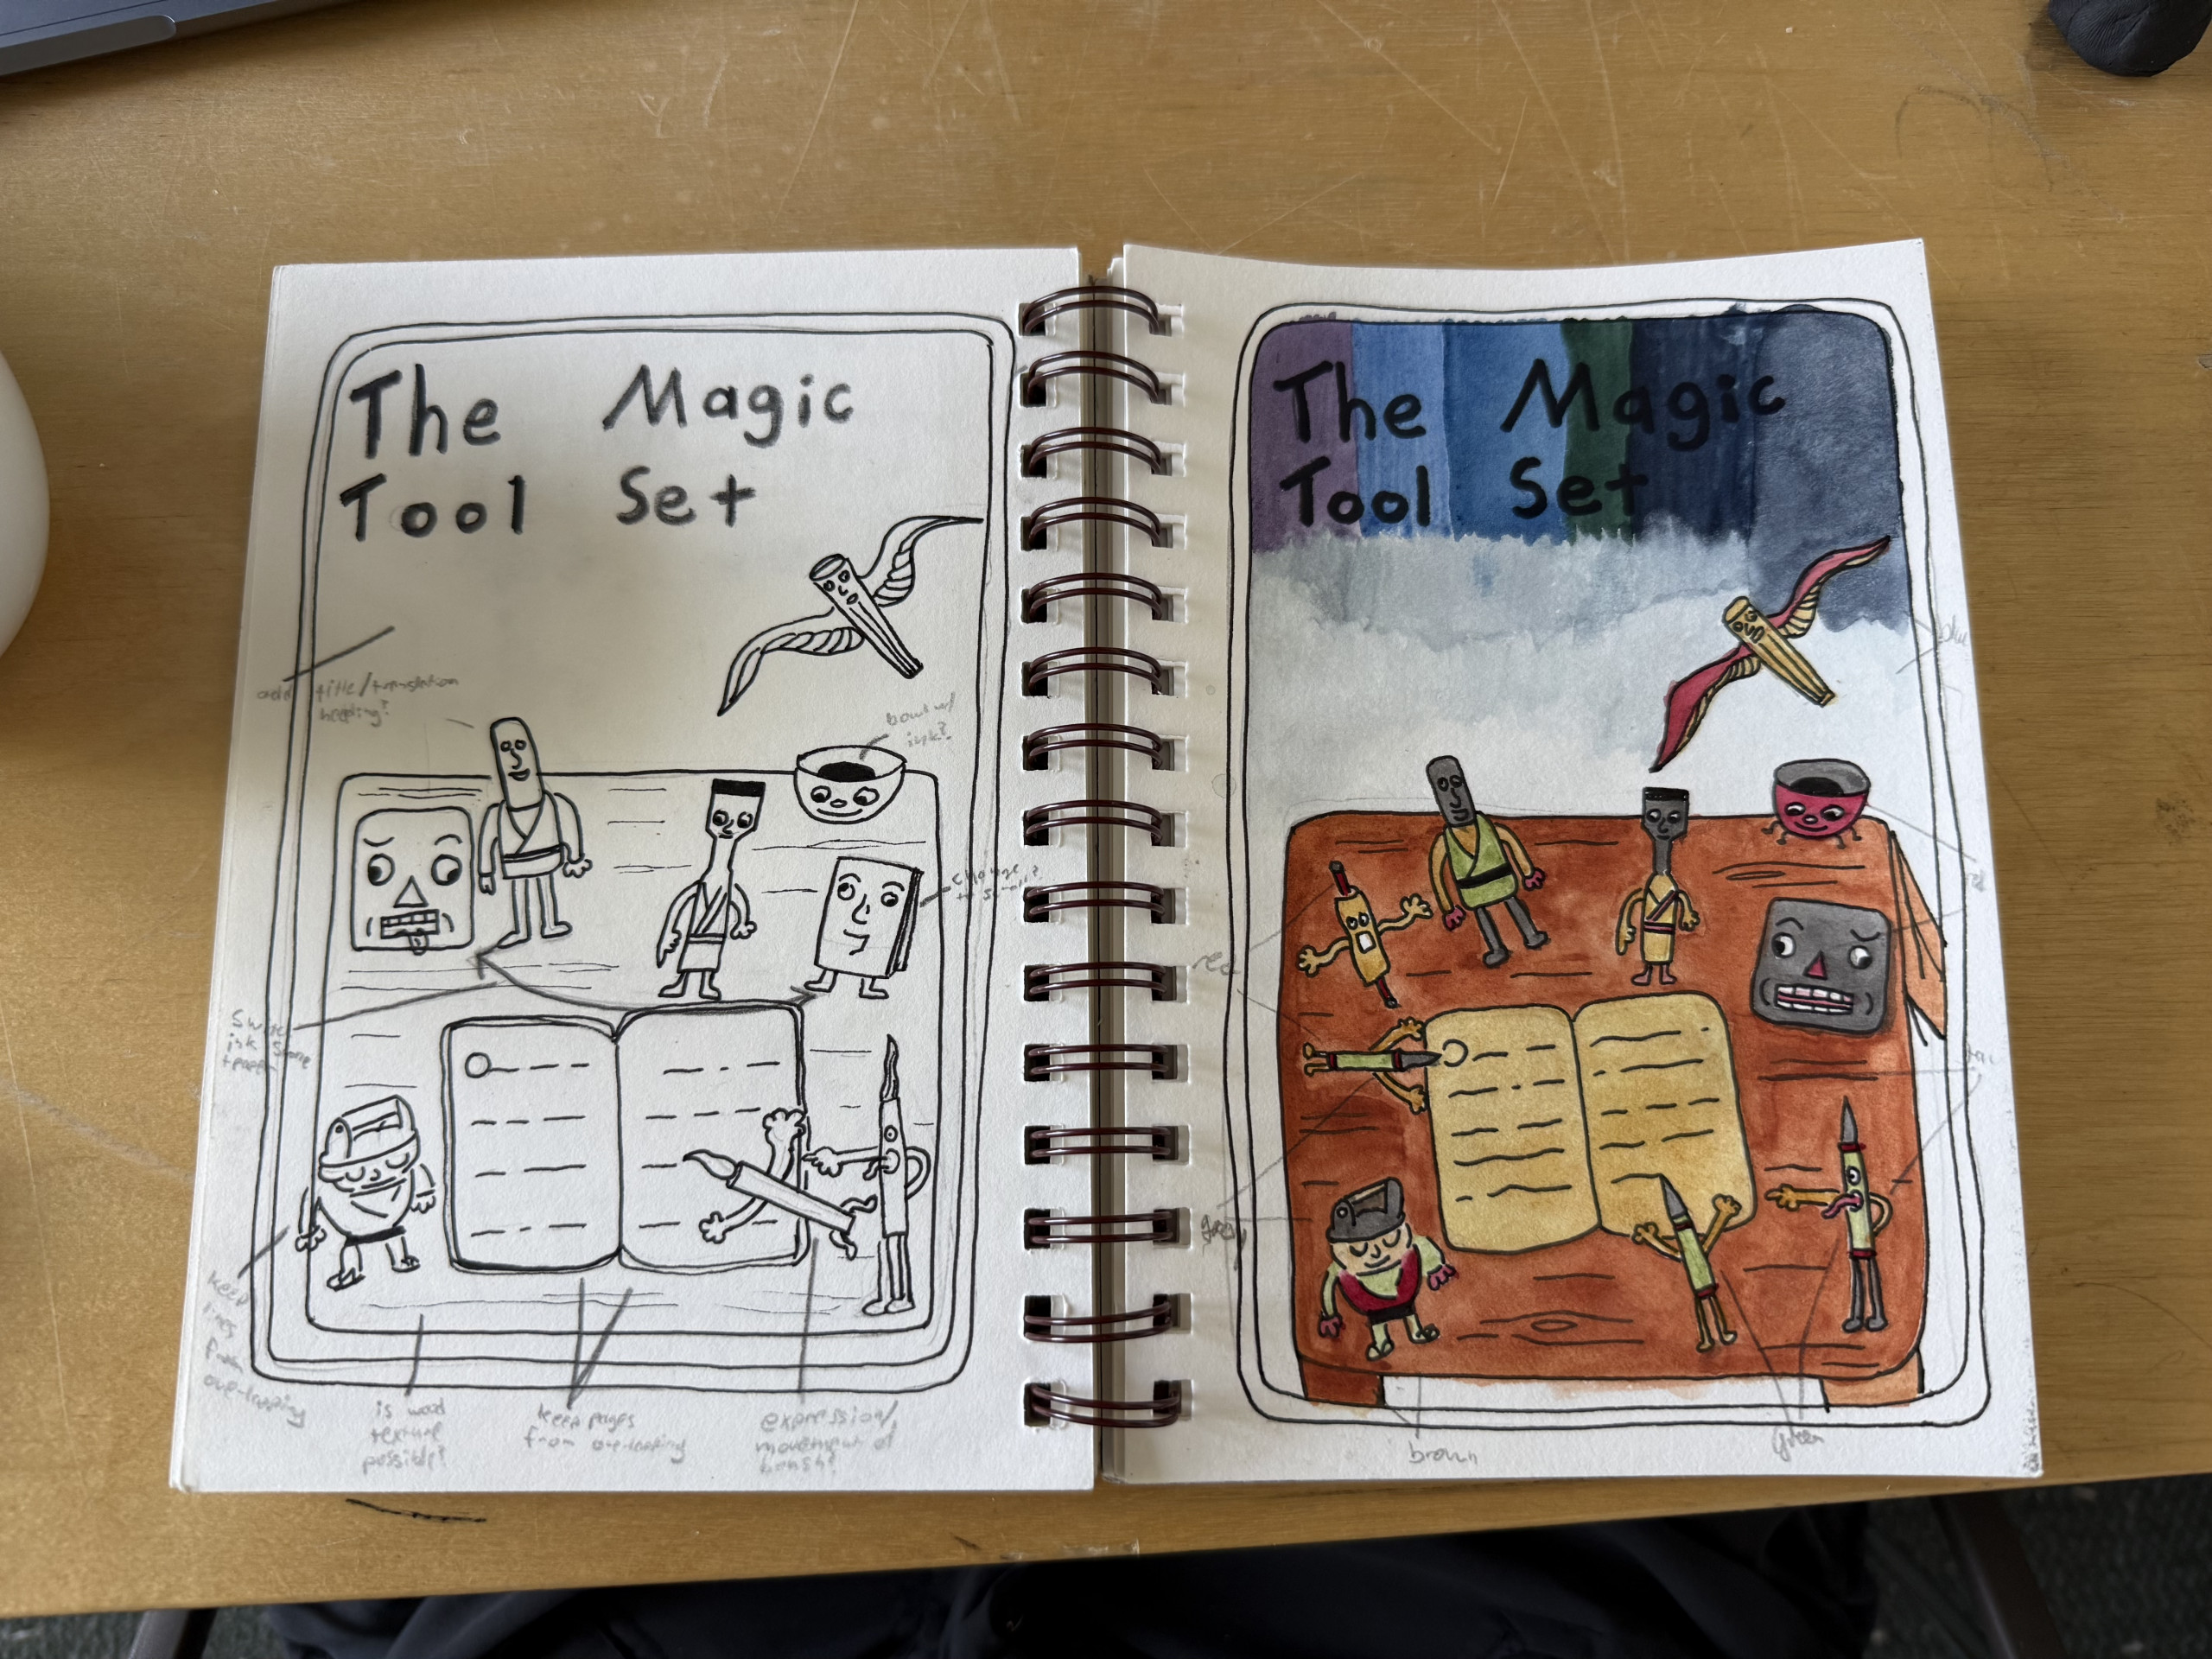
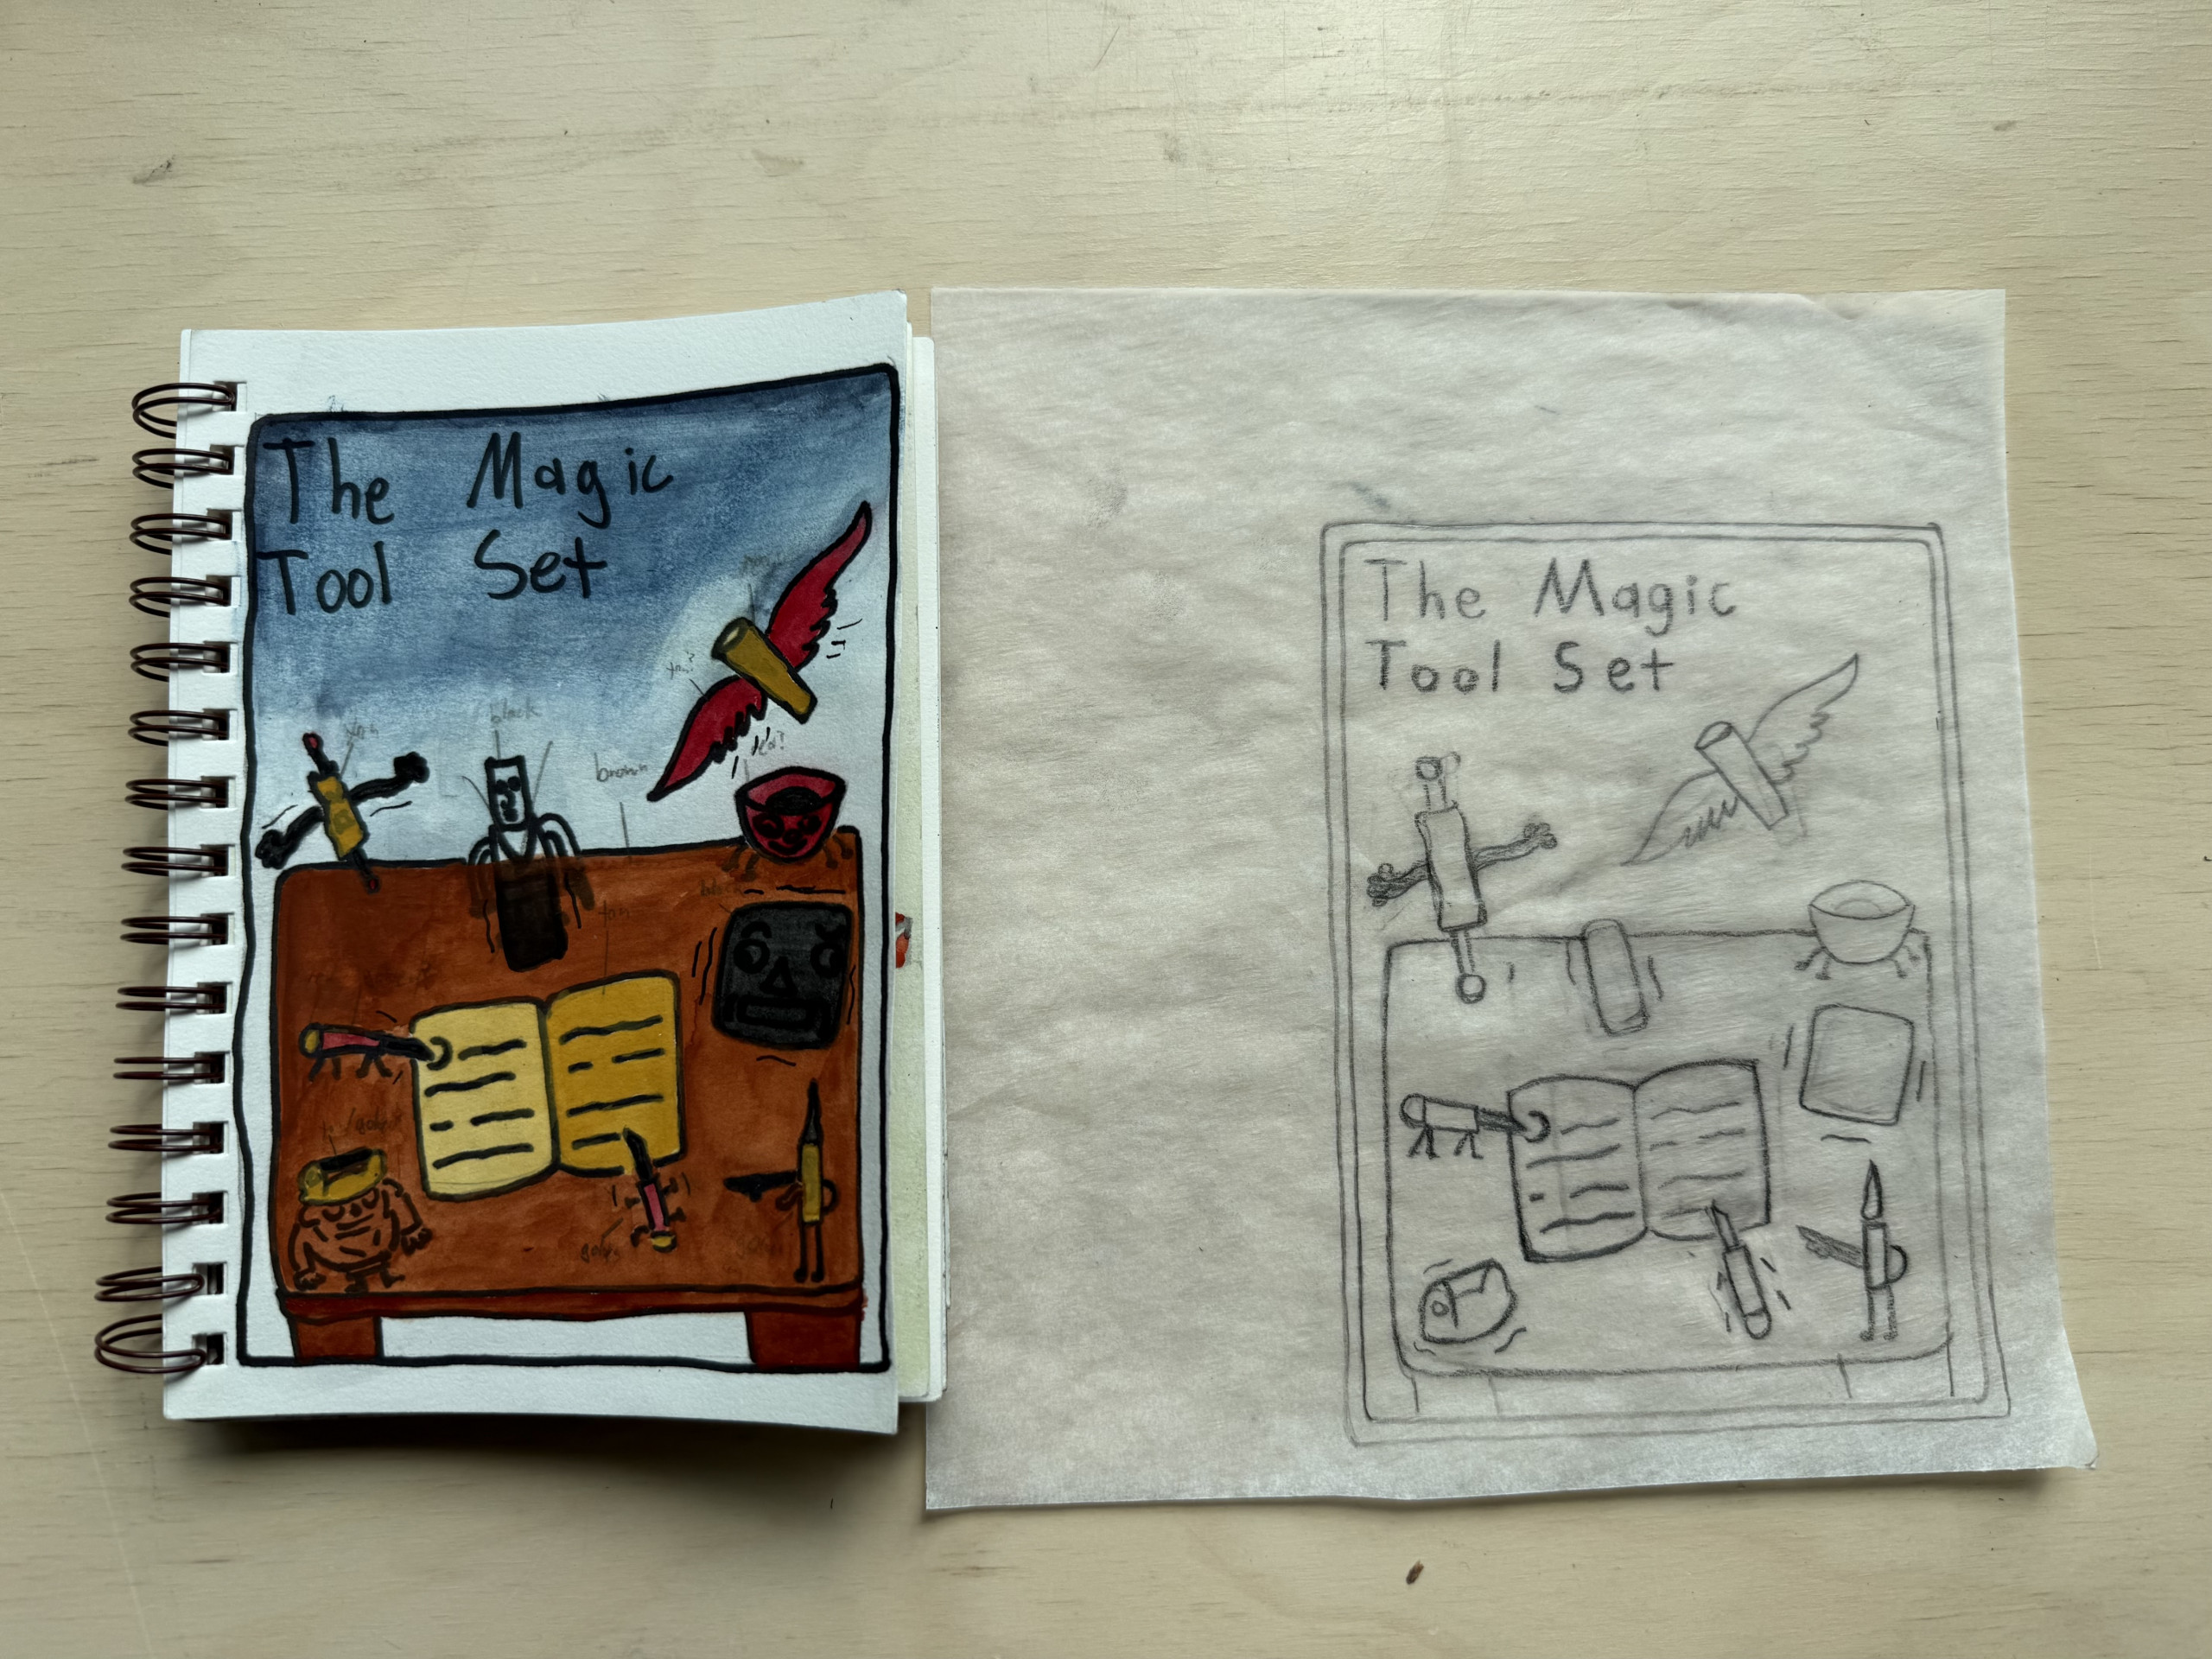
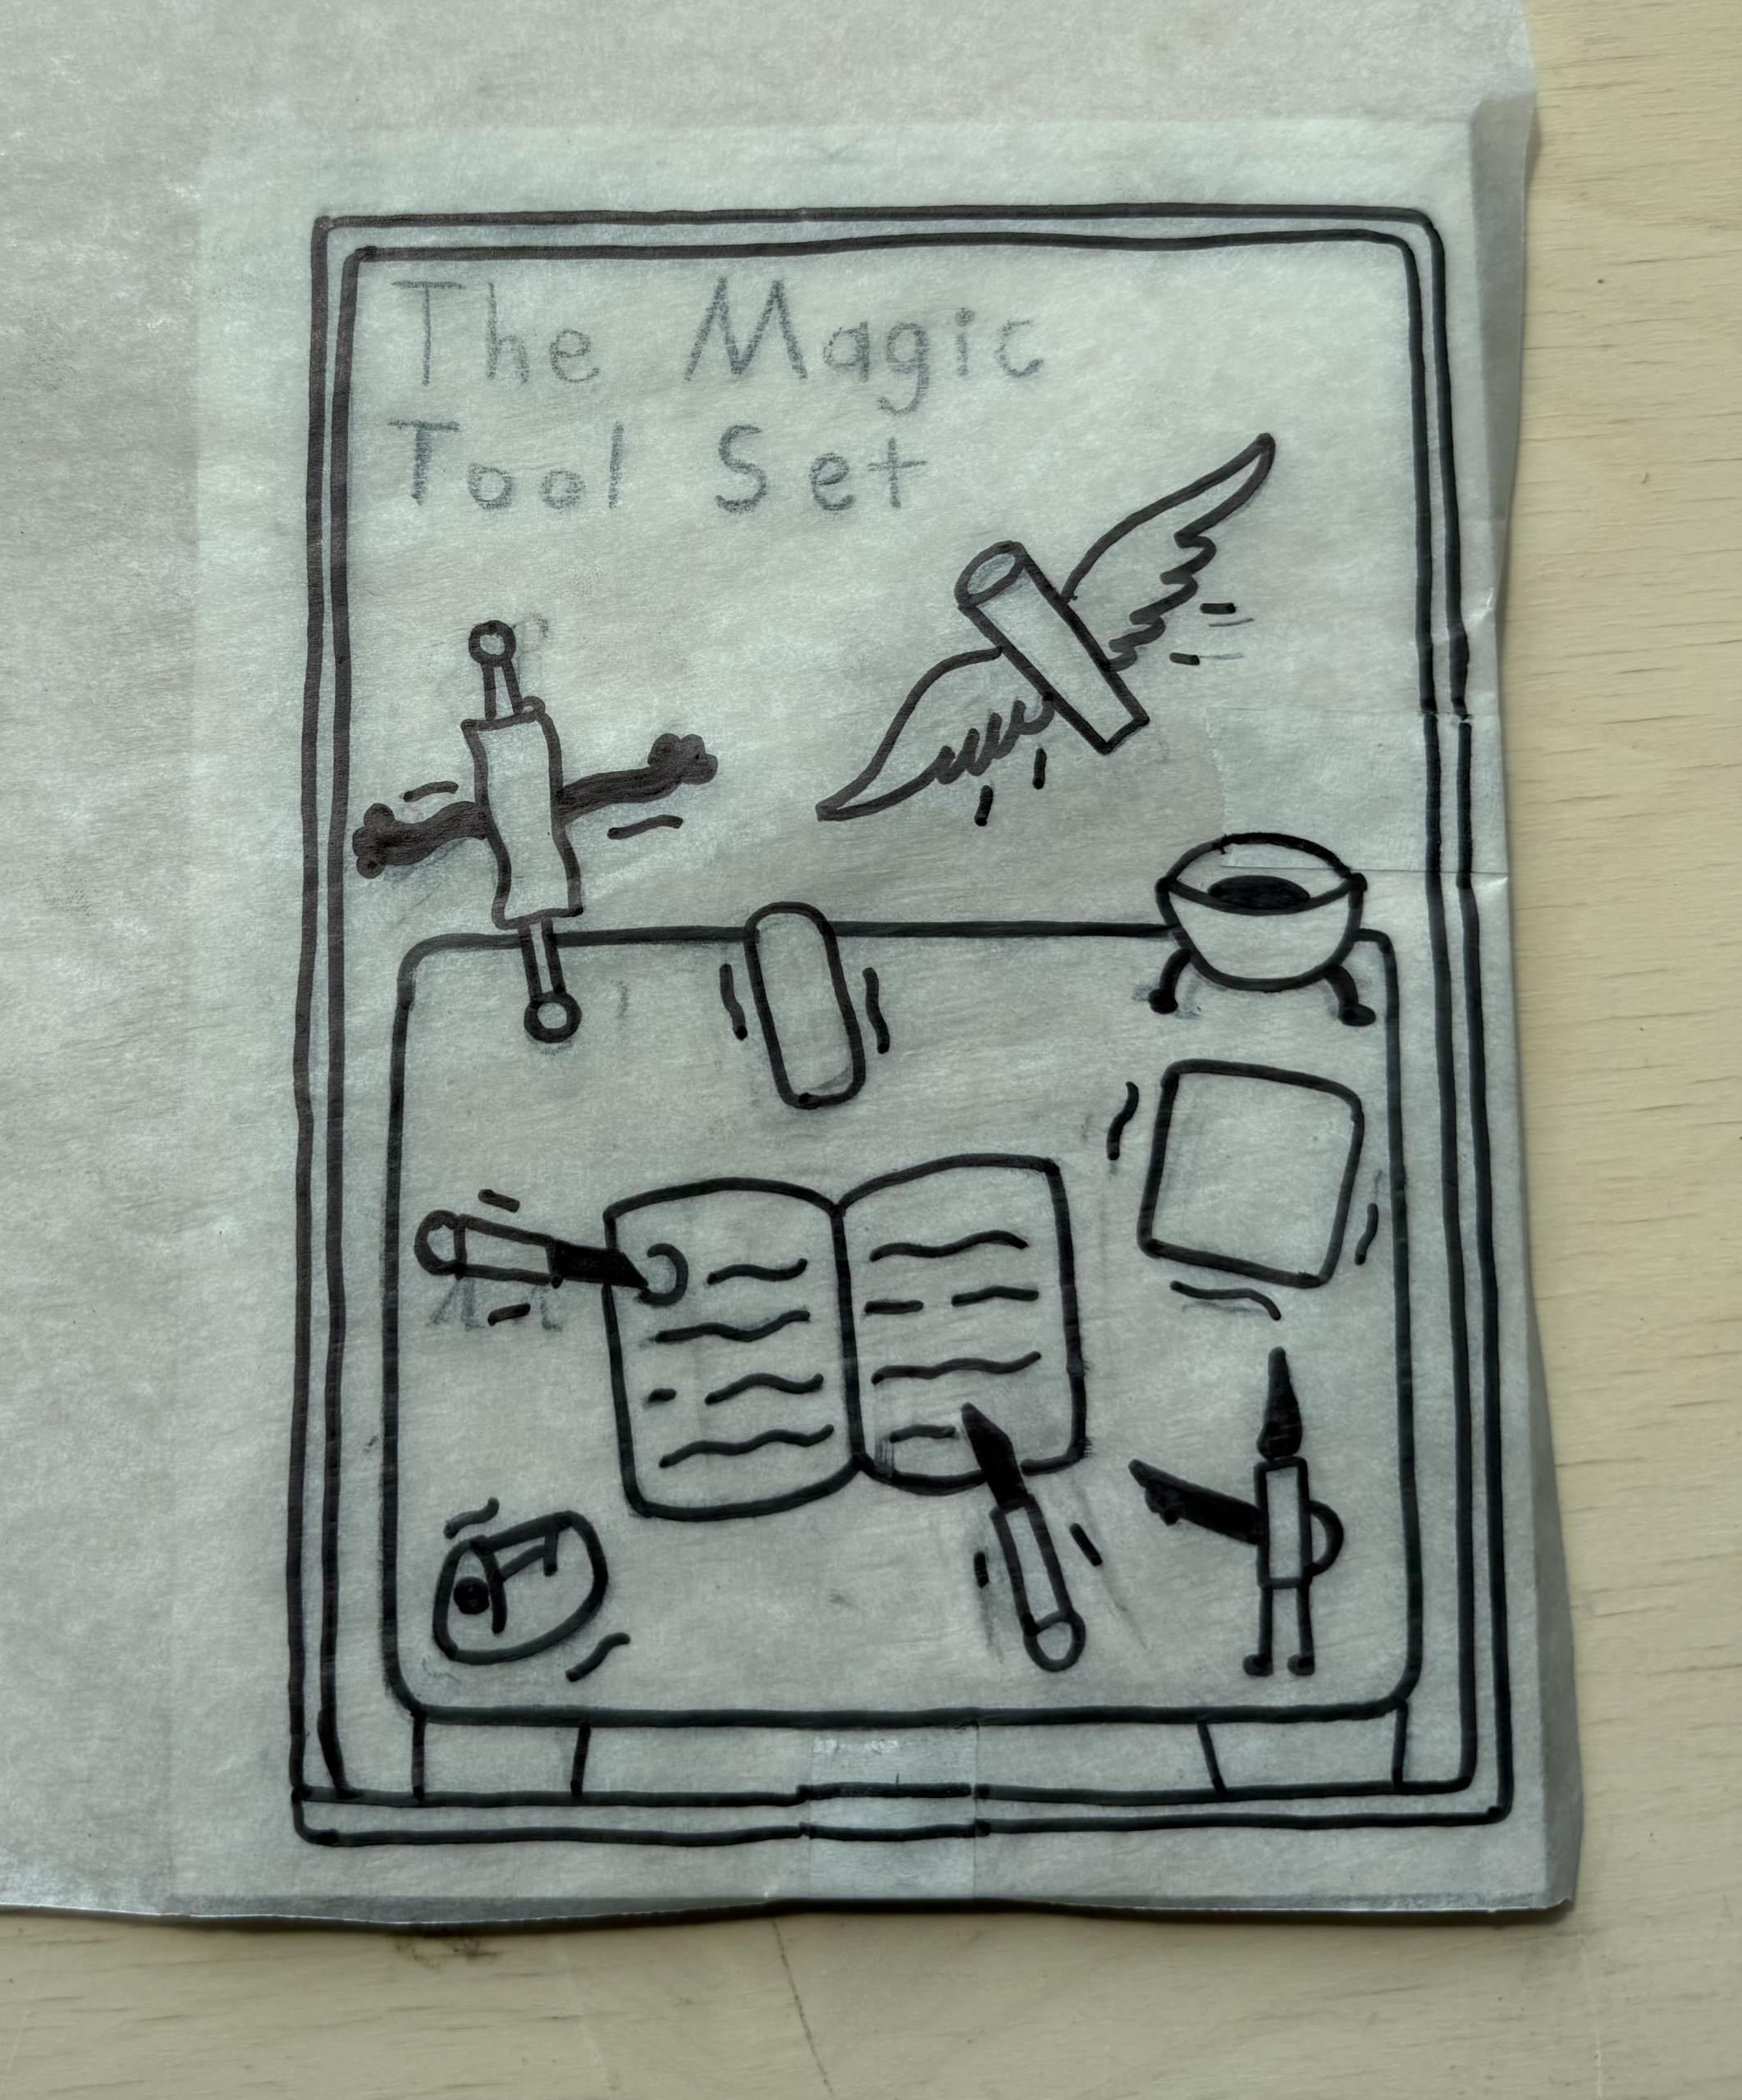
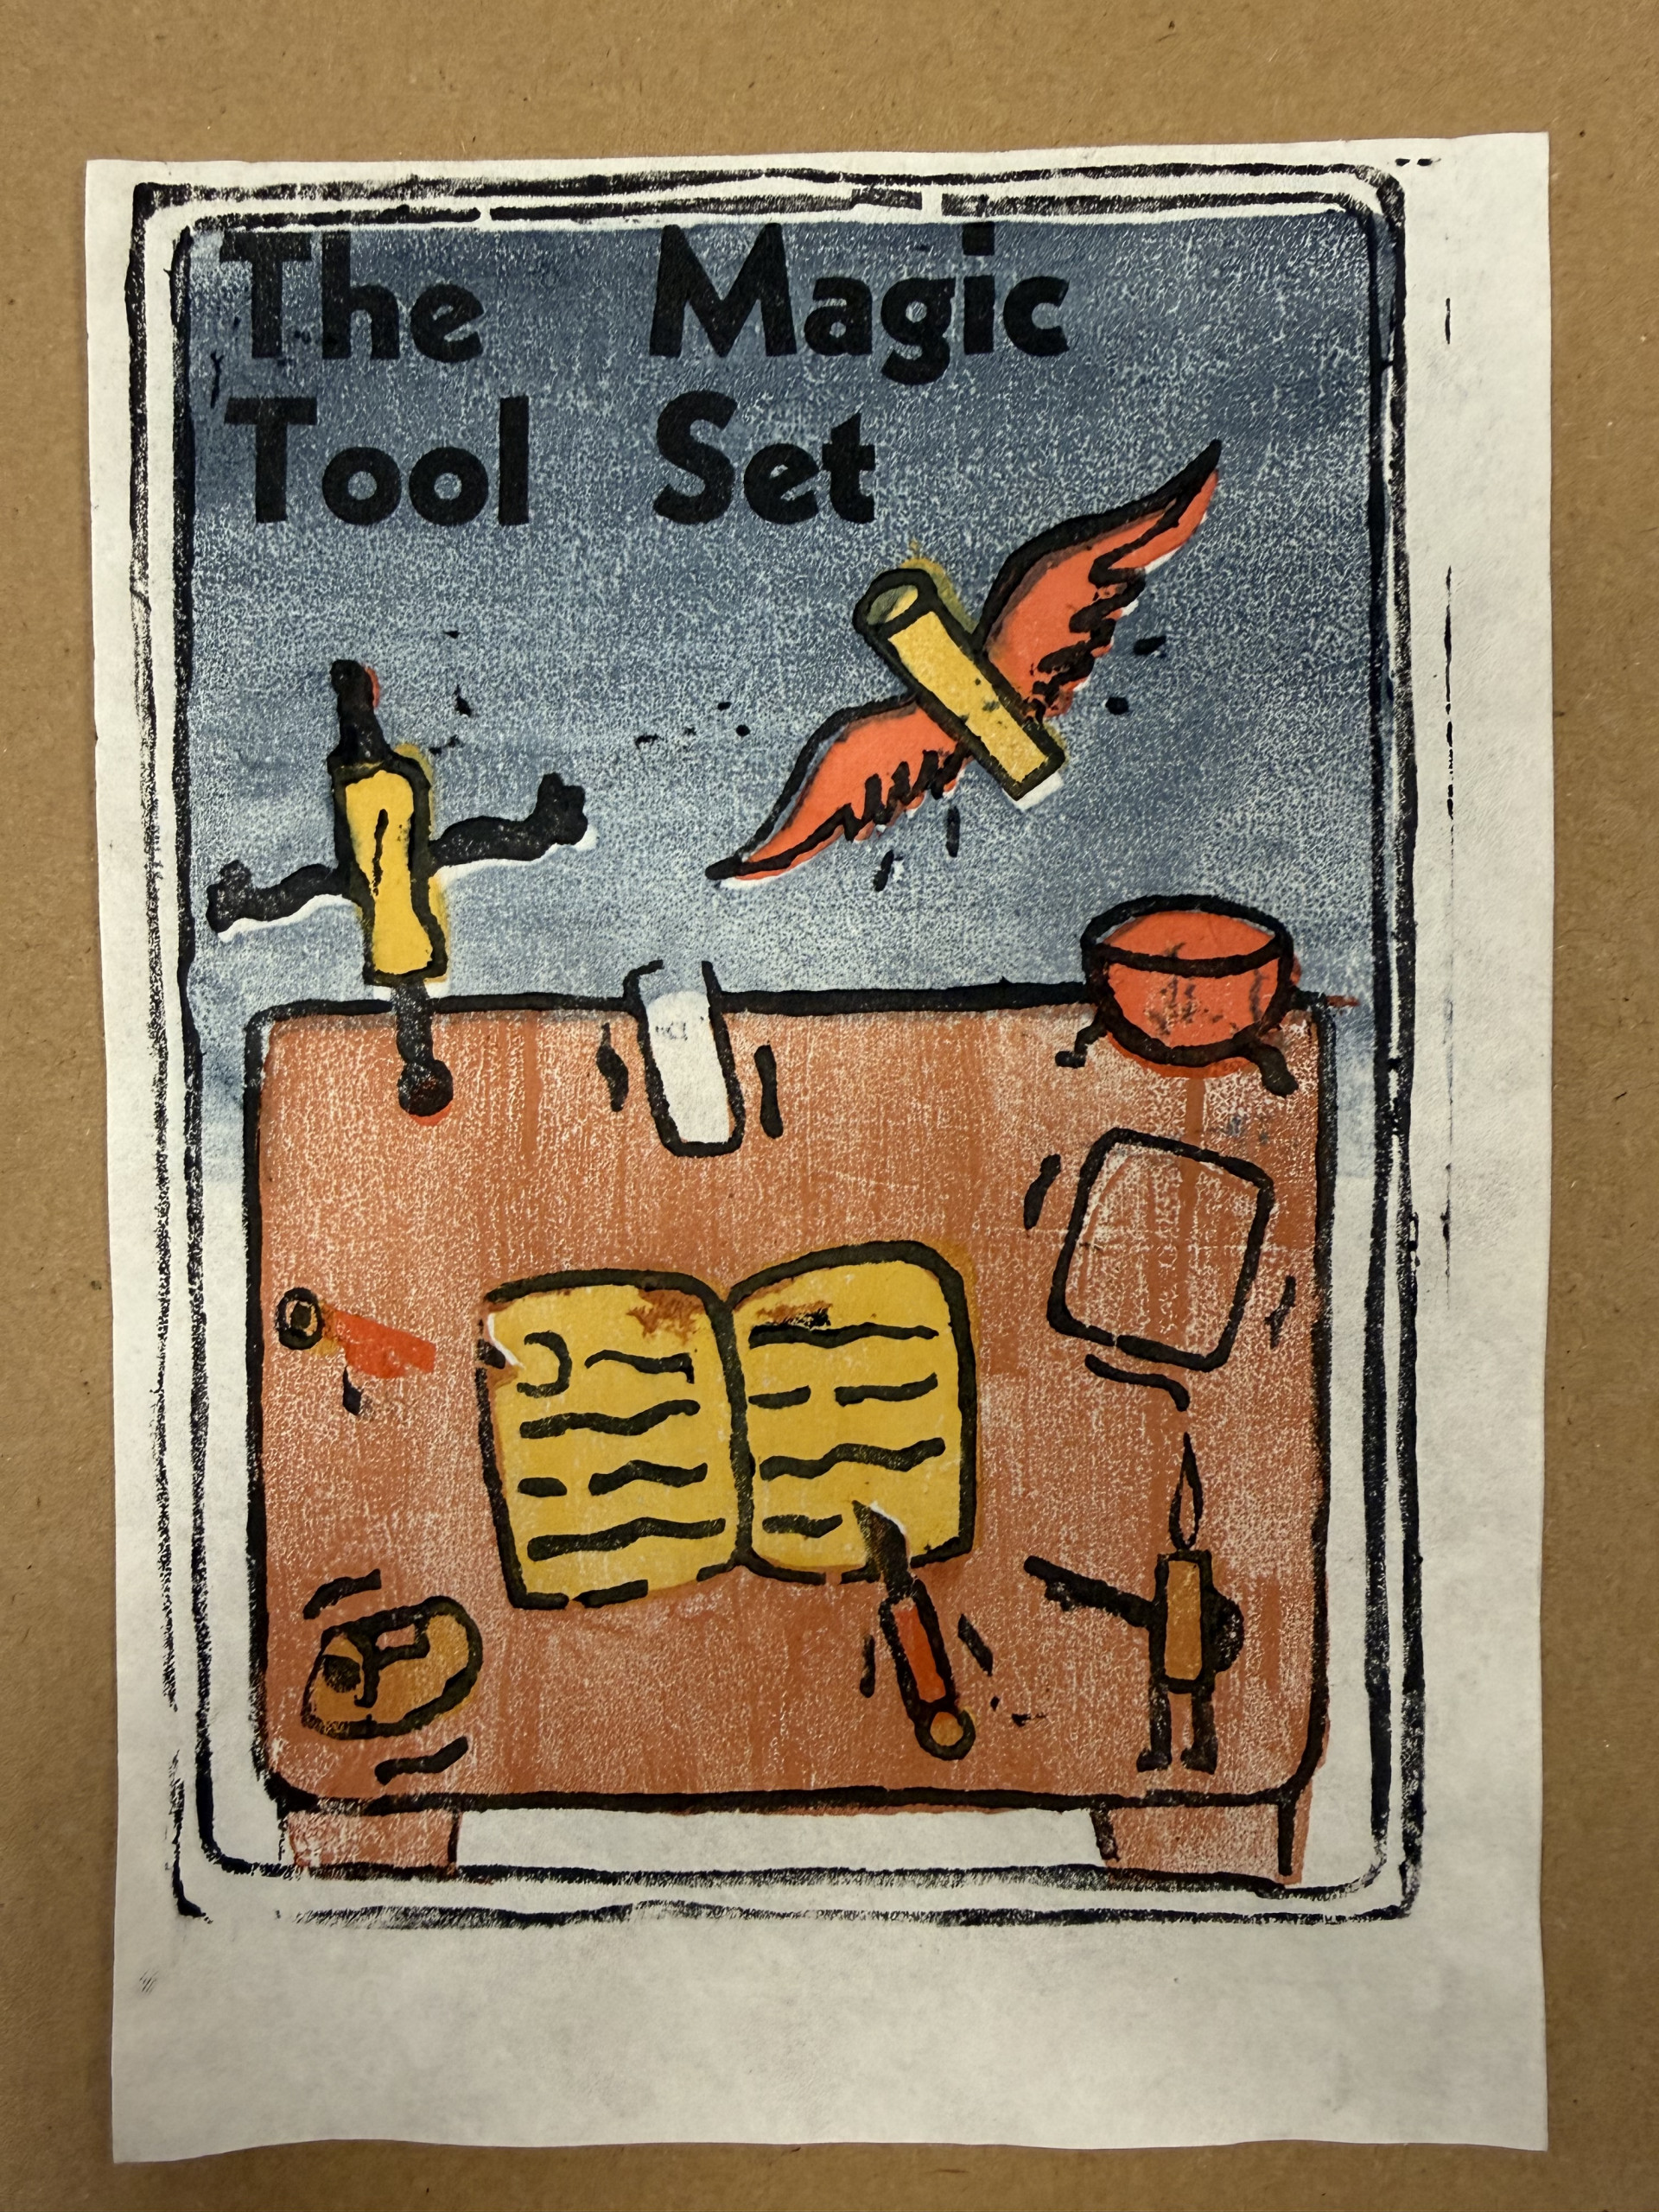
A couple of photos showing my process for coming up with a final woodblock design! For my design, I wanted to have something that would incorporate the multiple aspects of the printmaking process while still appealing to Hasegawa's business of fairy tale books. As a result, I imagined a bunch of everyday tools and woodblock printing supplies magically coming to life!
Carving
Following the creation of my final concept, I began carving each of my respective woodblocks. I started with the key block, which contains the main outlines of the image that will be printed in a dark black color. I then carved each of the various color blocks that I will incorporate in my final image - blue, red, yellow, and brown. It is important to note that while carving, each block has to be placed on a separate face of the wood, as you can't overlap different colors while printing. This was why I utilized both sides of my three wood faces when creating my final image, one face for each distinct color and key block. Before you can actually begin carving, you must carve out the kentō. Kentō is defined as the registration lines you cut into the corner of your woodblock in order to make sure that your paper will always be set in the same exact orientation while printing. These lines are achieved using a sharp knife or large chisel. Then, for each of your blocks, you use a specific set of woodcarving tools to remove the wood in a particular way - first you make the sharp outlines with the hangi-to, or knife, then you use a maru-nomi, or u-gouge, to cut away at all the empty space that will not be registered in the final image. Lastly, a carver utilizes an aisuki, or bullnose chisel, to clear away all the remaining raised areas in between your sharp knife cuts and deeply gouged spaces. For more information related to Japanese woodblock carving techniques, please consult David Bull or other similar process videos on Youtube.
Printing
Once each of my woodblock were completely carved, I began the actual printing process! As a reminder, for every single block that you decide to print, you have to wet the block with water, apply your pigment to the block, then carefully press down your paper onto the block using the baren. When printing with multiple colors, you also have to make sure that the kentō of each of color blocks are in perfect alignment with each other, otherwise there will be discrepancies in the final print (more on this later). Paper choice is also an important aspect of the mokuhanga process, as well as making sure that the paper itself is slightly wet for maximum levels of absorption. While testing out my prints, I used a variety of different types of practice paper, but for the final edition of prints we used washi, or a lightweight style of Japanese paper made from the mulberry plant. The thinness and absorbency of the paper was fantastic for transferring pigment directly from the woodblock onto the paper, but while printing I had to be very careful not to apply too much pressure with the baren or else there would be splotches or blurred lines.
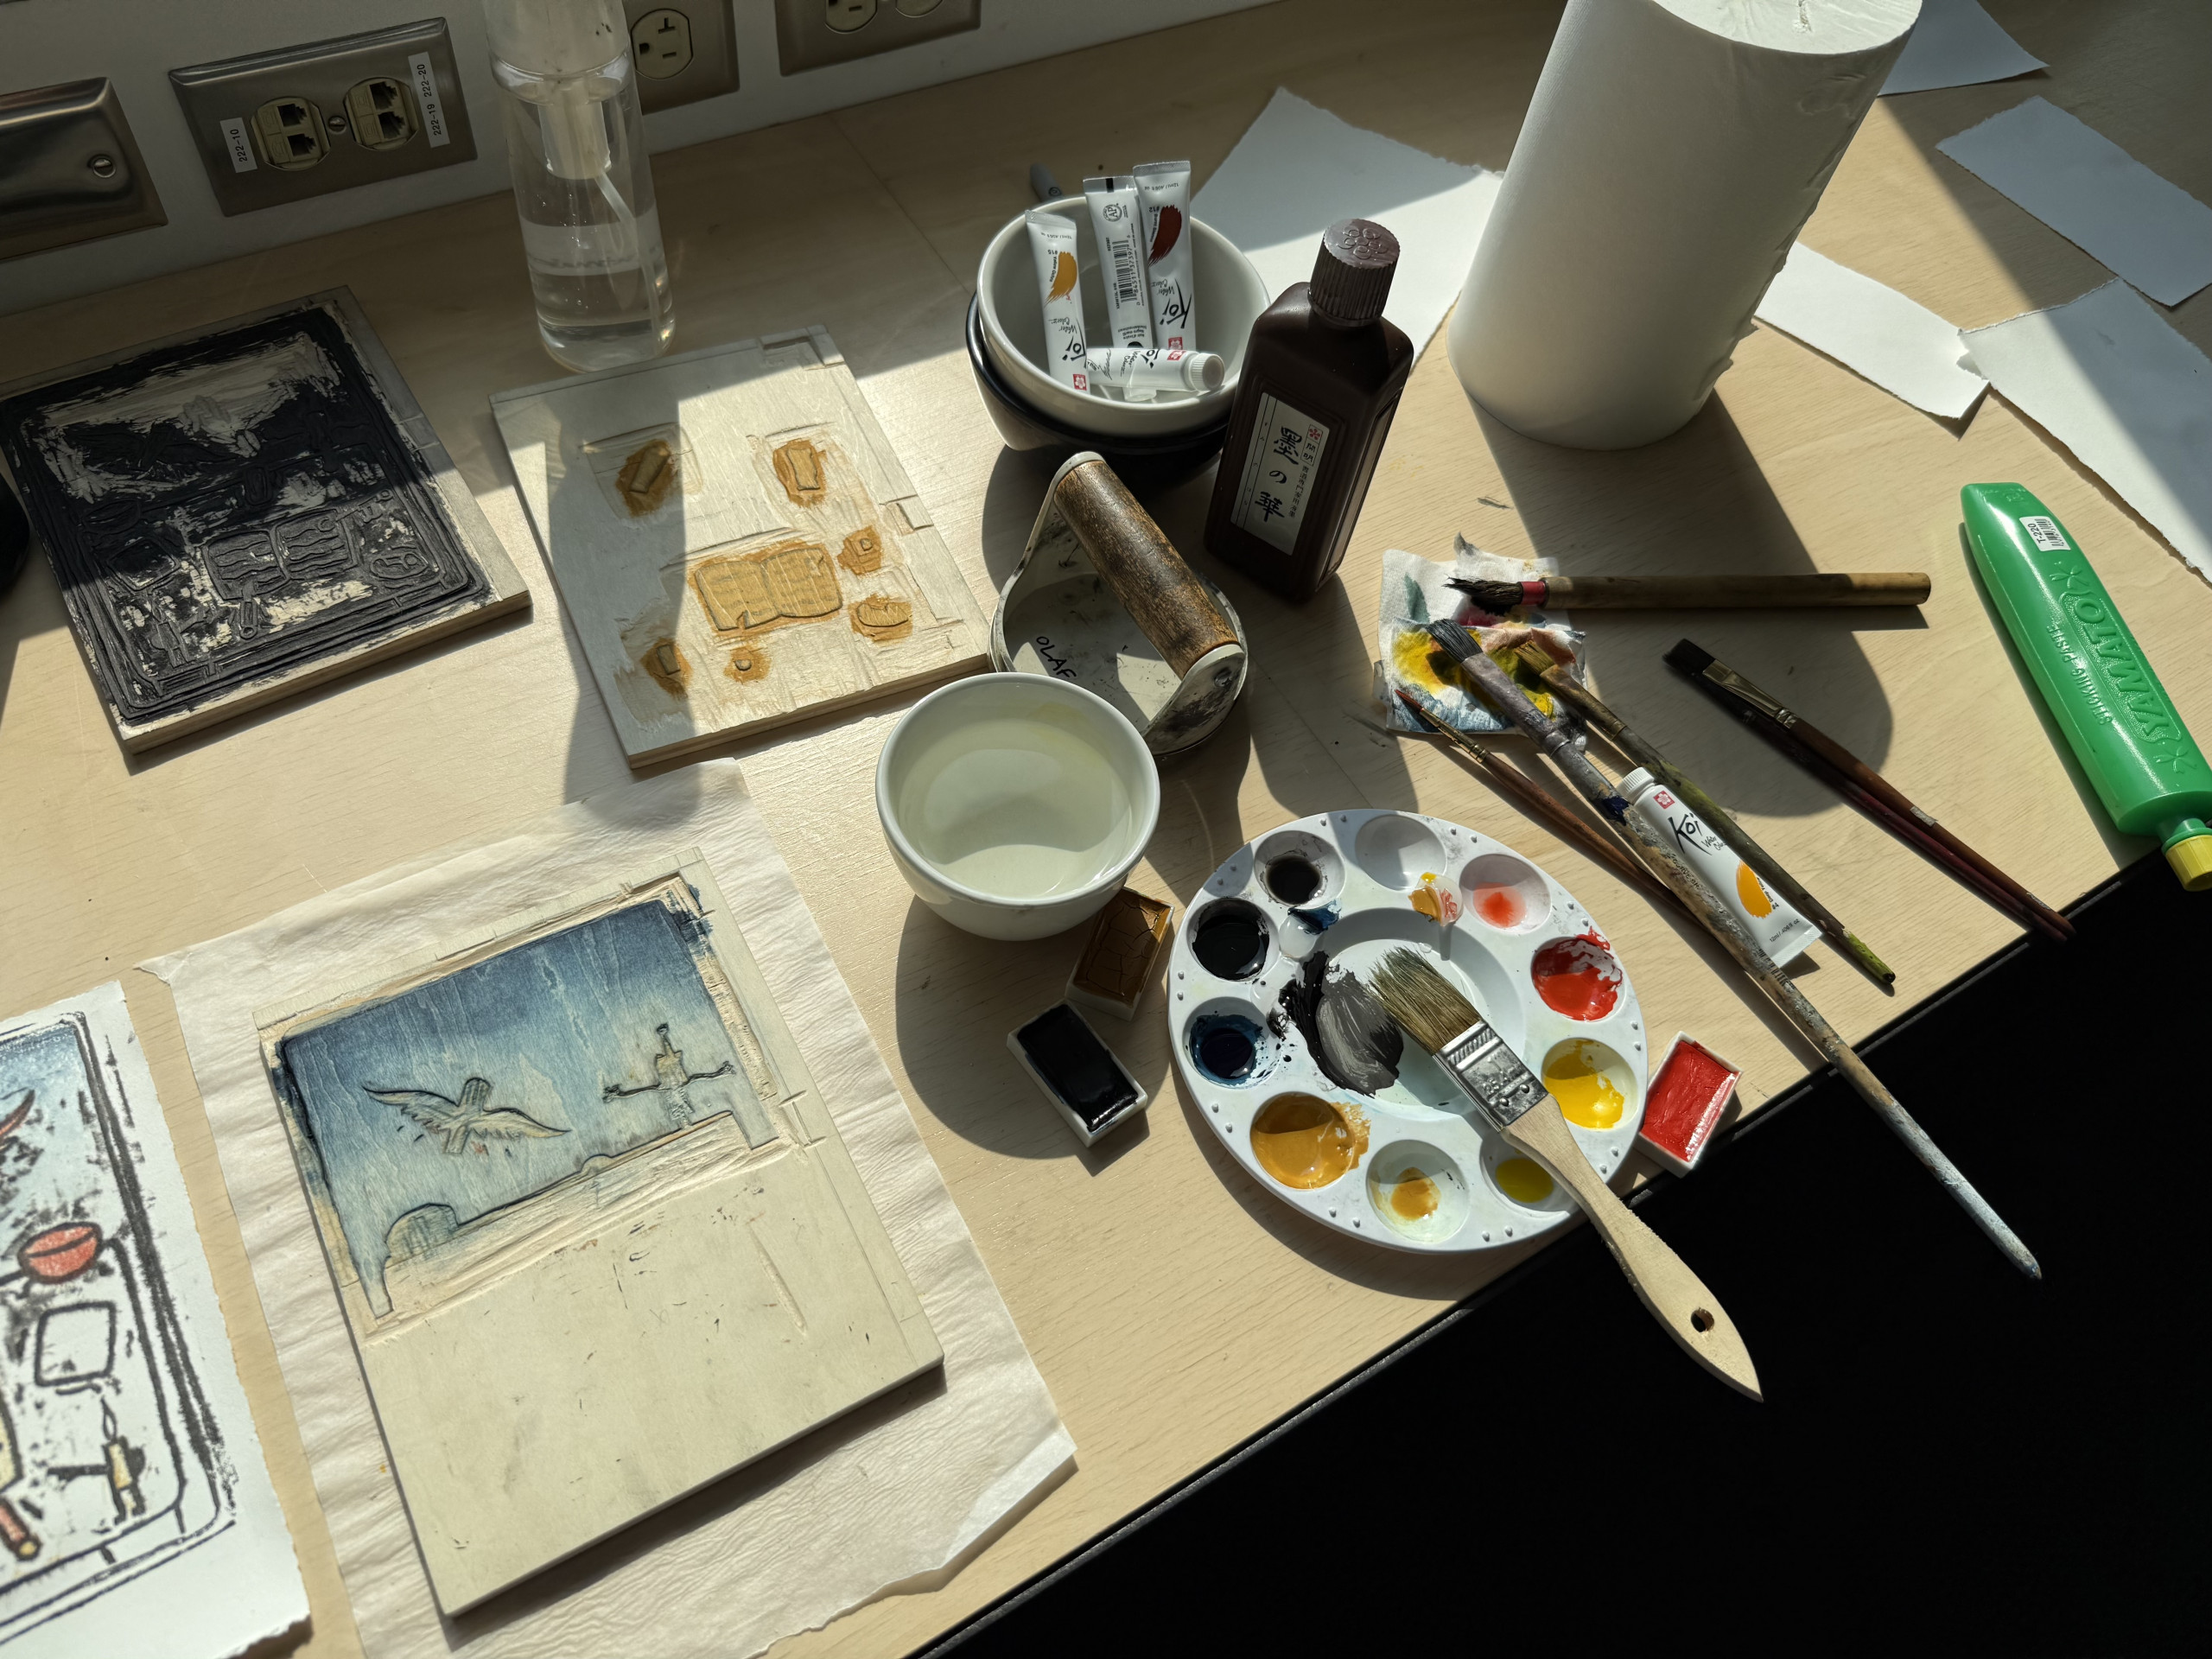
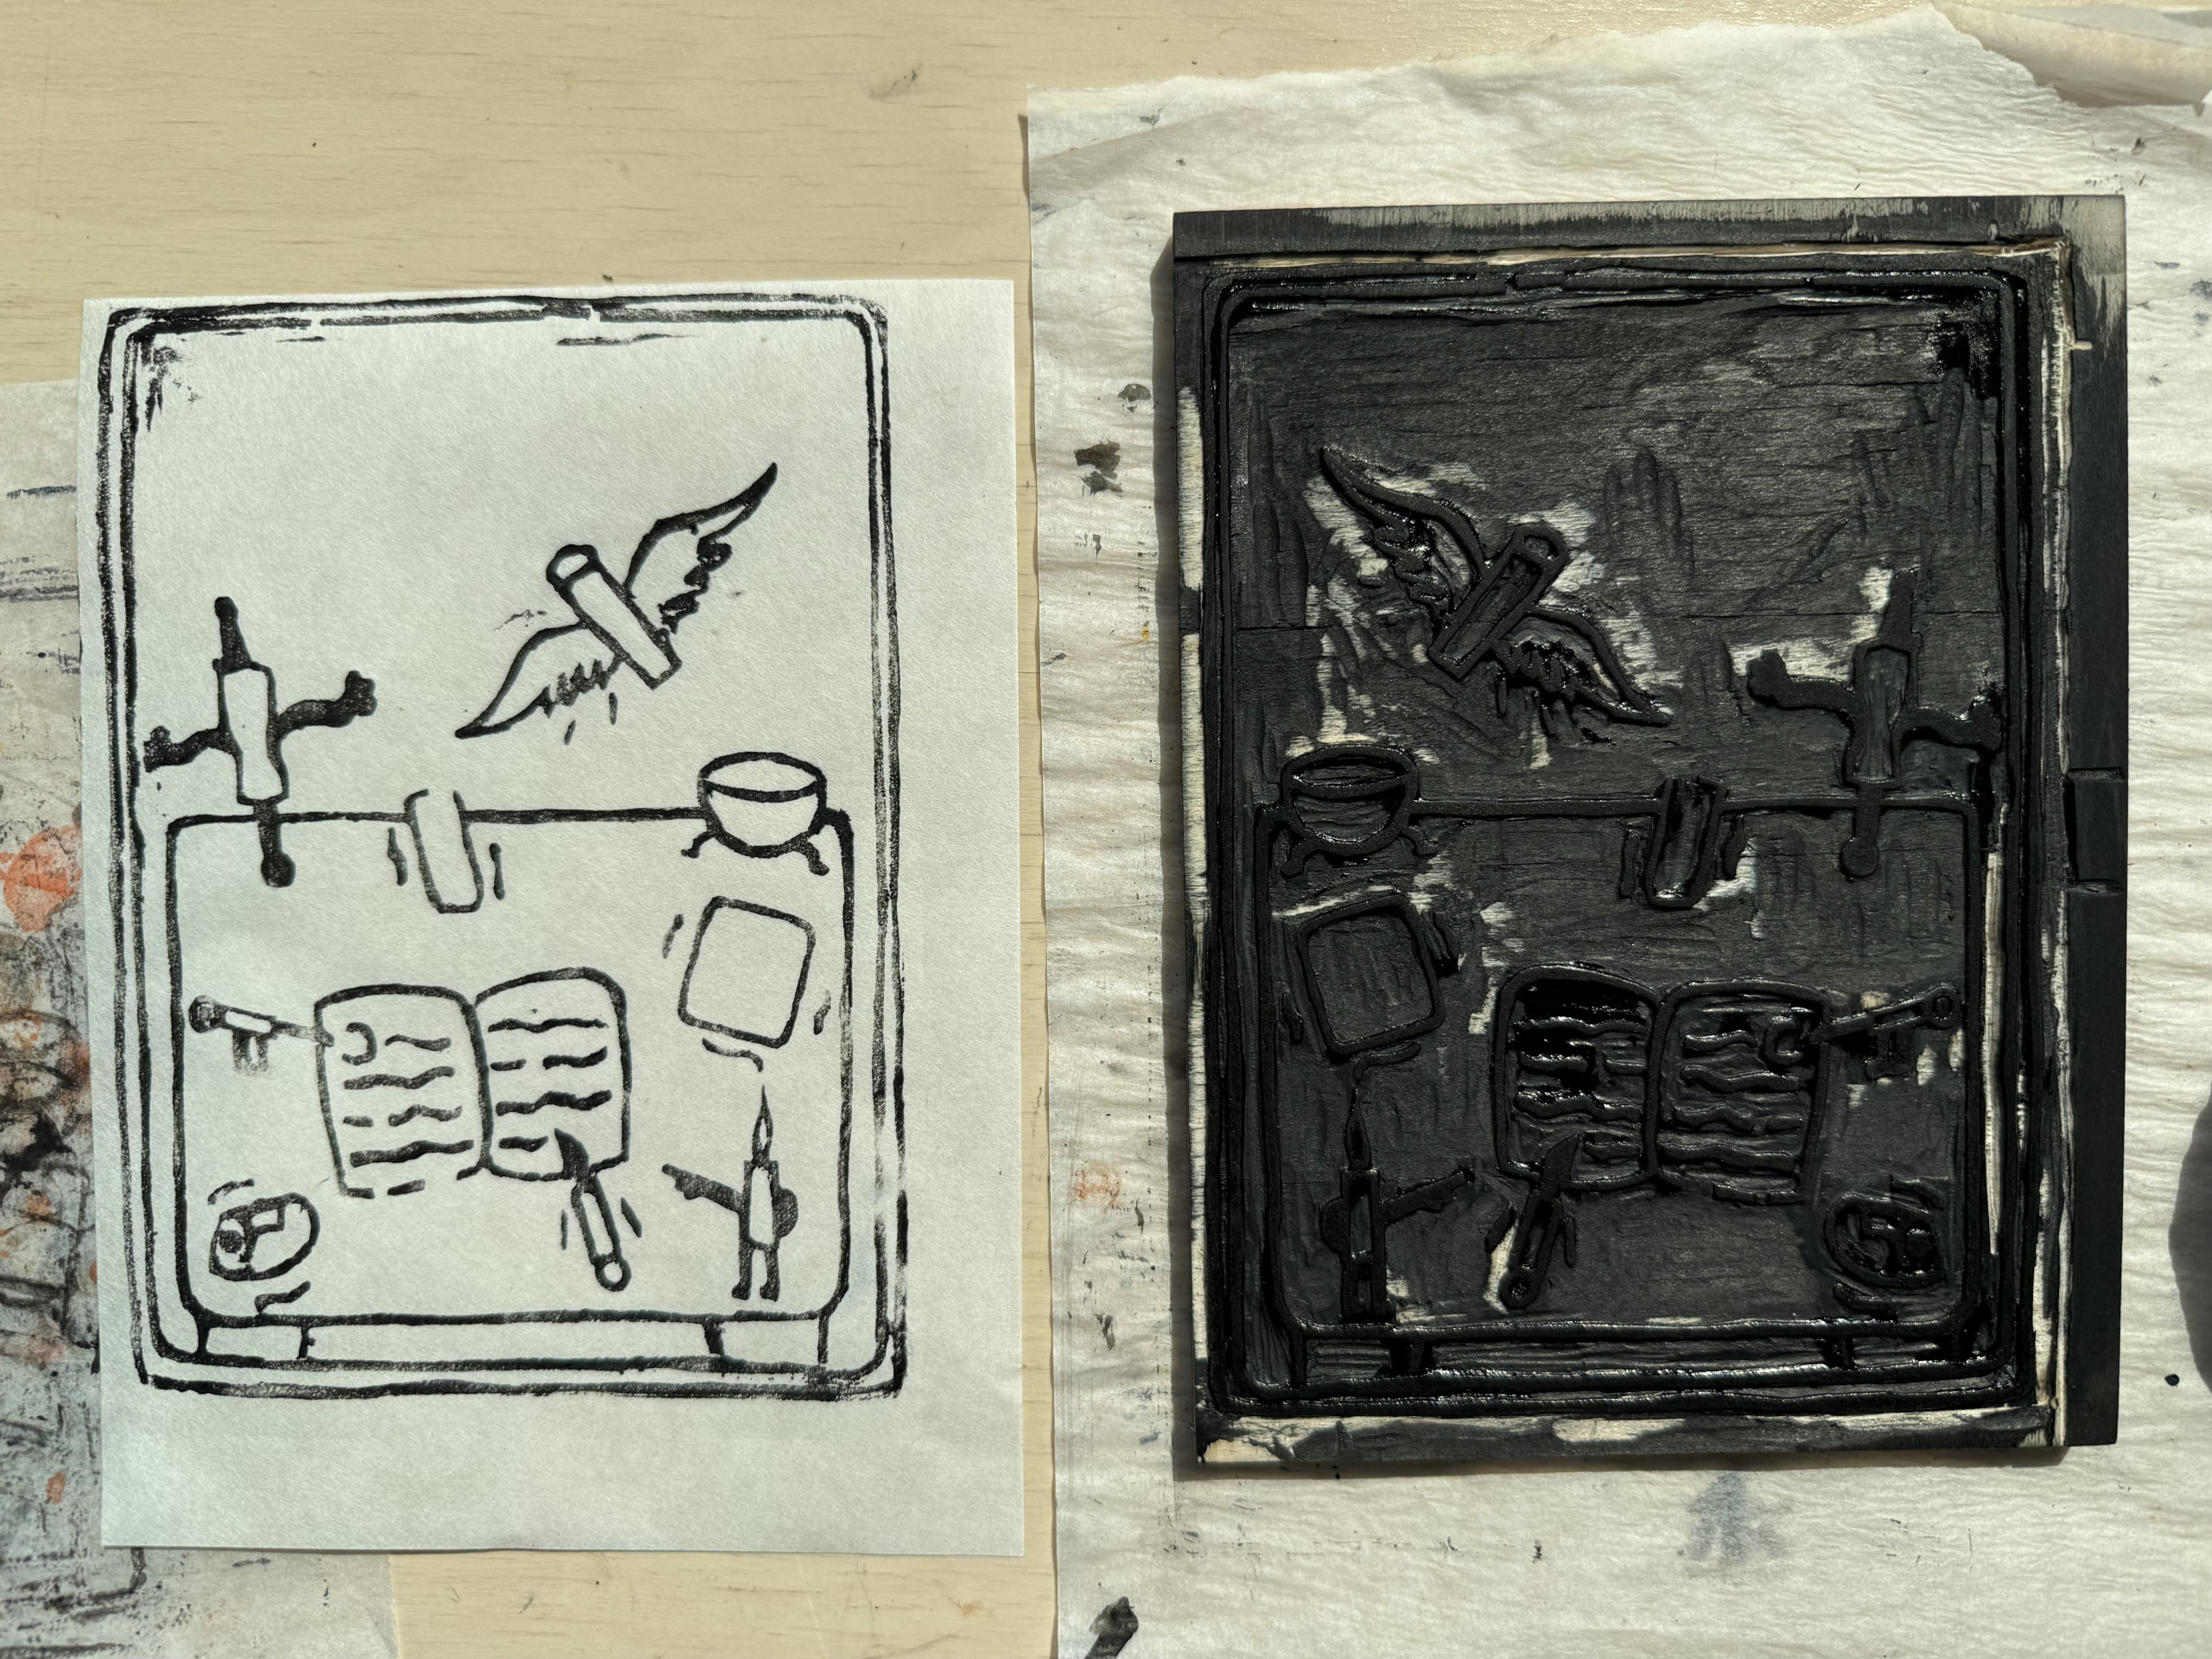
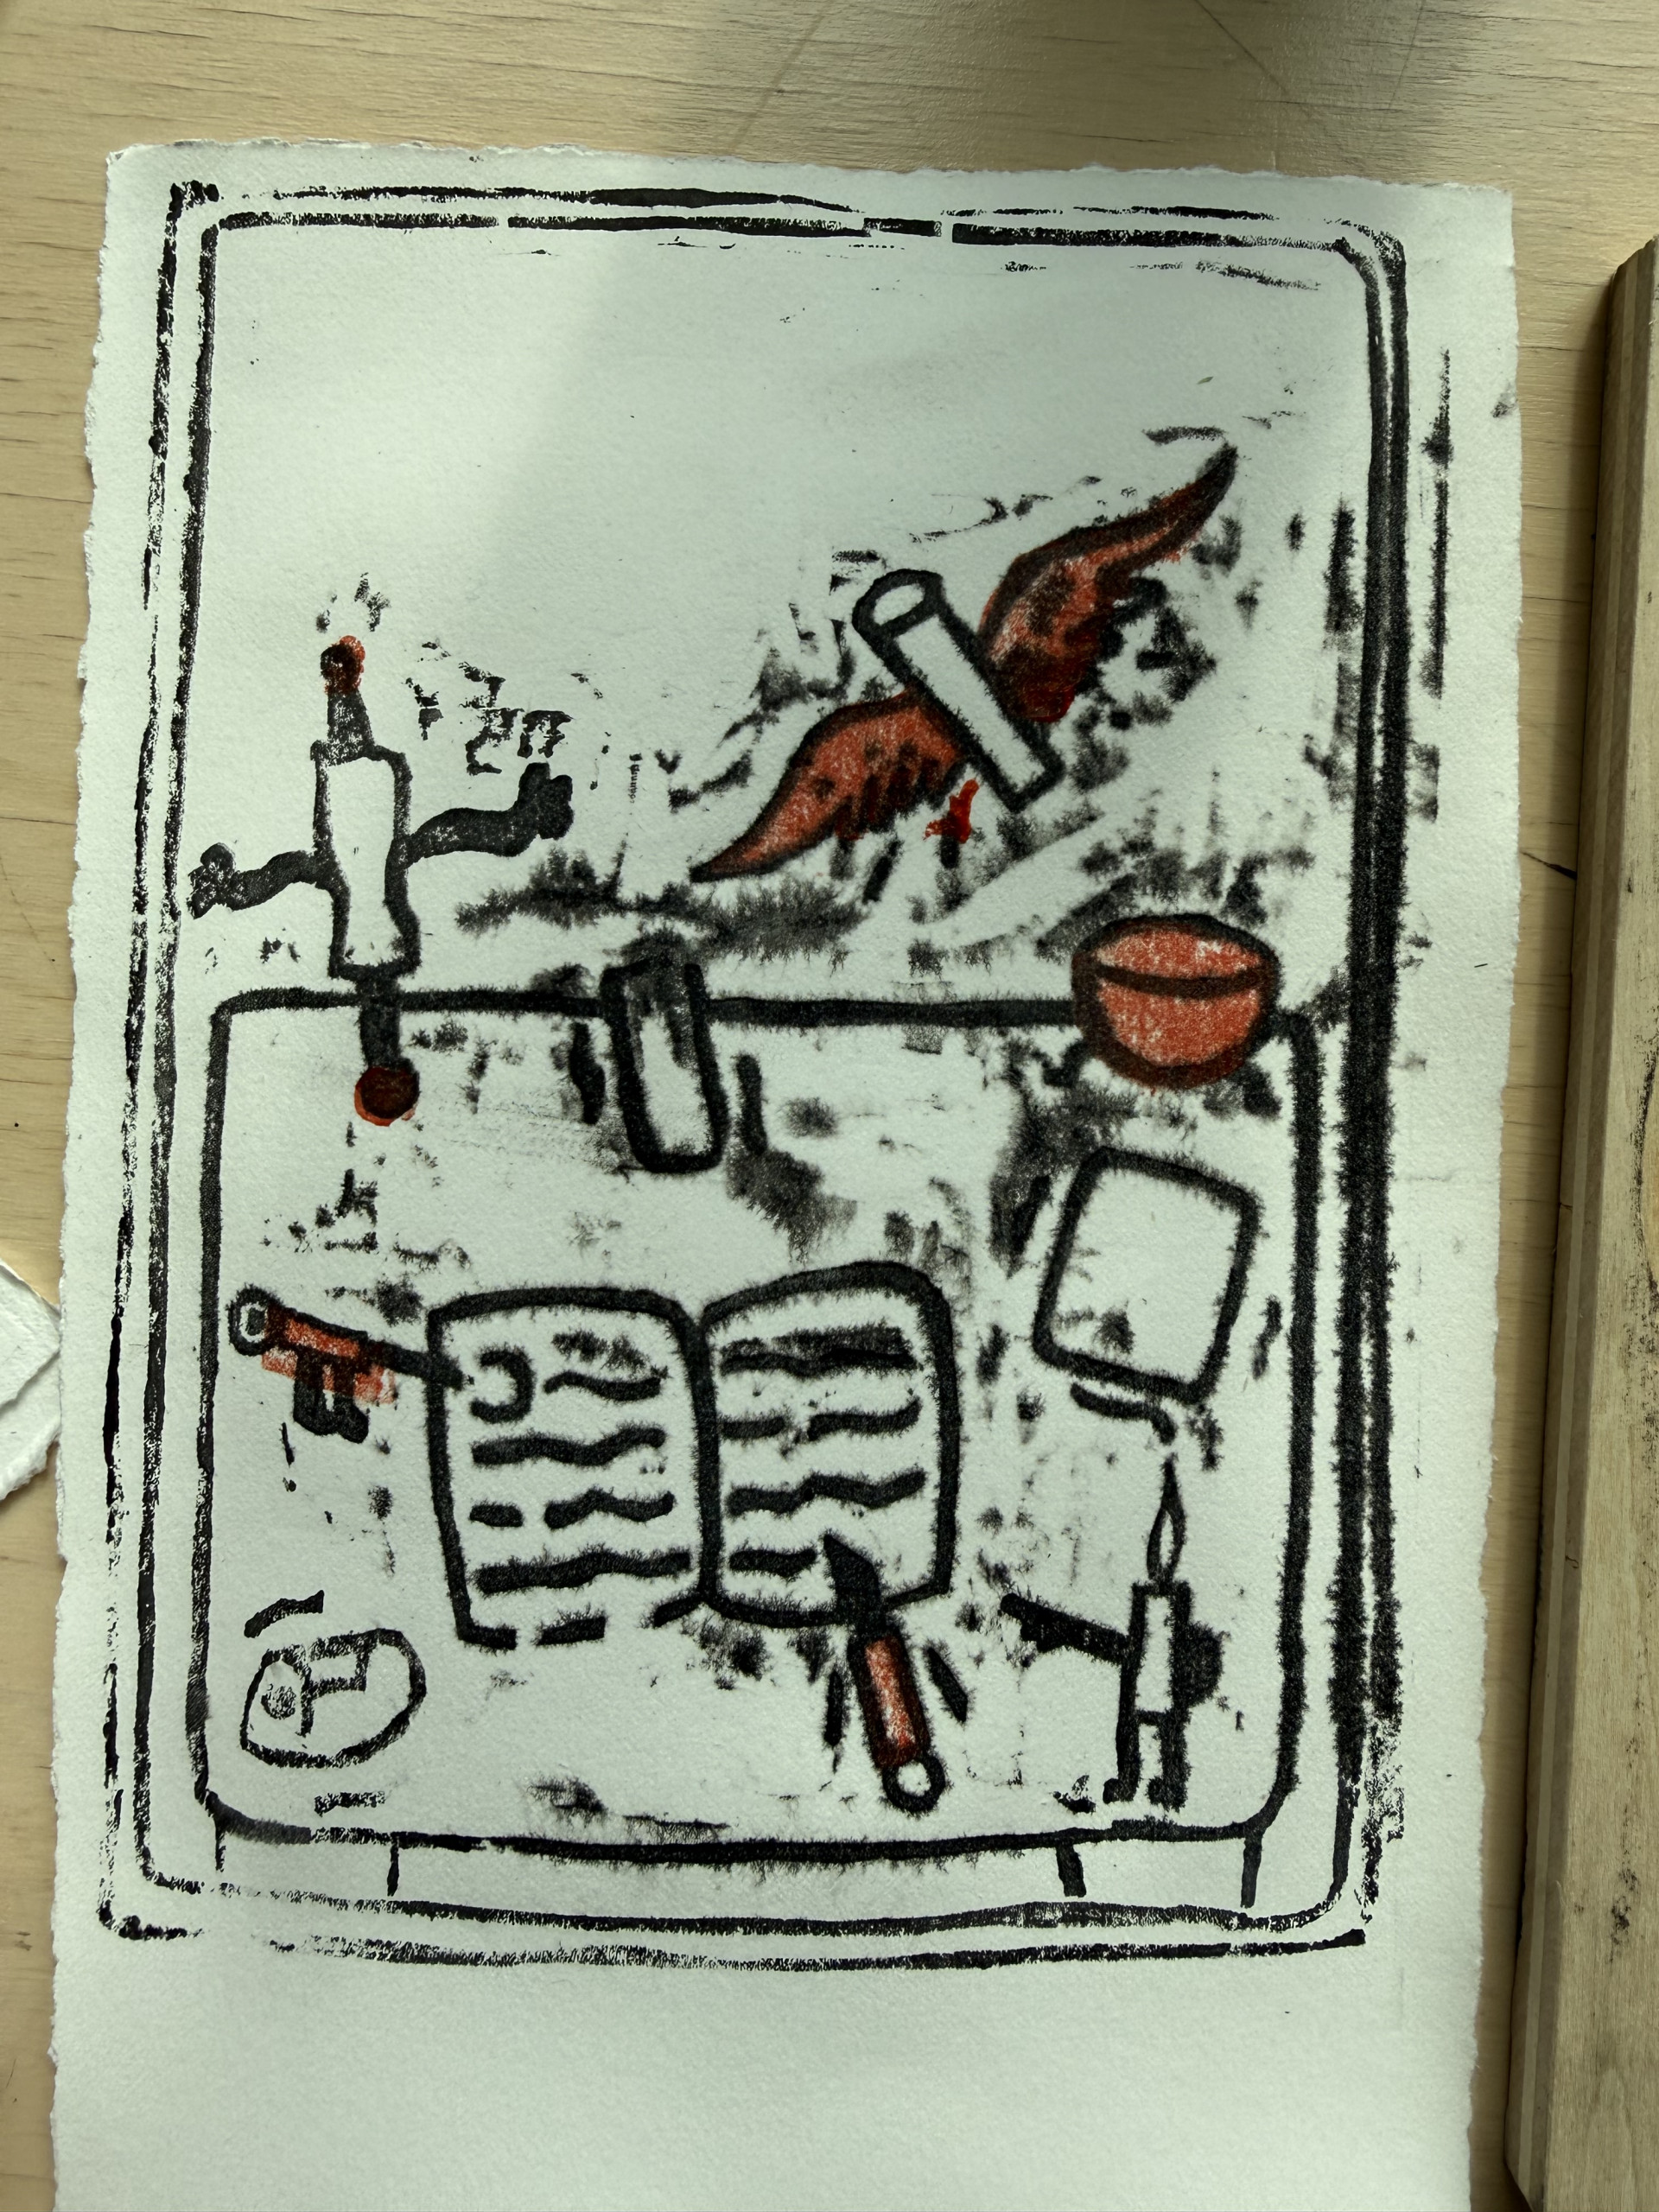
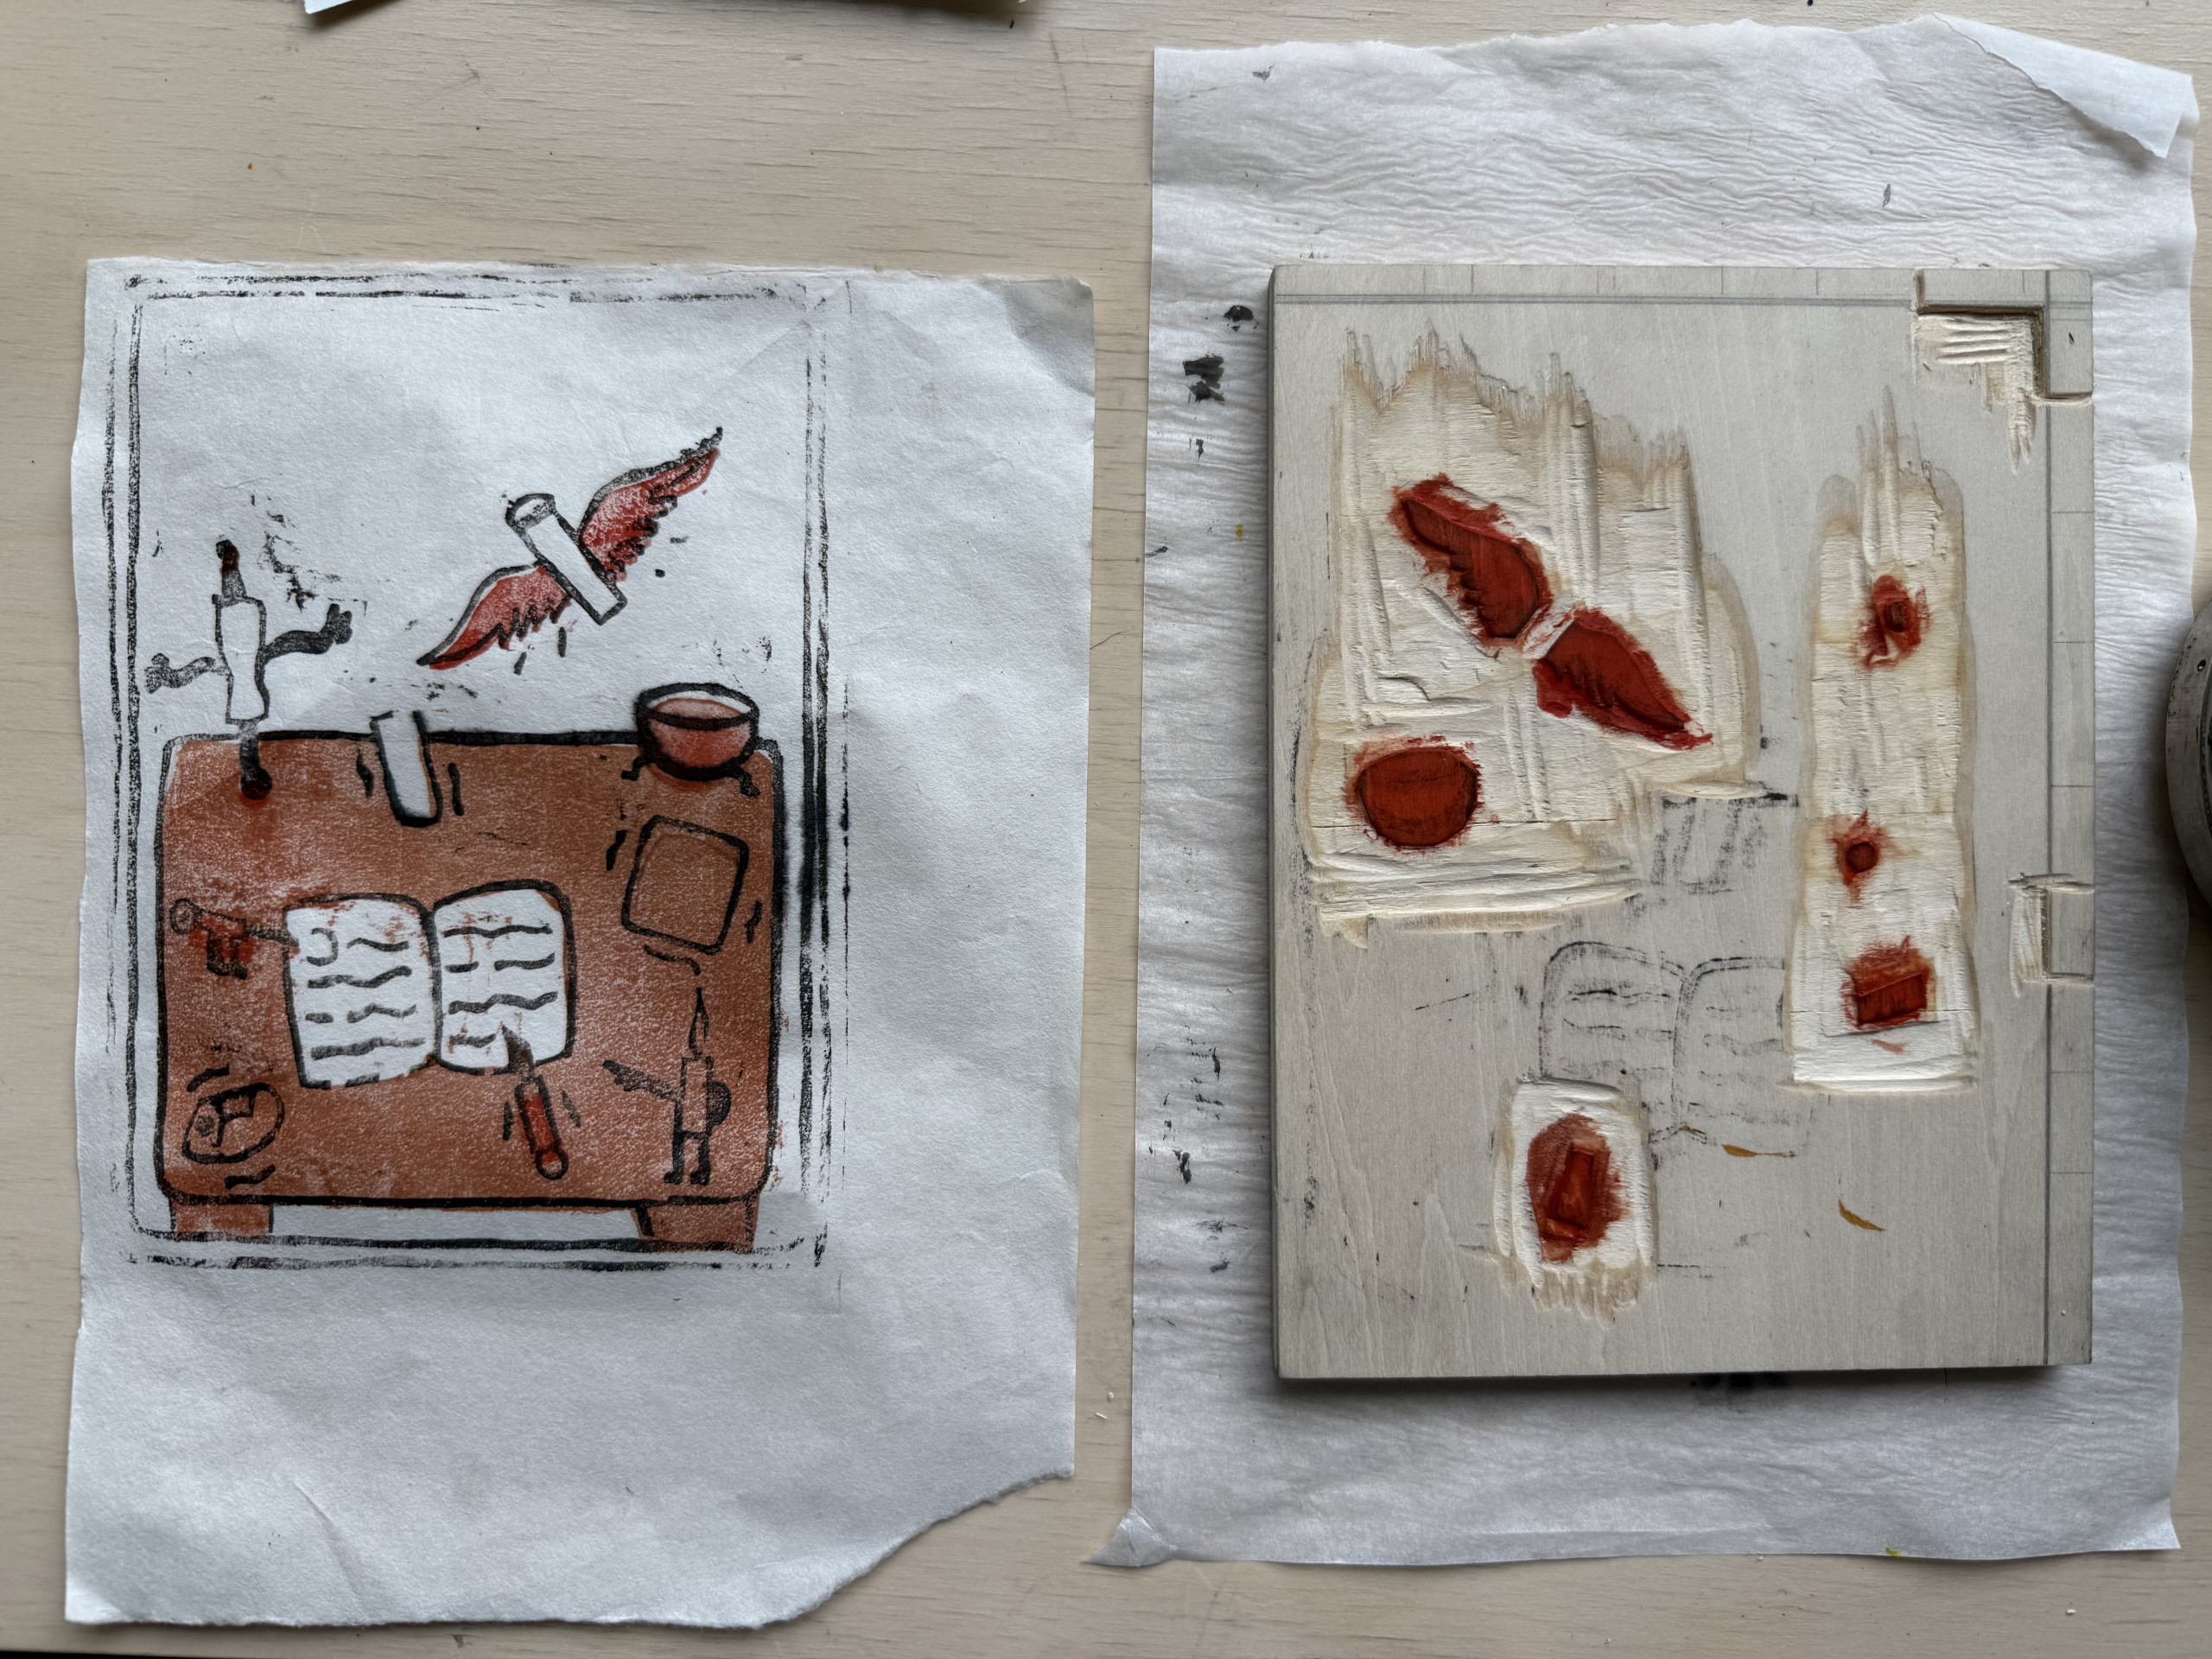
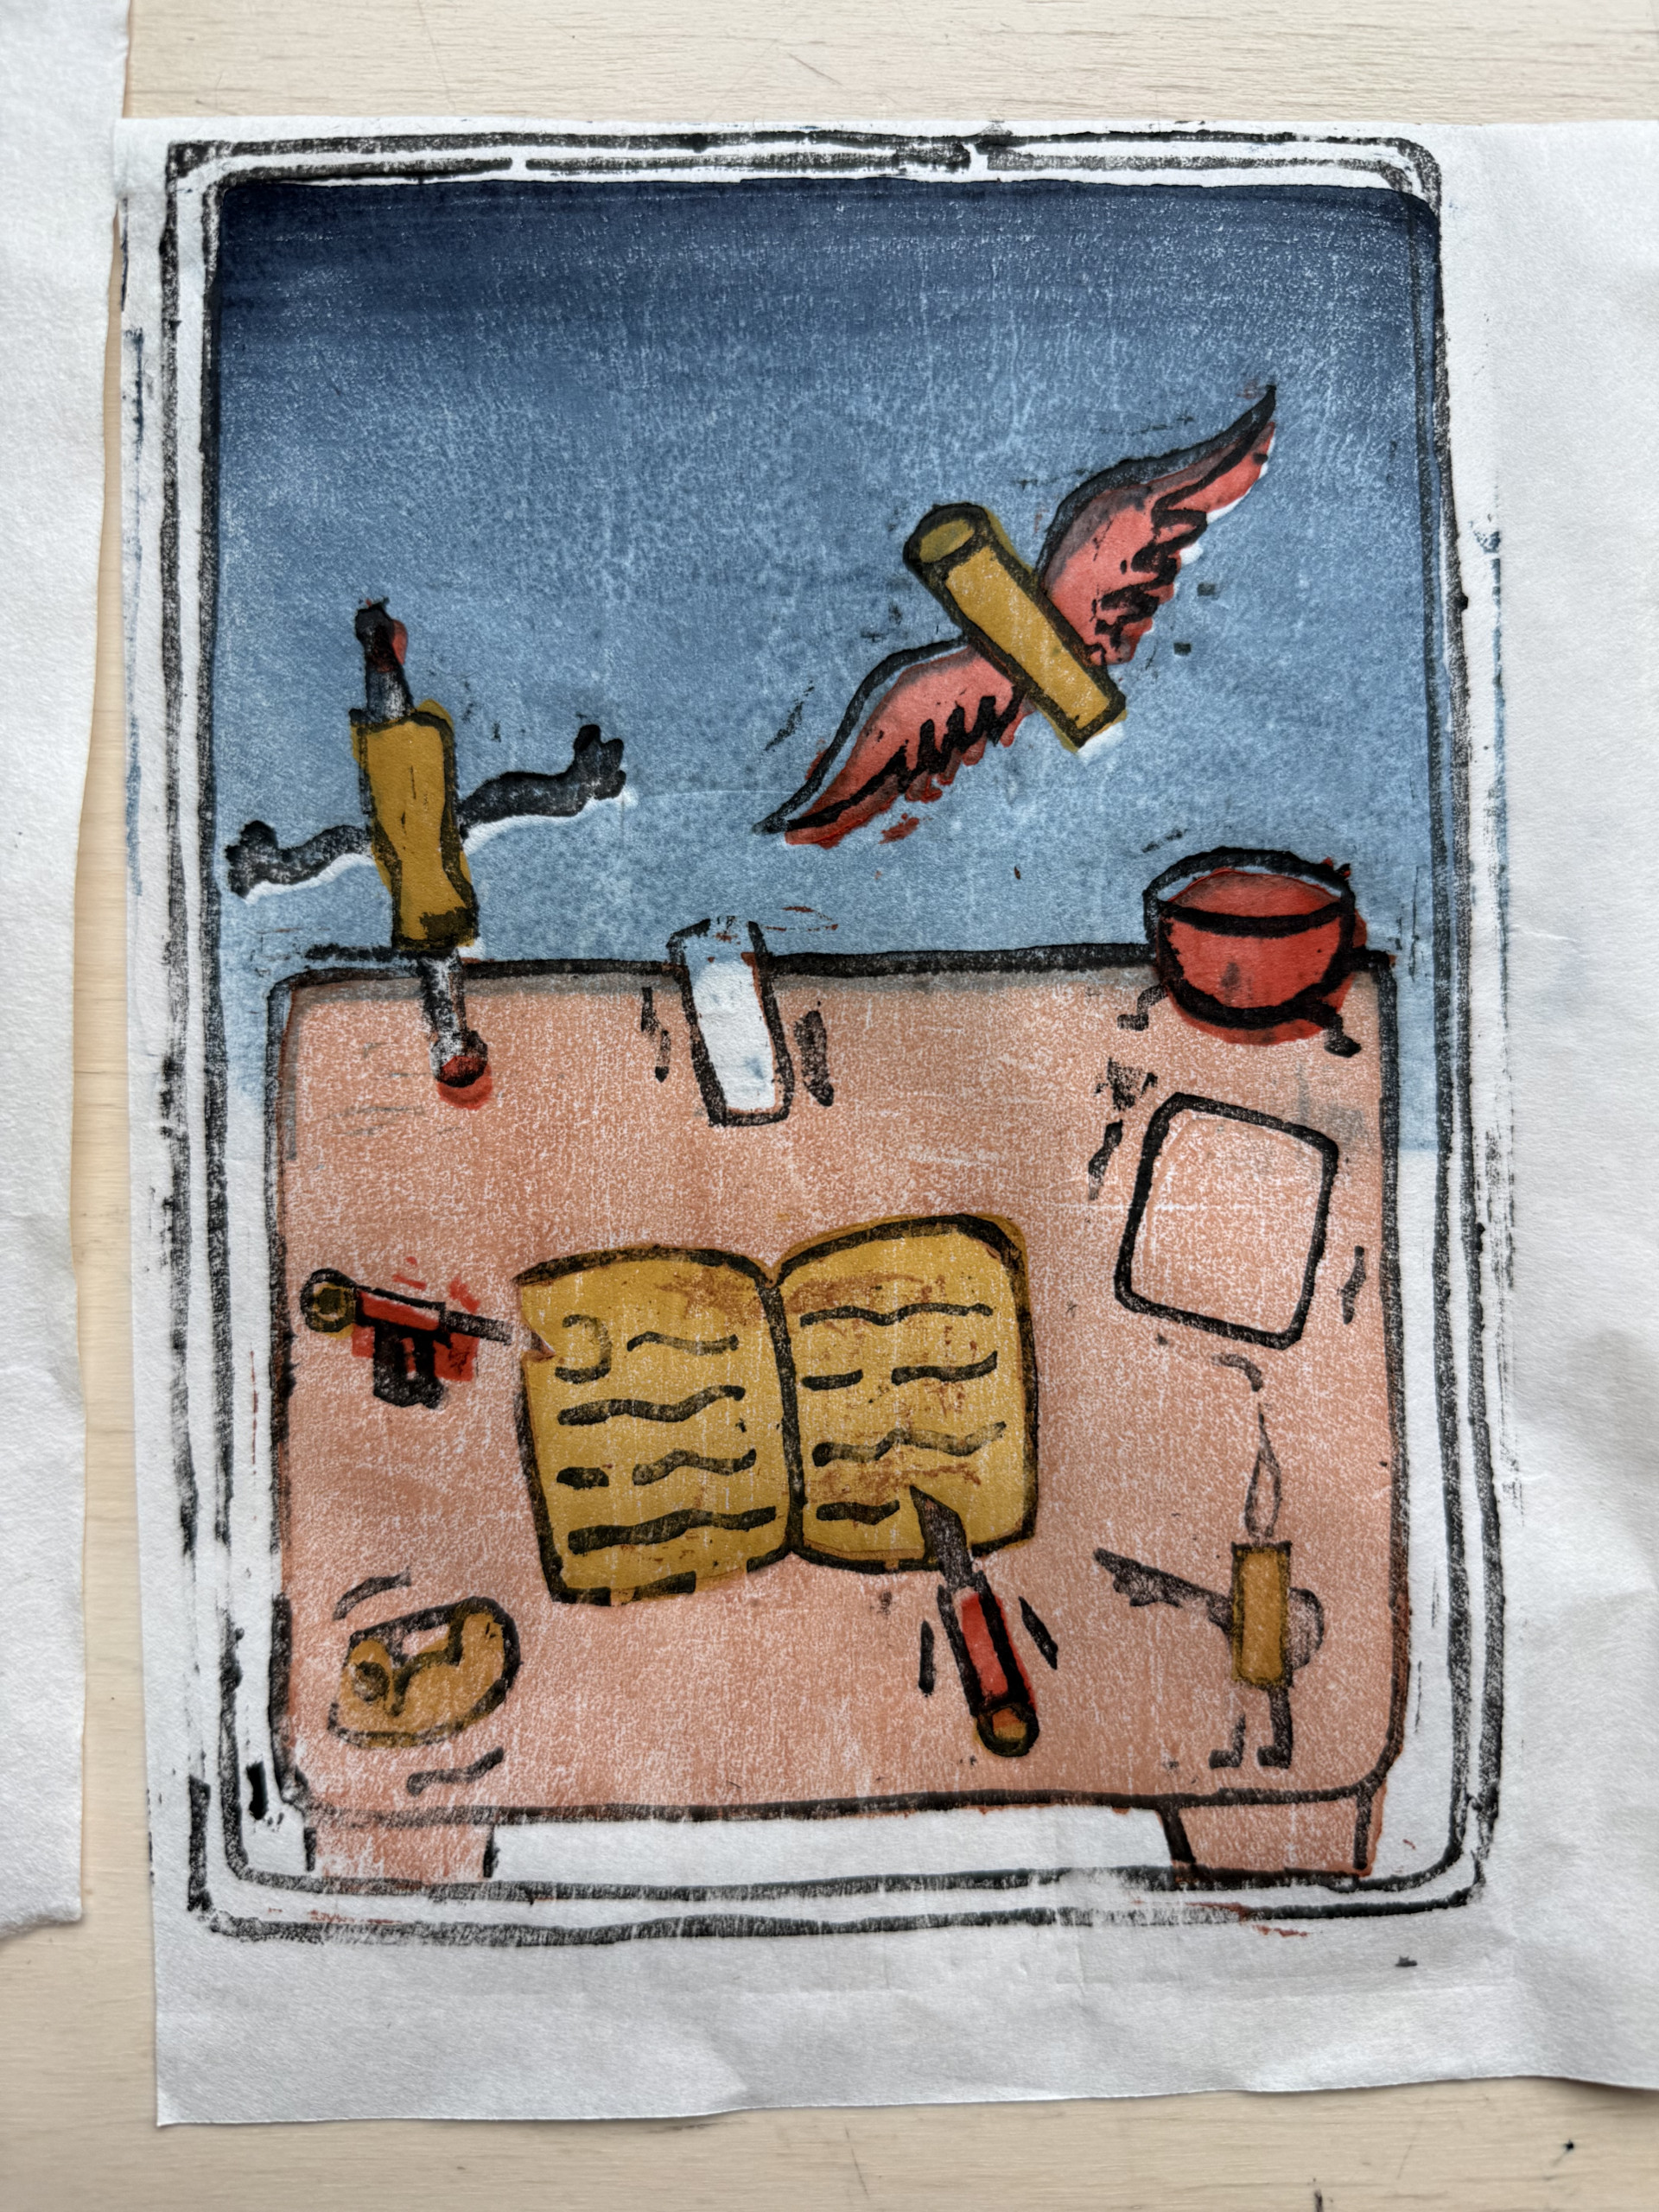
More process photos! Here you can see my printmaking setup, my first key block print, an example where I applied way too much pressure, an instance of applying one color block, and a final print!
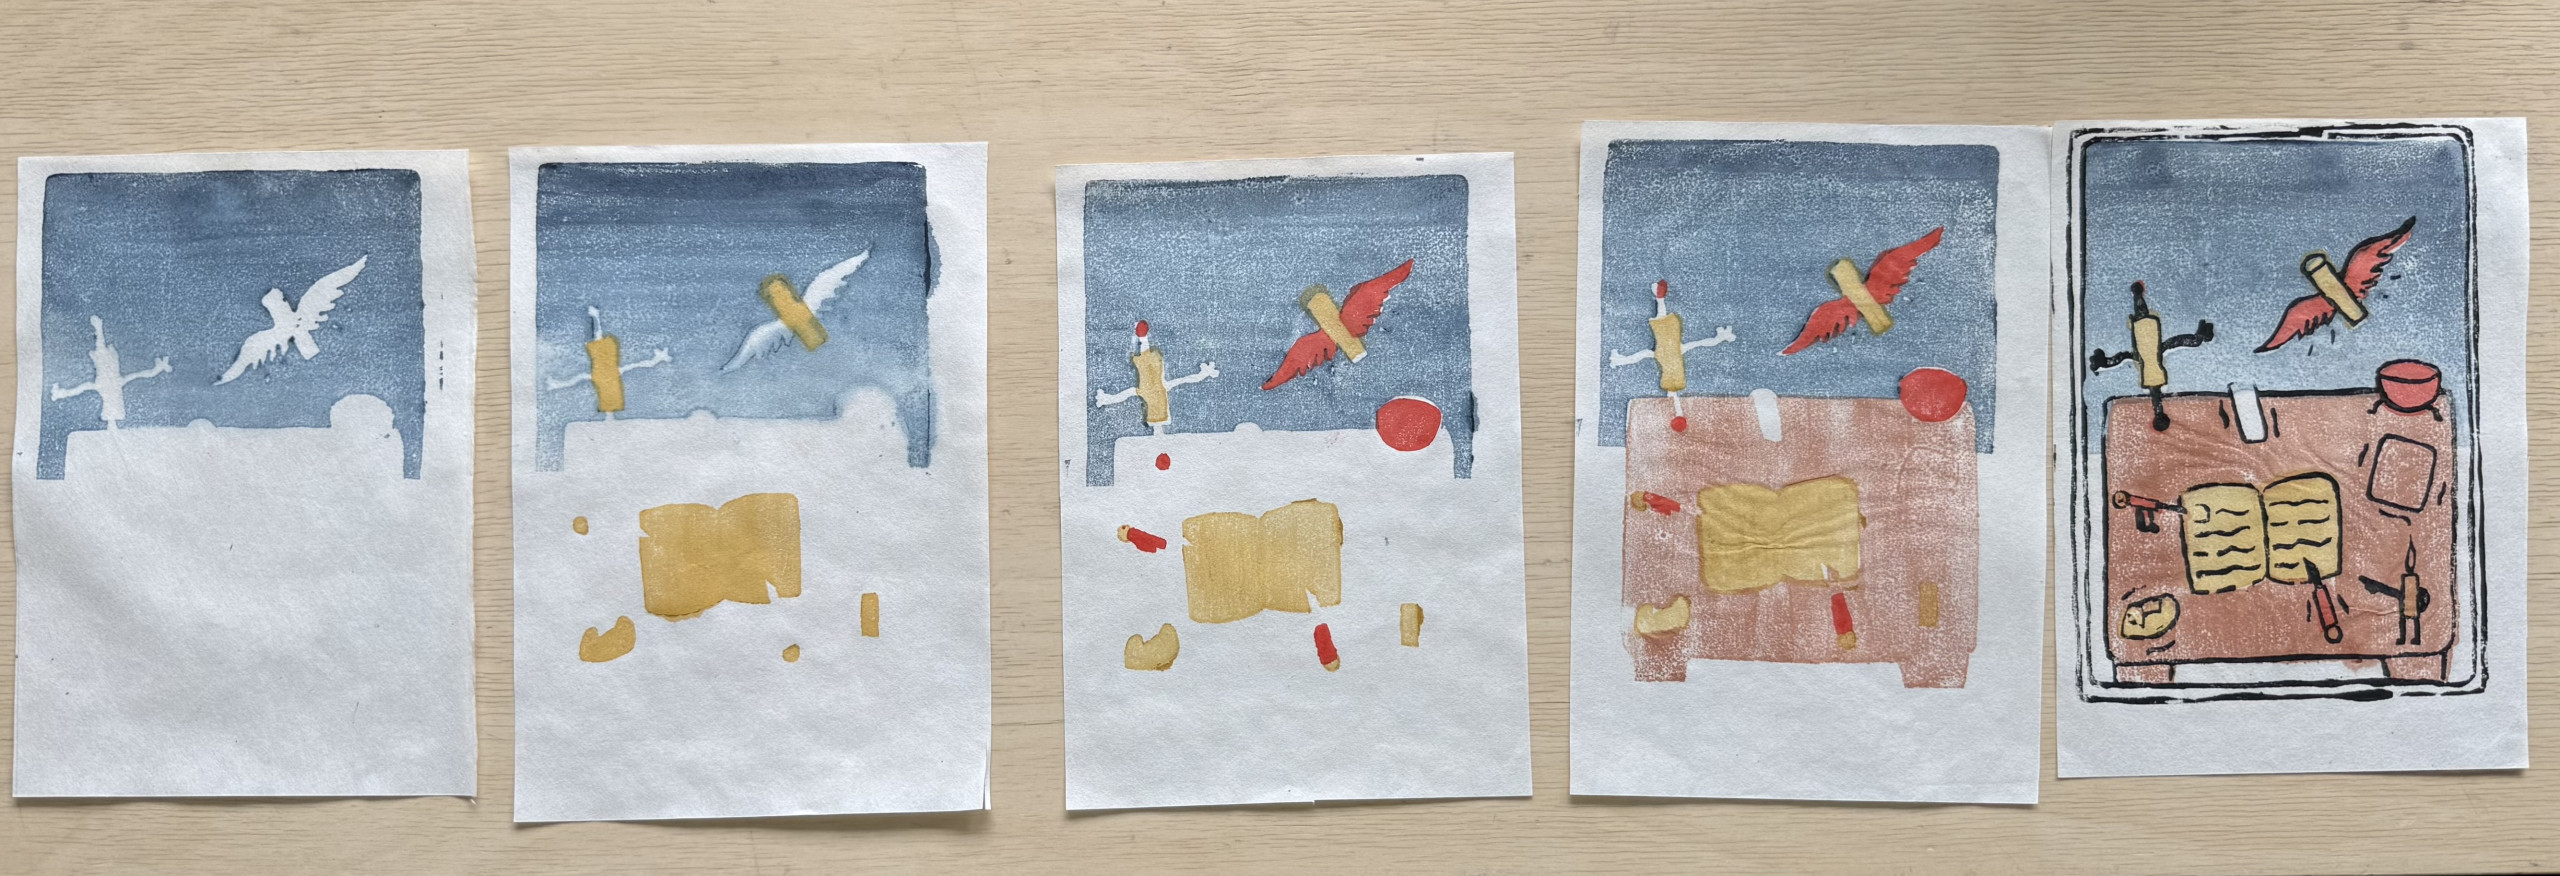
Here you can see the exact steps I took in my final edition of prints - I started with a blue background gradation, also called a bokashi, then added yellow, red, brown, and finally my key block to complete the illustration.
Letterpress
But we weren't done yet! Although the main part of the mokuhanga process was complete, the final image was lacking a key piece of information: a title! Luckily, instead of trying to meticulously carve out a uniform set of typeface into my key block or another woodblock, I was able to use another resource generously provided by St. Olaf: The Book Beetle! I am extremely grateful to the Library Collections and Creative Staff, Kristell Benson and Don Ezra Plemons, for connecting me with this resource. For those not familiar, the Book Beetle is a kind of desktop letterpress that allows individuals to print their own unique combinations of letterpress, provided that they have their own typerfaces and inks. Luckily enough, the Library Collections had each of these resources in abundance, so I was able to try out the Book Beetle as a way to identically manufacture a series of titles for my woodblock print. Although it may seem that this process might be a deviation from how Hasegawa's stories were originally published, letterpress was actually the primary way in which the text of each of his fairy tale stories were produced. Even though I realize that there is a lot more research and scholarship that could be accomplished in this realm, I believe that my rudimentary exposure to letterpress was an enriching experience in regards to Hasegawa's entire crepe-paper bookmaking process.
As for the establishment of a title, I discovered that the Book Beetle itself has a press bed where you can set up your specific font with whatever text that you would like to print. After properly spacing your words and placing them in a backwards order (as, once again, the printed letters will be reversed when set into your paper), you additionally place a series of small wooden pieces, called furniture, into the press bed to tightly lock your words into a certain configuration. After your typeface is well set, you can gently place your paper directly onto the letters, set down a wooden board on top of the paper, and then press your print through the machine! Compared to other Western-style presses that might have a roller or cylinder, the Book Beetle just has a flat wooden surface connected to a screw that you rotate by hand to firmly transfer the typeface onto your paper.
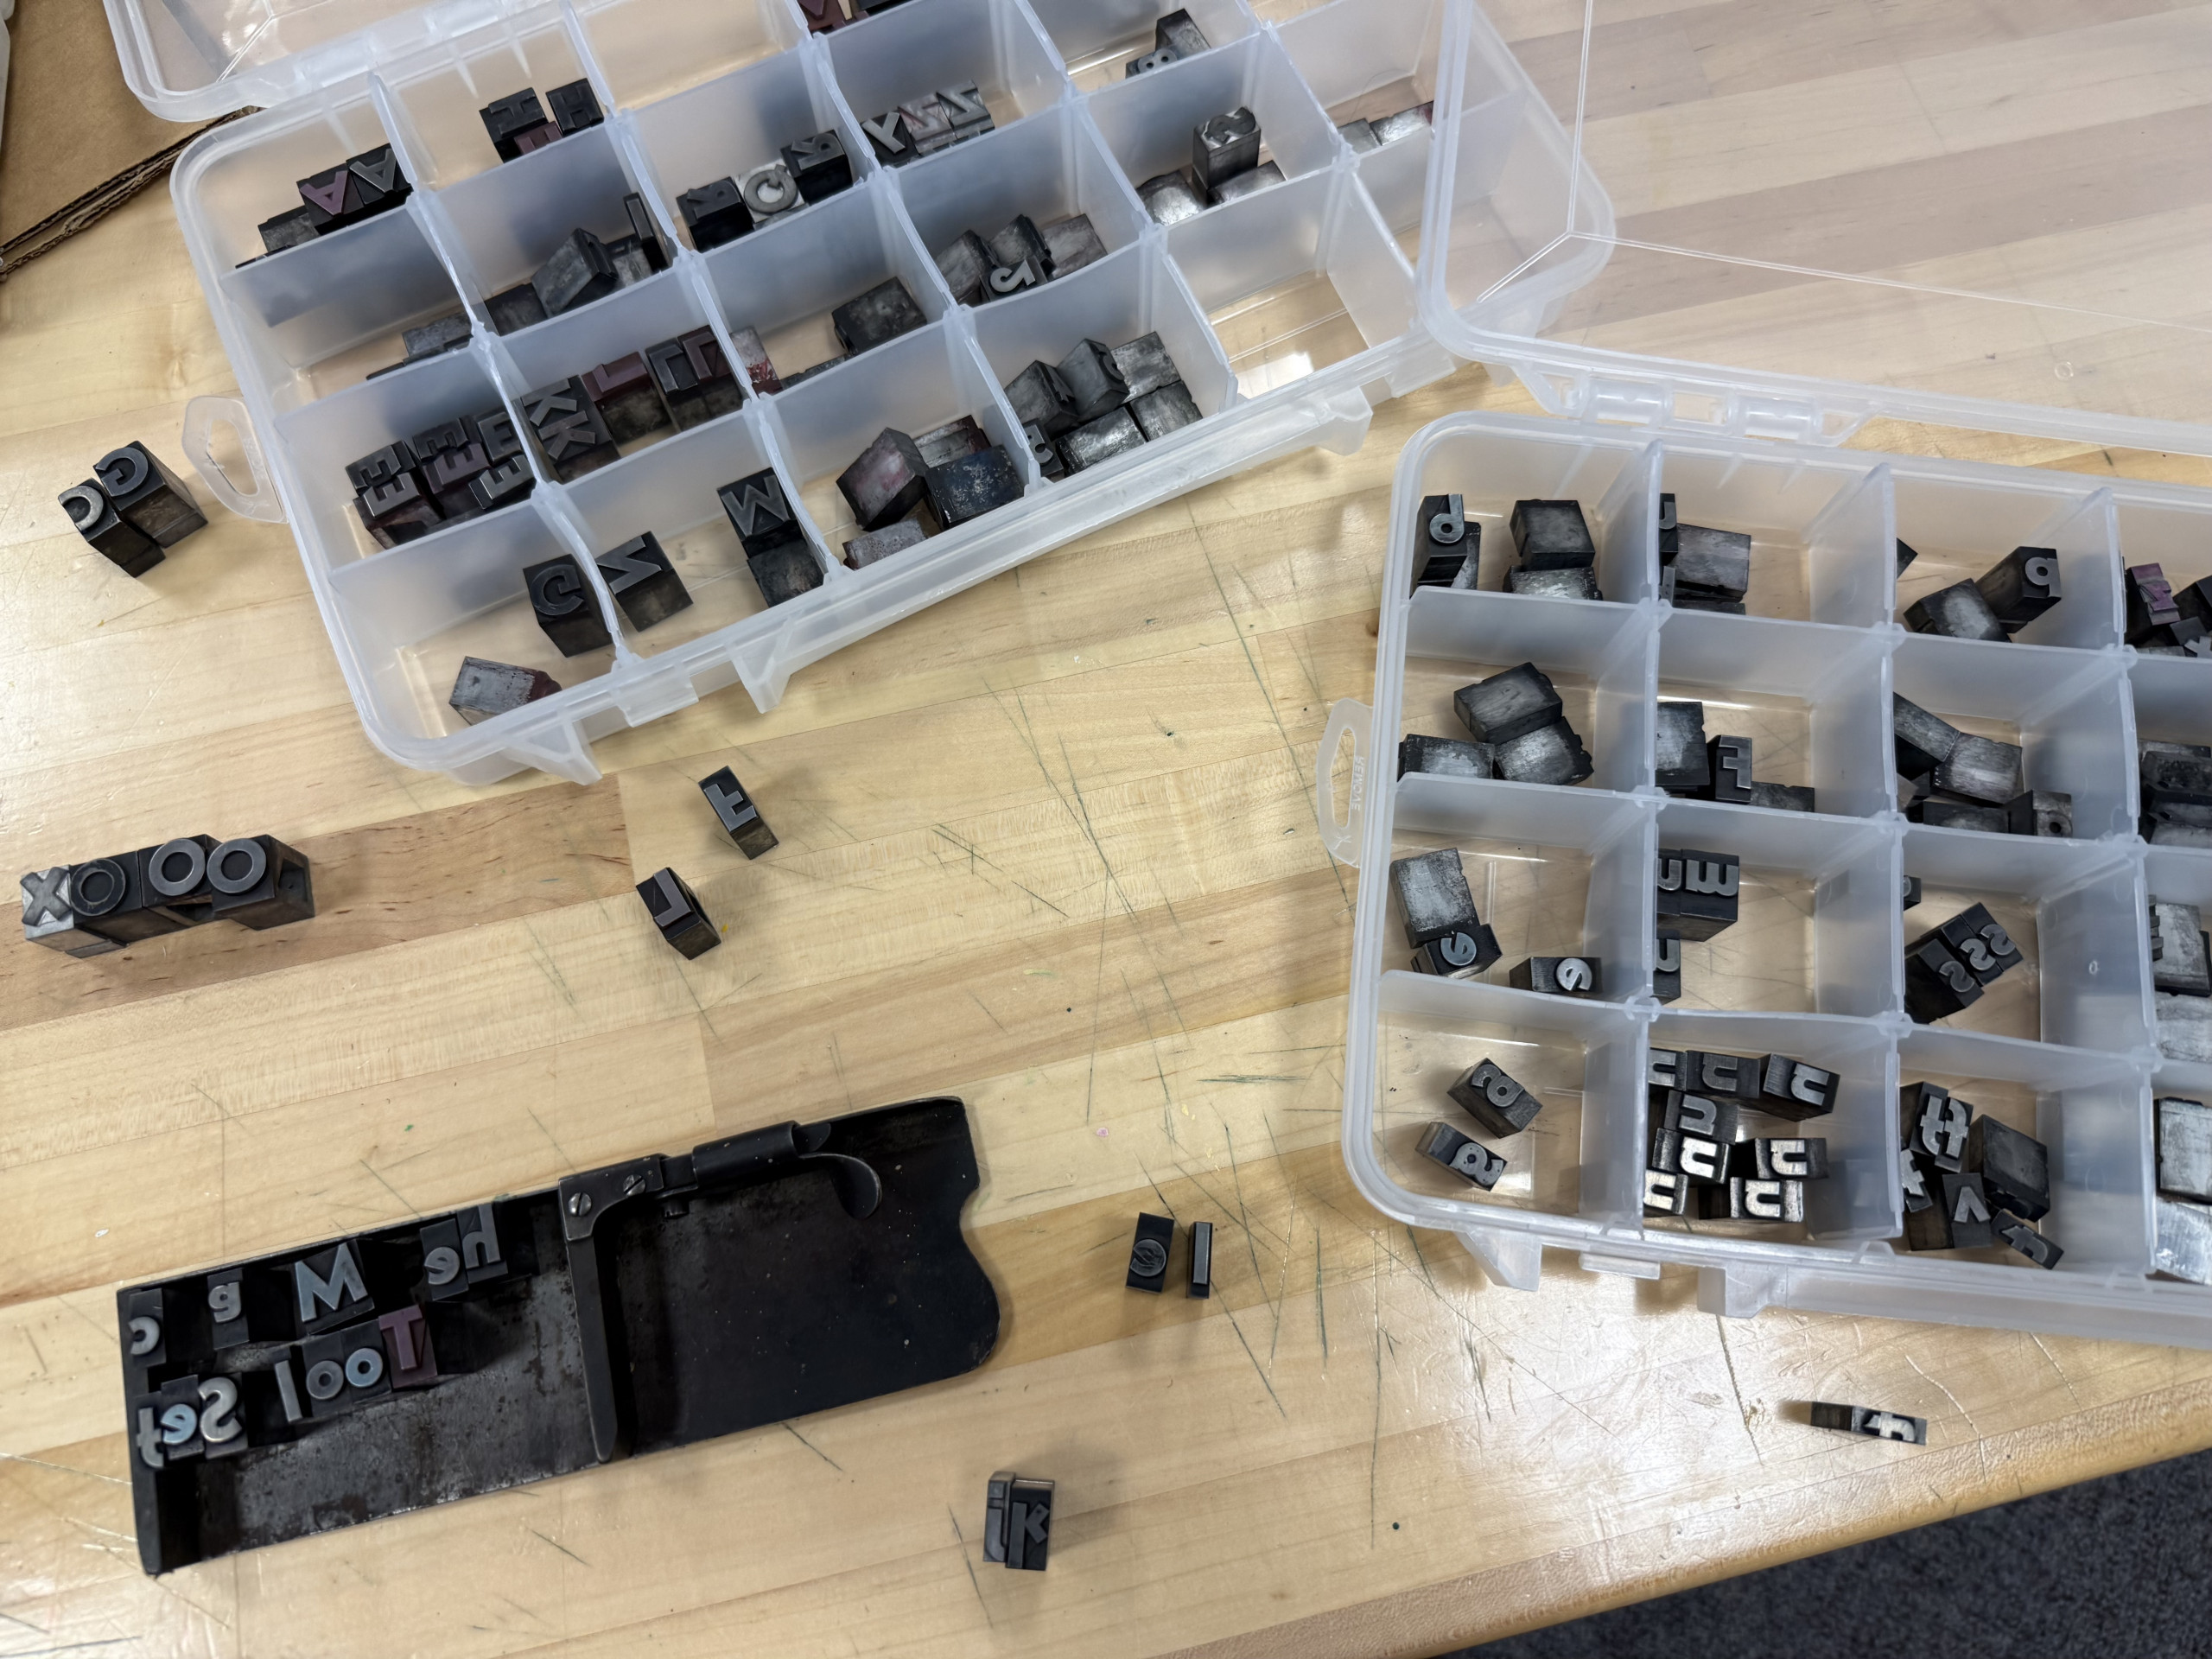
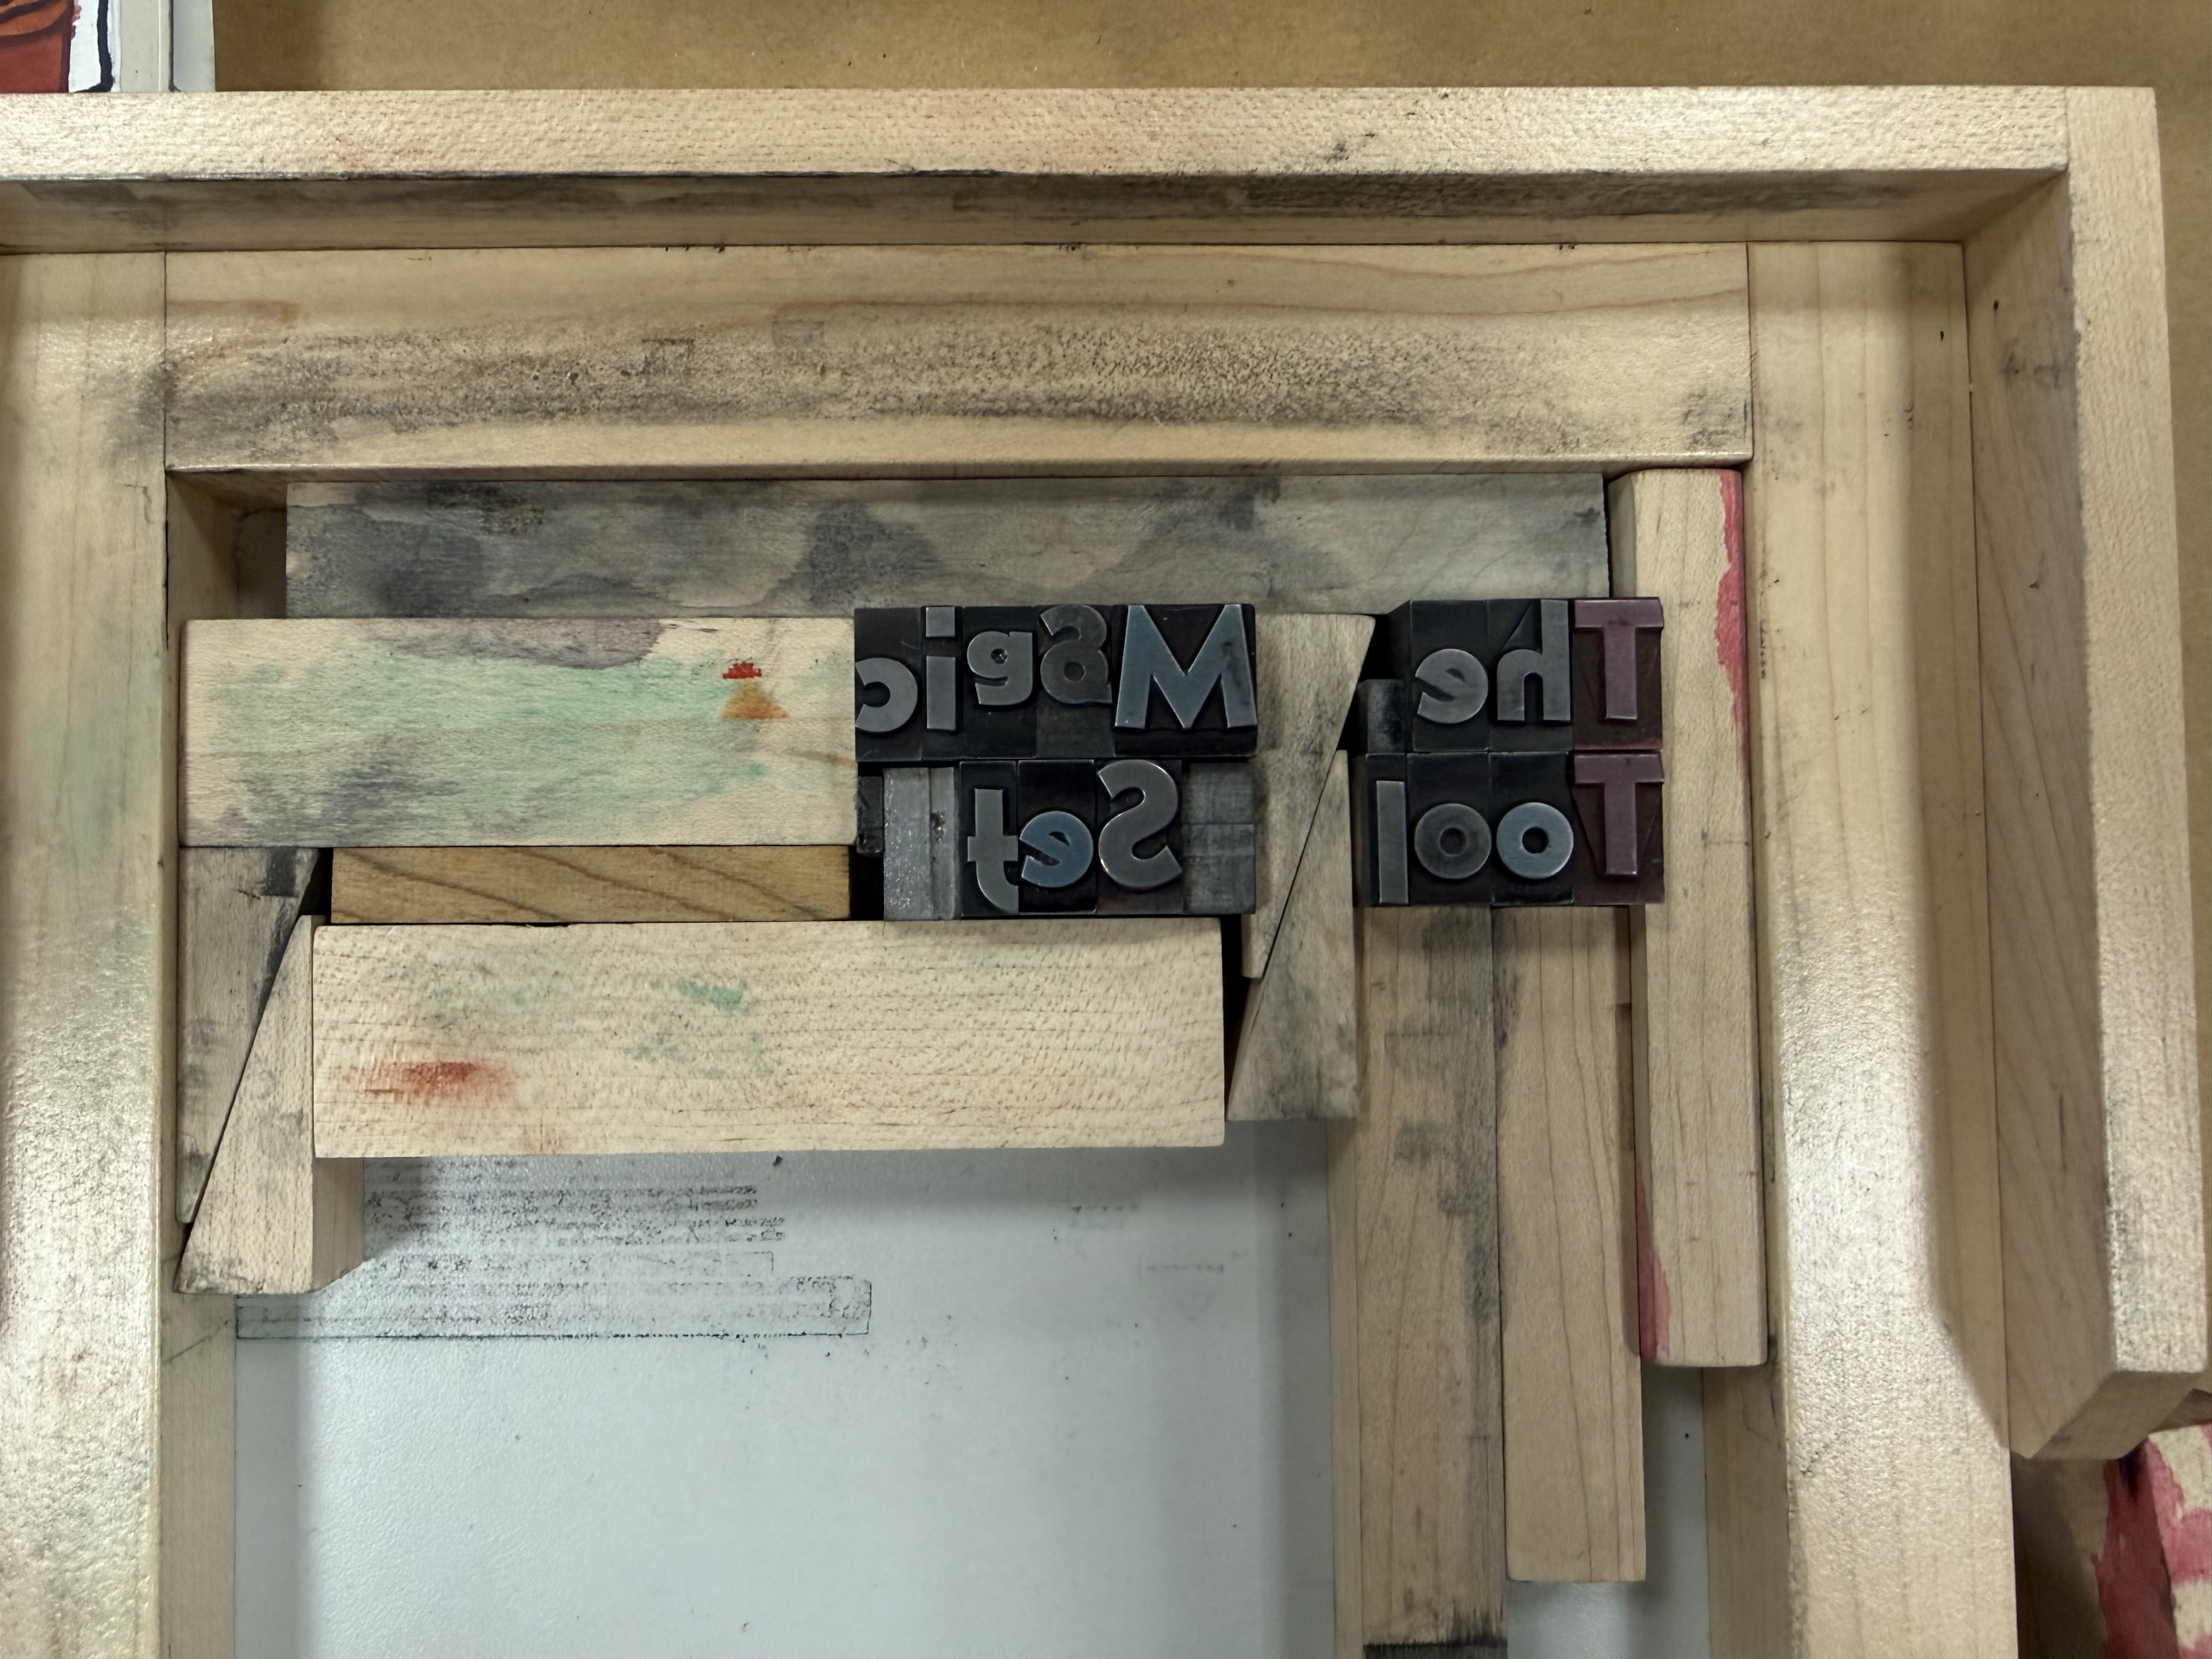
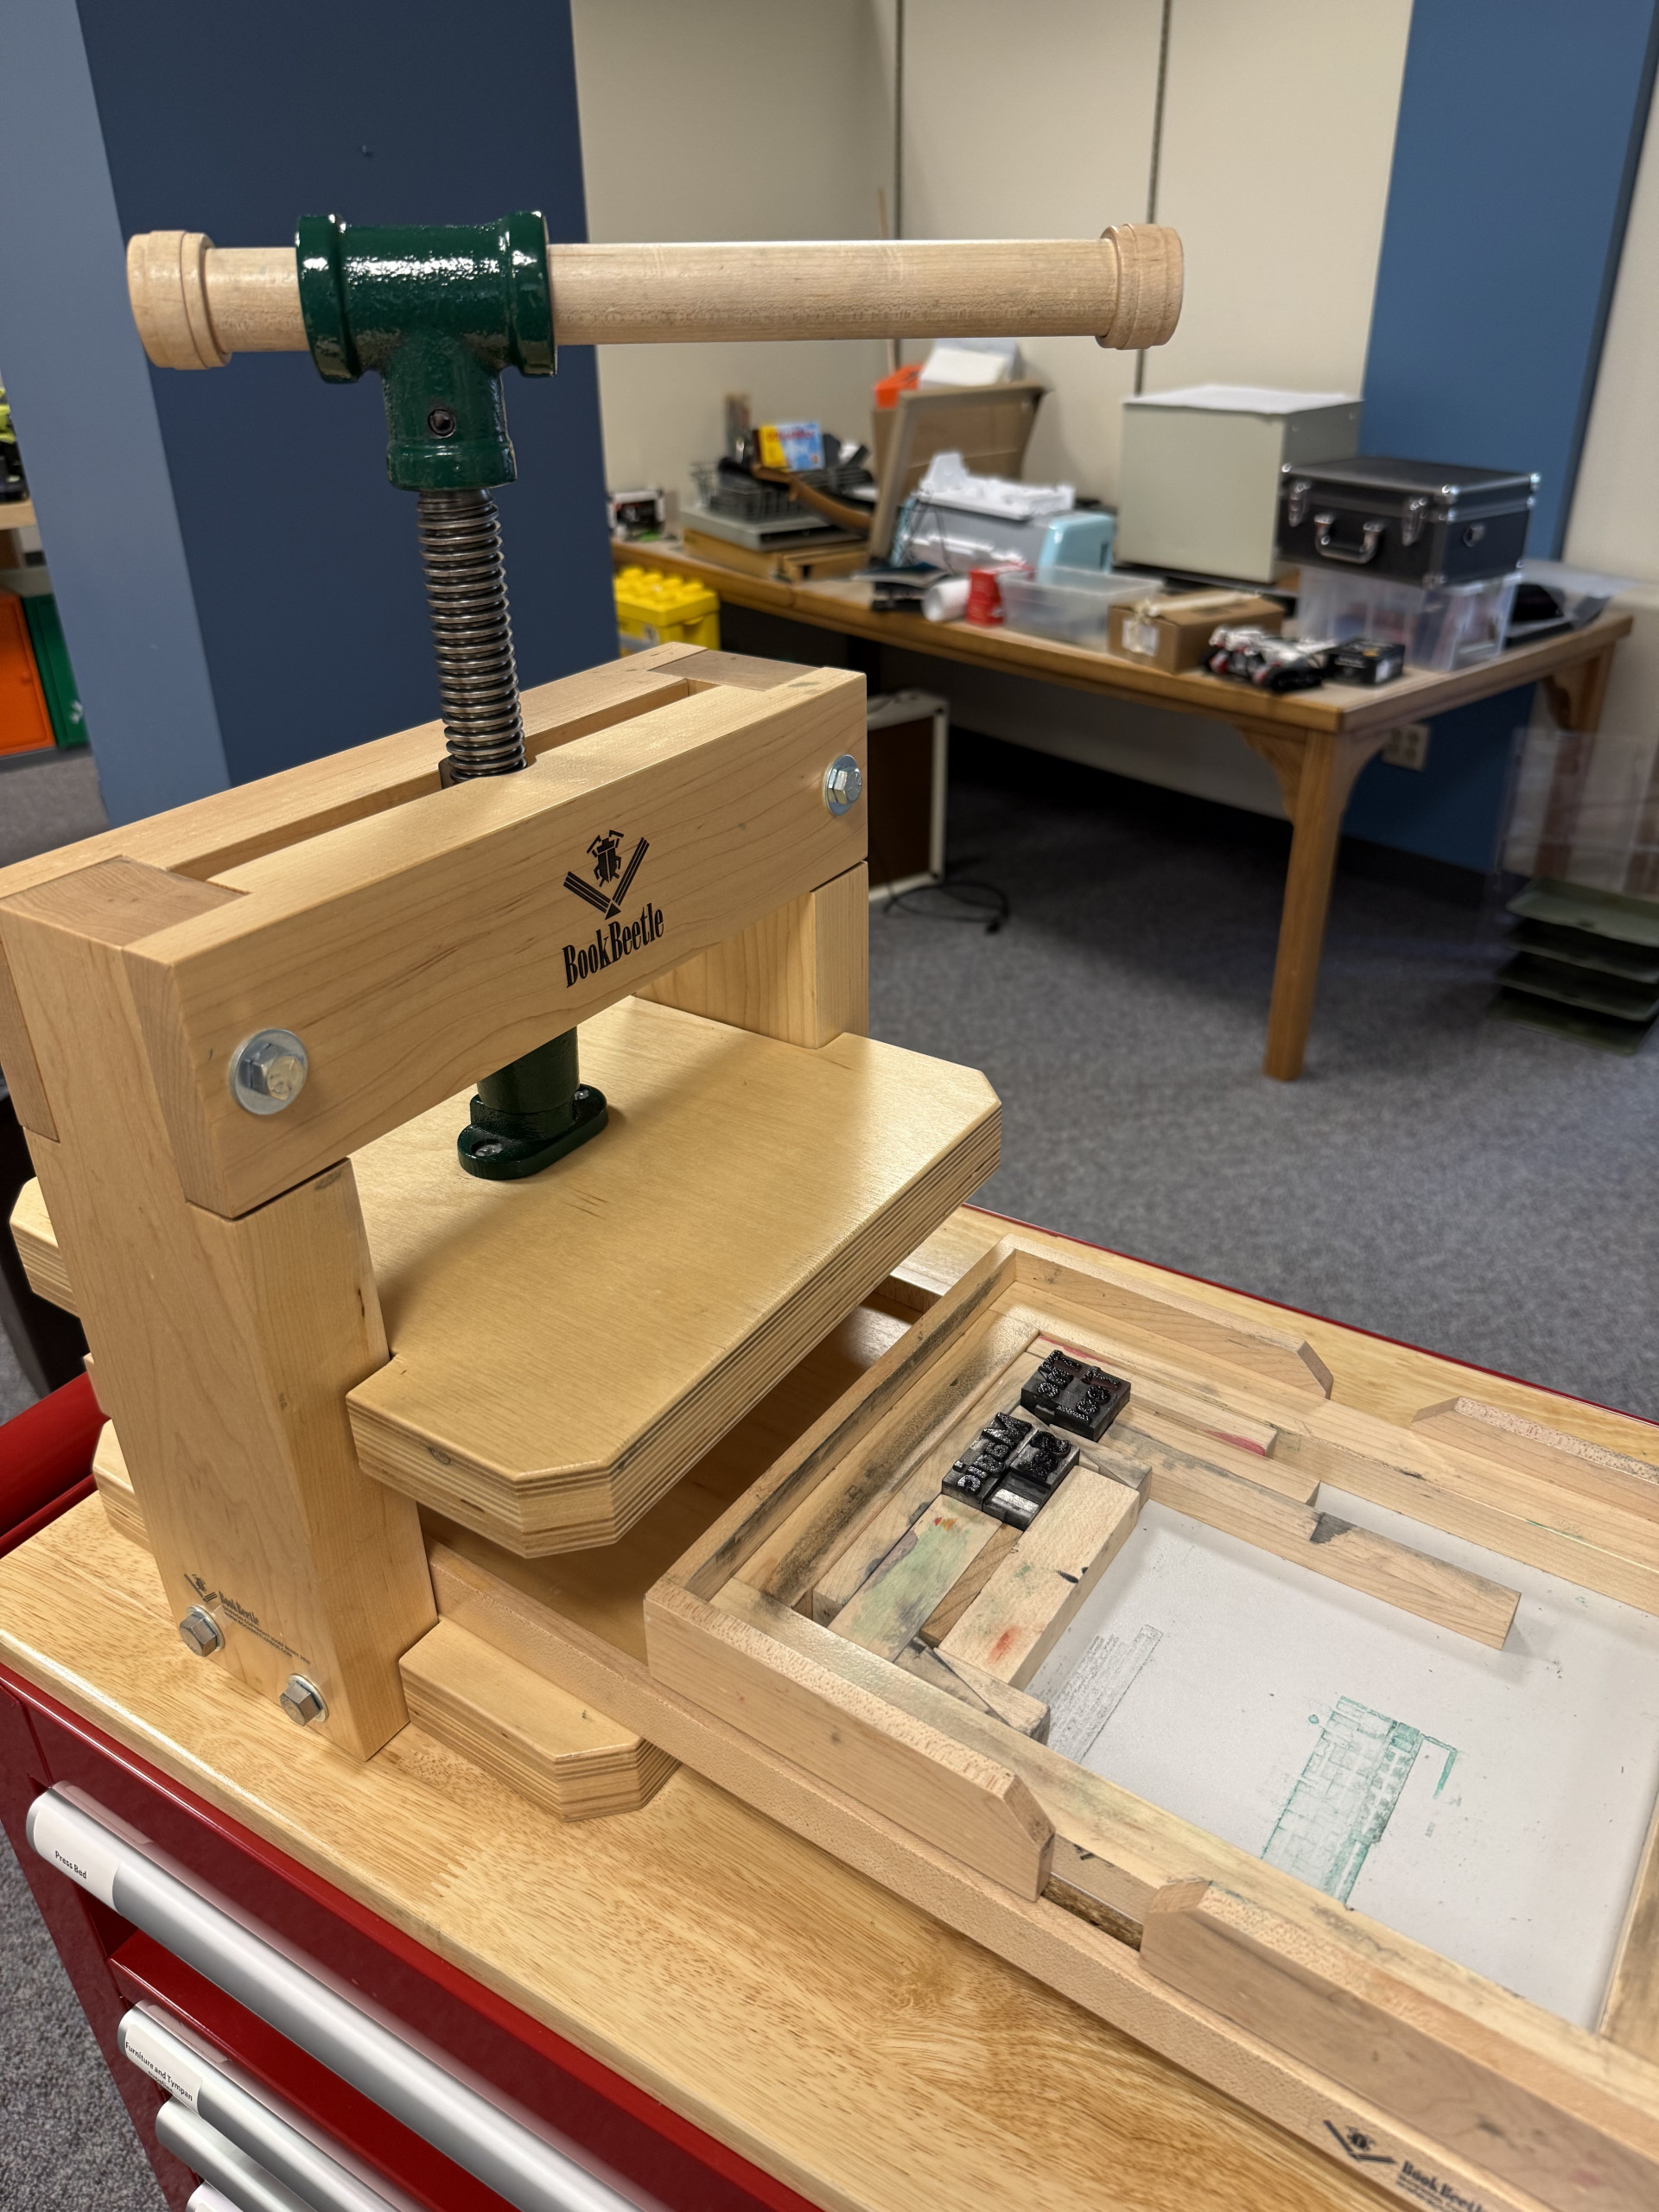
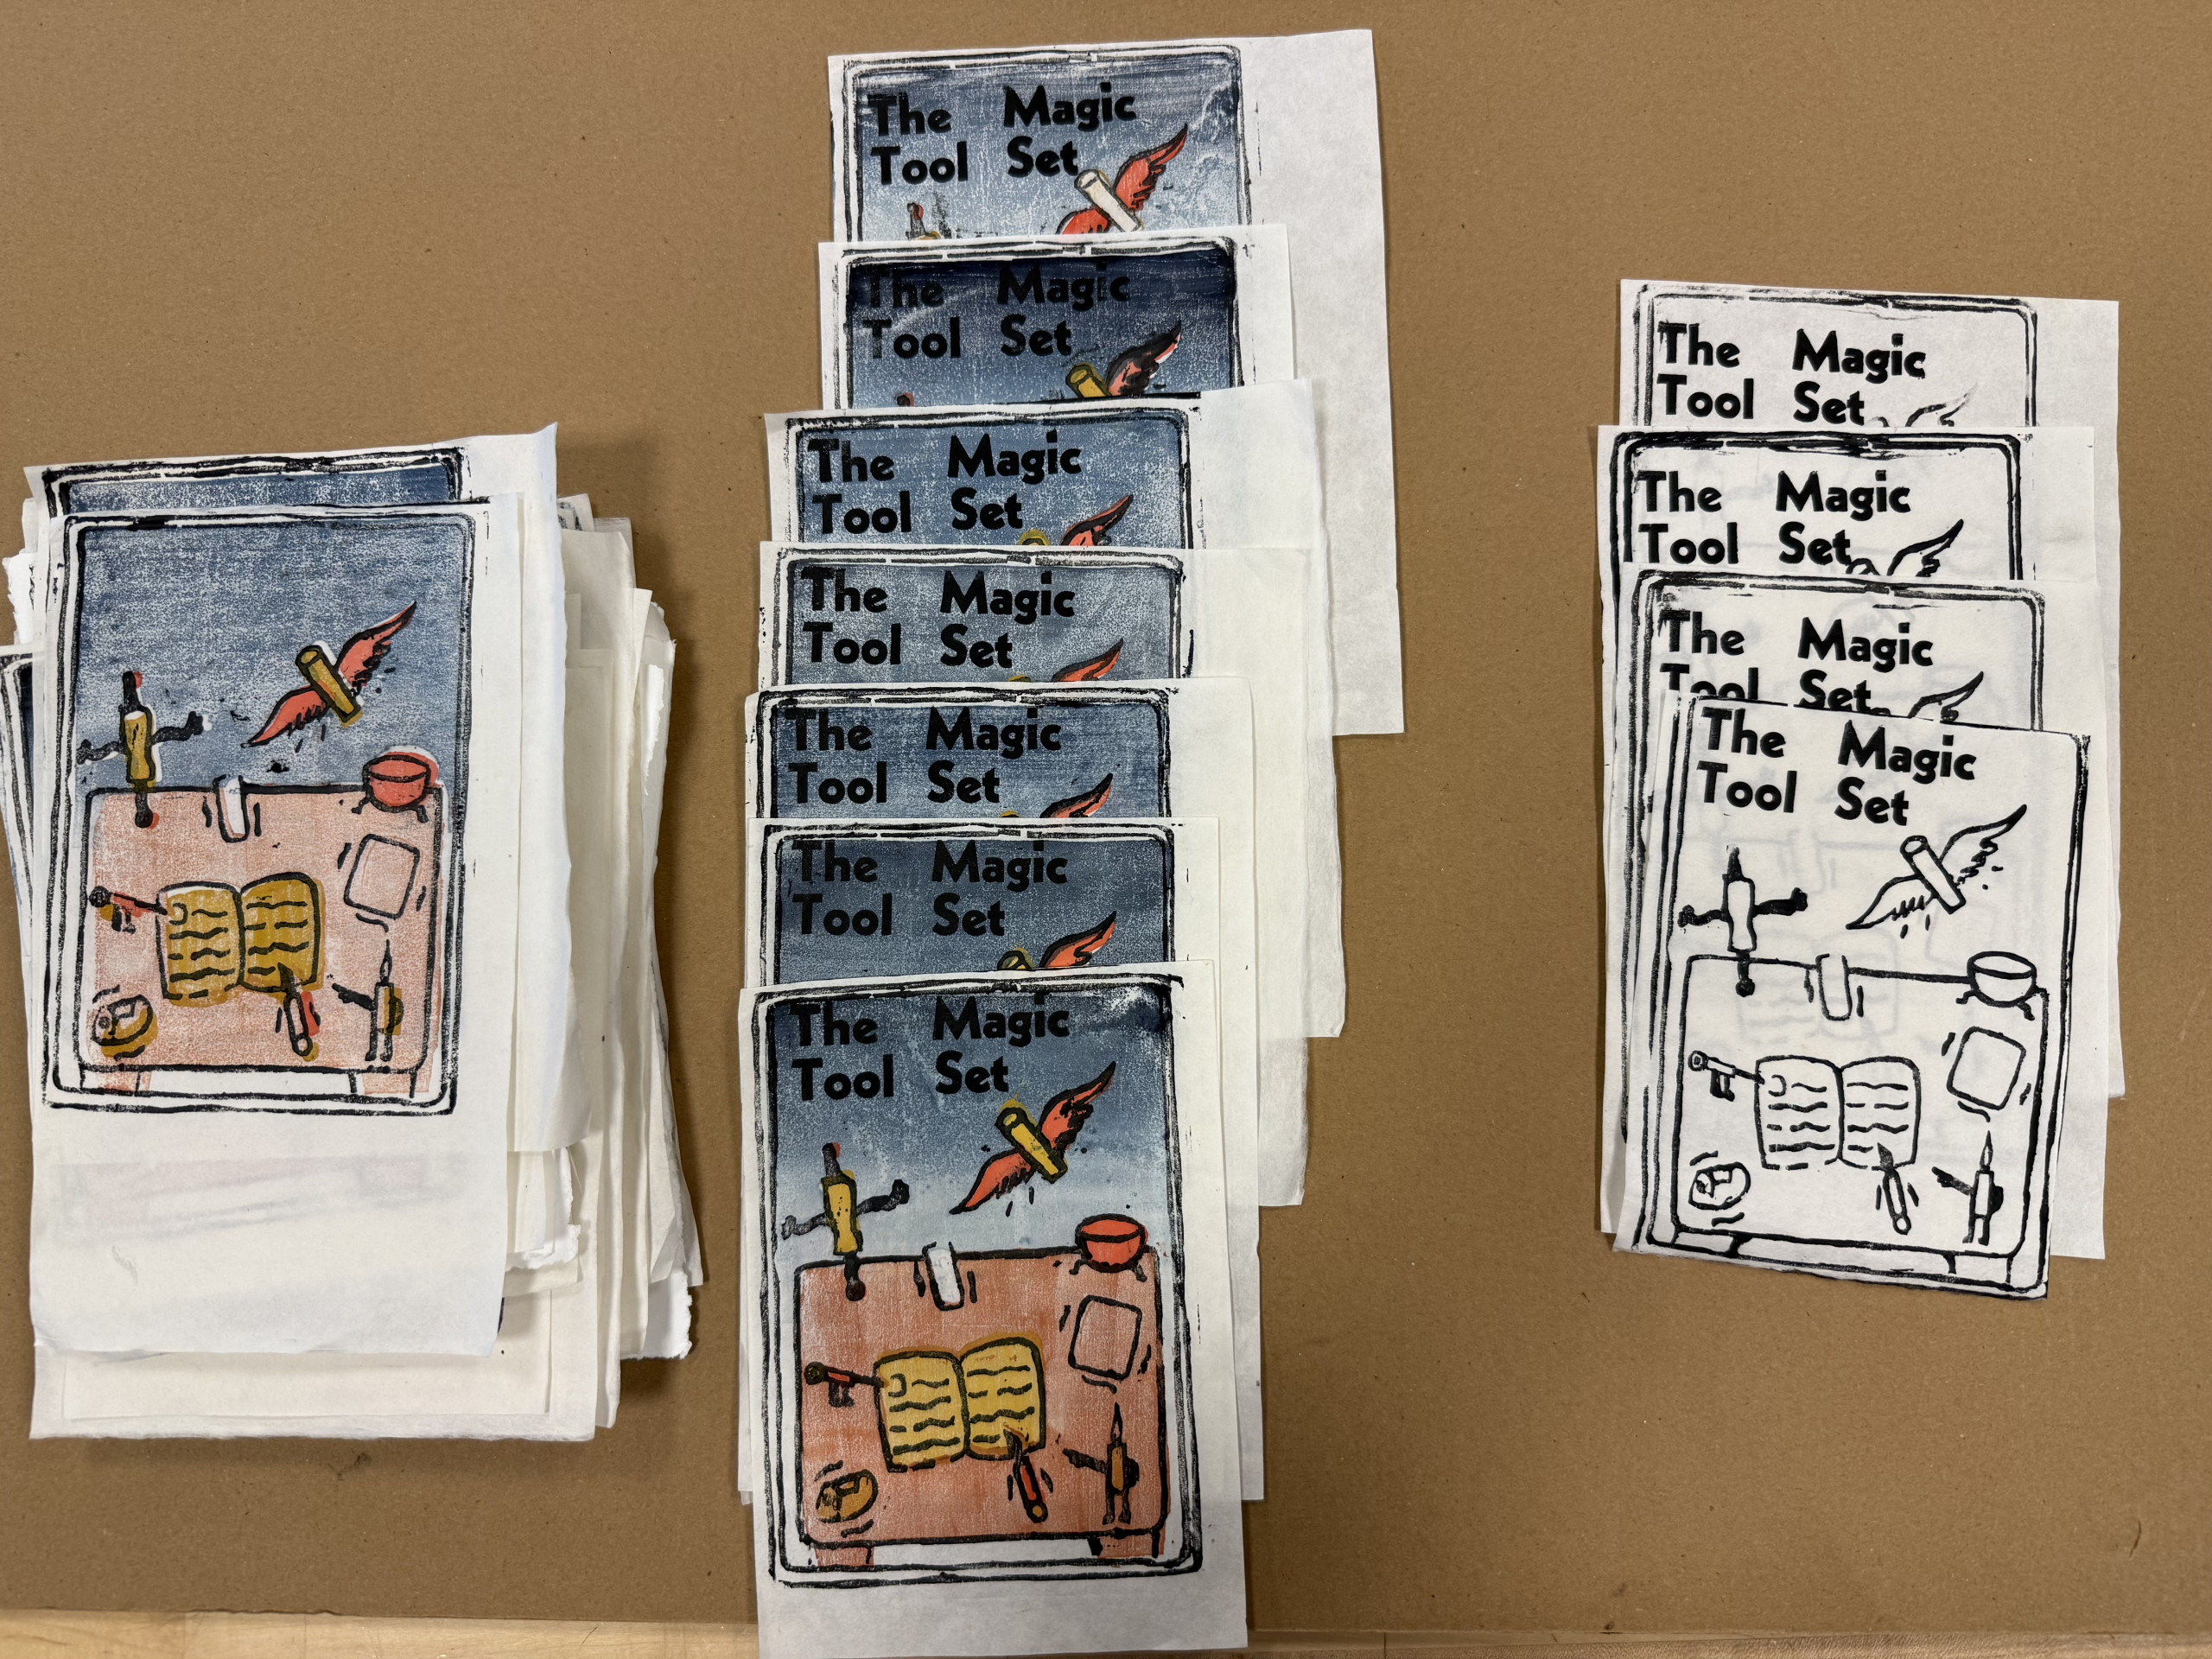
Here is a run-through of all the parts of working with a Book Beetle: from figuring out up my typeface, to setting up the furniture, putting my press bed into the machine, and my final finished set of prints in both black and white and color! As for the title specifically, it came out much more prominent than I expected, with the overall title seeming to "jump out" againt the overall illustration. This I can mainly attrubute to 2 factors: one was the more intense oil-based ink that I used on the typeface instead of the water-based inks applied on the washi paper previously, with the second being the higher amount of pressure that I achieved with the press as compared to my own hand with a baren.
Conclusion
Oh my goodness what a process! Overall, I learned so much in attempting to create an official print through the mokuhanga style. There were so many successes, failures, and unexpected results at each and every step of the process, and my knowledge of both printmaking and letterpress has grown exponentially. I believe that the most difficult part resulted in my lack of properly carving accurate kentō, as when I finally got to printing, each of my color blocks were not aligned with each other, resulting in prints either had registration errors or excess white space (in some prints both occurred). If I were to do this process over again I believe that I would spend even more time planning and measuring every single detail for each of my woodblocks in order to achieve a very precise print. However, in learning the entire mokuhanga process from start to finish, I gained an extremely deep appreciation for the amount of time and effort that is required to create a single woodblock print. The entire process itself involved multiple different individuals, each with a specific set of printmaking skills and expertise - one artist could come up with an illustration, another person would transfer the image onto a woodblock, a master carver would chisel the work, and a printer would print the various colors onto a piece of paper. And this is not to even mention the people who added text to the stories!!!
To conclude, taking a hands-on approach in learning more about the woodblock printing process has helped me develop a much richer comprehension of the effort it took into producing Hasegawa's fairy tale books. By beginning at the onset of the process and continuing throughout its entirety, I have gained a much larger perspective in the scale of Hasegawa's crepe-paper operation in Meiji Japan. Although I was able to utilize a variety of newer technologies not present while Hasegawa worked as a publisher, the practice of mokuhanga has existed in some capacity within Japan since the 8th century, connecting artists and traditions via a shared artistic style over hundreds of years. By adapting the common methods of woodcarving, water-based ink, and hand printing, we are bridging the gap between traditional artistic methods and the common day. In the end, in my process of making a woodblock print, I have added a small something to the greater story of mokuhanga!